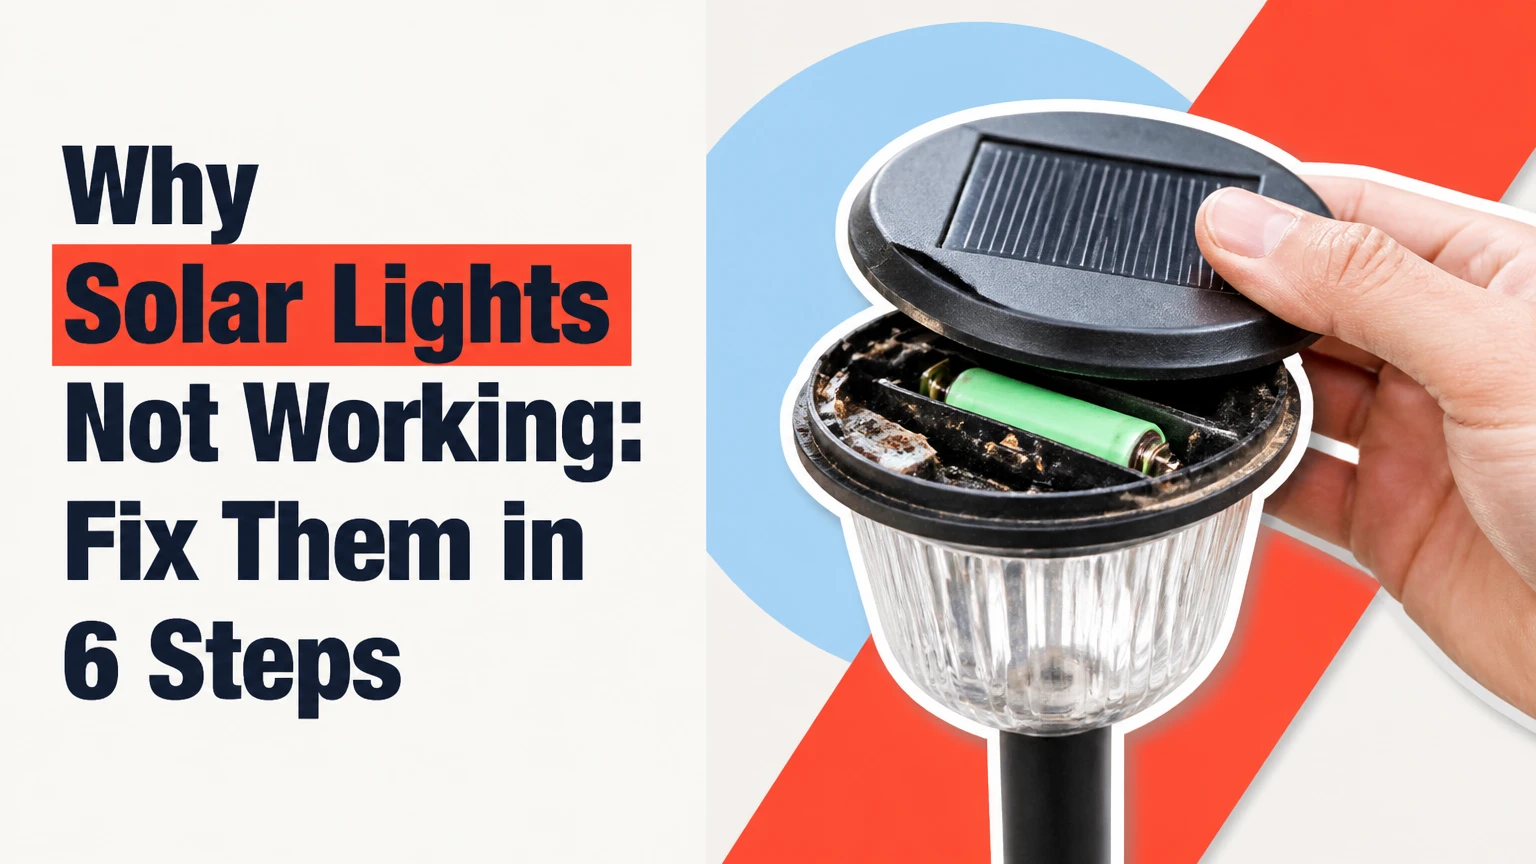
Solar lights usually stop working because the battery is not receiving enough energy, the dusk sensor detects unwanted light, the switch is off, or moisture has damaged the circuit. Cleaning and repositioning the panel solves some failures, but lights that remain dark after a battery and contact test usually have a failed battery, controller, wiring connection, or LED.
Key Facts at a Glance
- A solar light needs direct daytime light, a functioning rechargeable battery, and a working dusk sensor.
- Covering the panel should normally simulate darkness and turn the LED on within several seconds.
- A dirty or shaded panel can reduce charging enough to cause dim light or short runtime.
- Solar lights require rechargeable batteries with the correct chemistry, voltage, size, and polarity.
- A standard alkaline battery must not remain in a solar light because the charging circuit can cause leakage, rupture, or overheating.
- Water inside the battery compartment or control board is a stronger replacement signal than ordinary surface rust.
Why Are Solar Lights Not Working?
The most common cause is insufficient stored energy, not a burned-out LED. A solar light can appear defective after cloudy weather, winter shading, a dirty panel, a depleted rechargeable cell, or an artificial light source that prevents the dusk sensor from switching on.
Solar lights contain four functional sections: the photovoltaic panel generates direct-current electricity, the rechargeable battery stores it, the controller manages charging and discharge, and the LED converts battery power into light. A failure in any one section can produce the same visible symptom: no illumination.
The correct diagnostic order matters. Start with switches and physical obstructions, then test darkness detection, charging, battery condition, and internal connections. Opening a sealed lithium fixture before checking its warranty can create a safety risk and may destroy its weather seal.
Solar Light Symptoms and Likely Causes
| Symptom | Most likely cause | First test | Typical remedy |
|---|---|---|---|
| No light at all | Off switch, dead battery, sensor fault | Cover panel in darkness | Turn on, charge, or replace battery |
| Dim light | Weak battery, dirty panel, high resistance | Clean panel and inspect contacts | Clean, recharge, or replace cell |
| Turns off after 30-120 minutes | Low battery capacity or inadequate sunlight | Observe full-day charging | Replace battery or relocate panel |
| Works only when panel is covered | Ambient-light interference | Move away from lamps | Change mounting position |
| Flickers or cycles | Loose contact, moisture, controller fault | Gently move housing | Clean contacts or replace fixture |
| One string segment fails | Broken wire or connector | Test sections separately | Replace strand or connector |
How Solar Lights Work
A solar light charges during daylight and powers its LED after the controller detects a lower light level. The panel does not directly run the lamp throughout the night, because the rechargeable battery supplies the stored energy after sunset.
The photoresistor, also called a light-dependent resistor, measures ambient brightness in many designs. Some compact fixtures use the panel’s changing electrical output as the day-night signal instead. A nearby porch lamp can therefore keep the controller in daytime mode even when the surrounding yard looks dark.
Panel output depends on light intensity, panel angle, shading, temperature, and surface cleanliness. “Full sun” means direct, unobstructed sunlight, not merely placing the fixture outdoors. The U.S. Department of Energy identifies shading, orientation, and soiling as factors that reduce photovoltaic energy production.
Step 1: Check the Switch, Pull-Tab, and Battery Door
Turn the solar light to ON, remove any shipping pull-tab, and confirm that the battery door closes tightly. These checks take less than five minutes and should come before disassembly or battery replacement.
New fixtures often include a plastic insulating tab between the battery terminal and contact. Seasonal lights may also have an OFF switch intended for storage. Some security lights use separate buttons for power, motion sensitivity, brightness, and operating mode, so inspect the manufacturer’s markings rather than assuming one button controls everything.
Check the following:
- Remove the pull-tab completely, including any torn fragment blocking the contact.
- Set the main switch to ON.
- Confirm the battery is seated in the direction shown by the polarity markings.
- Press the battery door until its latch closes.
- Remove temporary protective film from the solar panel and sensor.
Success checkpoint: Cover the panel with cardboard in a dim room. The LED should illuminate within roughly 5-20 seconds, depending on the controller.
Common mistake: Testing the light in bright daylight with the panel uncovered. The sensor is designed to keep the LED off under those conditions.
Step 2: Clean the Panel and Improve Sun Exposure
Clean the solar panel with lukewarm water, a small amount of mild dish soap, and a soft microfiber cloth. Then place the panel where it receives several hours of unobstructed midday sunlight, because a clean panel in deep shade still cannot recharge the battery adequately.
Bird droppings, pollen, dust, mineral deposits, and oxidized plastic scatter or block incoming light. Avoid abrasive pads, solvent cleaners, and aggressive scraping, which can cloud the transparent cover or remove protective coatings.
For a fixed outdoor light, inspect the sun path at approximately 9 a.m., noon, and 3 p.m. A location that looks sunny at installation may become shaded when a tree’s leaves return. A north-facing wall in the Northern Hemisphere often receives less useful direct sunlight than a south-facing or west-facing position, although local buildings and seasonal sun angles determine the actual result.
Success checkpoint: After one clear day, the light should run longer or appear brighter. A battery that was fully depleted may need two or more sunny days before runtime returns.
Common mistake: Charging a panel behind ordinary window glass and expecting outdoor performance. The glass reduces and reflects part of the incoming light, while the window frame may create shade.
Step 3: Test the Dusk-to-Dawn Sensor
Cover the solar panel completely with opaque cardboard or place the fixture in a genuinely dark room. If the LED turns on, the battery, LED, and much of the controller are probably functioning; the outdoor installation is likely receiving too much ambient light.
Test the sensor after the battery has some charge. A completely exhausted battery can make a valid sensor appear defective because the controller has no energy available for the LED. Do not rely on a hand over the panel if light leaks around your fingers.
Nearby light sources include streetlamps, porch fixtures, illuminated house numbers, motion lights, reflective walls, and neighboring solar lamps. The sensor may respond to light that is not bright enough for comfortable human vision. Move the panel or shield the unwanted source without covering the photovoltaic surface.
| Sensor test result | Meaning | Recommended action |
|---|---|---|
| LED turns on under a complete cover | Dusk sensor and LED likely operate | Relocate away from artificial light |
| LED stays off after a charged day | Battery, switch, controller, or LED fault | Test battery and contacts |
| LED flashes briefly | Low voltage or unstable connection | Inspect battery terminals |
| LED works in a dark room only | Outdoor light interference | Change angle or mounting position |
| LED remains on during daylight | Sensor is blocked or controller failed | Clean sensor and inspect warranty |
Expert rule of thumb: A sensor test is a functional check, not proof that the battery is healthy. A failing battery can power an LED for seconds while still lacking enough capacity for overnight operation.
Step 4: Give the Battery a Controlled Recharge
Turn the light OFF while leaving the panel in direct sunlight for 24-72 hours, then turn it ON after charging. This controlled recharge prevents the LED from consuming energy at night and can restore a lightly or moderately depleted rechargeable cell.
A three-day charge is not a universal reset. It cannot revive a battery with a failed internal cell, severe corrosion, swelling, or an open circuit. Lithium battery protection electronics may also disconnect a cell after over-discharge, and the small panel may not provide enough current to recover it.
Typical charging requirements vary by fixture:
| Solar light type | Typical direct-sun charge | Typical usable runtime | Typical battery |
|---|---|---|---|
| Pathway stake light | 6-10 hours | 4-10 hours | 1.2 V NiMH AA or AAA |
| Decorative lantern | 6-10 hours | 5-12 hours | 1.2 V NiMH AA |
| Solar string light | 6-10 hours | 5-10 hours | NiMH pack or small Li-ion cell |
| Motion floodlight | 5-8 hours | 20-80 activations | Li-ion or LiFePO4 pack |
| Continuous security light | 8-12 hours | 4-10 hours | High-capacity Li-ion or LiFePO4 pack |
Success checkpoint: After a clear charging period, the light remains on substantially longer than during the original failure test.
Common mistake: Leaving the fixture OFF for weeks and treating that as a repair. OFF prevents discharge, but it does not remove corrosion or repair a battery that has lost capacity.
Step 5: Inspect Contacts and Measure the Battery
Remove the battery only after switching the fixture off, then inspect the terminals for white residue, green corrosion, dark oxidation, moisture, or a loose spring. Clean light surface oxidation with a dry toothbrush or fine abrasive, but replace parts affected by deep pitting or liquid damage.
A digital multimeter can separate a charging problem from a storage problem. Measure a removable cell after it has rested for several minutes, then compare the reading with the chemistry printed on the battery. A nominal 1.2 V NiMH cell commonly measures approximately 1.2-1.4 V when charged, while a nominal 3.7 V lithium-ion cell requires a different charging and protection system.
| Battery chemistry | Nominal voltage | Common solar-light format | Replacement requirement |
|---|---|---|---|
| NiMH | 1.2 V per cell | AA, AAA, button pack | Same size, 1.2 V, rechargeable NiMH |
| NiCd | 1.2 V per cell | Older AA or AAA fixtures | Same chemistry unless manufacturer permits an alternative |
| Li-ion | 3.6-3.7 V per cell | 18650 or protected pack | Matching protected pack and connector |
| LiFePO4 | 3.2 V per cell | 14500, 26650, proprietary pack | LiFePO4-specific charger and voltage |
| Sealed battery pack | Manufacturer-specific | Security and string lights | Exact voltage, connector, and capacity |
Do not use a regular alkaline battery as a substitute in a solar light. An alkaline cell is non-rechargeable, and charging it inside the fixture can cause leakage, rupture, or overheating. Use the manufacturer’s specified rechargeable battery or a compatible replacement with matching chemistry and voltage.
Success checkpoint: The light operates with a correctly specified charged battery and clean, spring-loaded contacts.
Common mistake: Installing a 1.5 V alkaline AA where the fixture specifies a 1.2 V NiMH AA, or installing a physically similar lithium cell with a different voltage.
Which Replacement Battery Does a Solar Light Need?
The correct replacement battery matches four attributes: chemistry, nominal voltage, physical size, and polarity. Capacity, expressed in milliamp-hours, can be equal to or moderately higher than the original when the charger is designed for that chemistry, but a much higher rating may take longer to charge and may not be suitable for a small panel.
| Battery choice | Typical service life | Main advantage | Main limitation |
|---|---|---|---|
| NiMH rechargeable | 1-3 years outdoors | Widely available and tolerant of simple circuits | Capacity falls with heat and repeated deep discharge |
| Li-ion rechargeable | 2-5 years in suitable fixtures | High energy density and long runtime | Requires protection and a matched charger |
| LiFePO4 rechargeable | 3-8 years in suitable fixtures | Strong thermal stability and cycle life | Not interchangeable with Li-ion |
| Alkaline disposable | 3-12 months in intermittent use | Cheap for ordinary battery devices | Unsafe for solar charging circuits |
Battery life depends on temperature, charge control, discharge depth, and daily cycling. The commonly quoted one-to-two-year life for inexpensive NiMH pathway lights is a practical replacement expectation, not a guarantee. Heat under a dark plastic housing can shorten service life, while a shaded panel repeatedly leaves the cell undercharged.
Why Solar Lights Turn Off Too Quickly
Solar lights turn off early when the battery stores less energy than the LED load needs for the night. The usual causes are a worn rechargeable cell, insufficient direct sunlight, a dirty panel, cold weather, a high-brightness setting, or motion activation occurring more often than expected.
A light that runs for 30-90 minutes after a full sunny day often has a weak battery or high-resistance contact. A light that runs normally after several sunny days but fails after cloudy weather may be operating normally for its panel and battery size. Security floodlights also use much more power at maximum brightness than pathway lights, so their stated runtime often assumes motion-triggered rather than continuous operation.
Reduce brightness or motion sensitivity temporarily. If runtime improves substantially, the fixture may be healthy but undersized for its location or operating mode.
How Weather and Water Affect Solar Lights
Cloud, snow, shade, cold, and water each reduce solar-light performance in different ways. Cloud cover lowers panel energy, snow blocks the panel, cold reduces battery performance, and water can create corrosion or a short circuit.
An IP rating describes resistance to dust and water under defined test conditions, not permanent immersion or protection from every installation error. IP44 provides protection against splashing water, while IP65 generally indicates dust protection and resistance to water jets; neither rating guarantees survival when a housing is submerged or a gasket has deteriorated.
| Outdoor condition | Observable effect | Inspection point | Better response |
|---|---|---|---|
| Several cloudy days | Dim output and shorter runtime | Panel and recent weather | Allow clear-day recharge |
| Frost below 0°C | Reduced battery capacity | Battery type and location | Recharge after warming |
| Snow on panel | No meaningful charging | Panel surface | Remove snow gently |
| Sprinkler spray | Moisture in housing | Battery door and gasket | Redirect sprinkler, dry fixture |
| Heavy rain inside housing | Corrosion or flickering | Terminals and circuit board | Replace damaged fixture |
| Summer heat on dark plastic | Faster battery aging | Housing temperature and shade | Improve ventilation or replace cell |
Do not open a wet lithium-ion fixture or handle a swollen battery. Disconnect it from sunlight if safe, place it away from combustible materials, and follow local battery-recycling or hazardous-waste guidance.
Repair or Replace: The Practical Decision
Replace the rechargeable battery when the panel is clean, the sensor test succeeds, contacts are sound, and the fixture is otherwise dry. Replace the entire light when the circuit board is corroded, the panel cover is badly clouded, the housing no longer seals, or a proprietary battery costs close to a new fixture.
Typical consumer costs vary by region and brand:
| Repair or replacement | Typical cost | Typical time | Best use case |
|---|---|---|---|
| NiMH AA or AAA cell | $3-$8 | 5-15 minutes | Removable pathway light |
| Proprietary rechargeable pack | $10-$30 | 15-30 minutes | Security or decorative fixture |
| Replacement pathway light | $5-$20 | 10-20 minutes | Corroded or cracked budget unit |
| Replacement string-light strand | $10-$40 | 15-30 minutes | Broken controller or cable |
| Replacement solar floodlight | $40-$200 | 30-90 minutes | Failed sealed or water-damaged unit |
These are typical retail ranges, not fixed prices. A $6 pathway fixture with a $5 battery may be worth repairing once, while a sealed $25 fixture with a failed controller usually is not.
Practitioner insight: A new battery cannot compensate for a panel that receives only two hours of winter sun. Diagnose the energy input before buying a larger battery.
Common Mistakes and How to Fix Them
Using the wrong battery chemistry
A battery that fits physically may still be electrically incompatible. Read the original label and match voltage and chemistry before installation.
Testing only in daylight
Daylight intentionally disables most solar lights. Test with an opaque cover in a dark area, then test overnight after charging.
Assuming “waterproof” means permanently sealed
Gaskets age, battery doors warp, and cable entries admit water. Inspect for condensation and green corrosion after heavy rain.
Scratching the panel
Abrasive cleaning can permanently reduce light transmission. Use water, mild soap, and microfiber cloth instead.
Measuring voltage without measuring capacity
A weak battery can show a normal no-load voltage and still collapse under the LED load. Short runtime after a full charge remains the more useful practical capacity test.
Soldering a lithium pack casually
Lithium cells require correct protection, insulation, charging limits, and physical handling. Replace the approved pack or the entire fixture unless you have appropriate battery-repair training.
What Changes by Solar Light Type?
Pathway lights usually use inexpensive removable NiMH cells, while security floodlights more often use sealed lithium packs and higher-output LEDs. String lights add cable, connector, and multi-LED failure points, so the same dark symptom requires different inspection priorities.
For pathway lights, start with the battery, contacts, panel cleanliness, and stake position. For floodlights, check the main power mode, motion sensor range, remote settings, and whether the panel can be mounted separately in direct sunlight. For string lights, inspect the controller, cable near the panel, connector seals, and whether the entire strand or only one section is dark.
Decorative lights are often inexpensive enough that a cracked housing or failed controller makes replacement more economical than repair. Security lights justify battery replacement when the panel and enclosure remain in good condition.
FAQ
Can solar lights charge on cloudy days?
Solar panels still generate electricity under cloud cover, but output is lower than in direct sun. A cloudy day may provide enough energy for limited operation, while several overcast days can leave a small battery undercharged. Clean the panel and allow a full clear-day recharge before diagnosing a permanent fault.
Why do solar lights work when I cover the panel?
Covering the panel simulates darkness, which tells the dusk sensor to activate the LED. If the light works under cover but not outdoors, a porch lamp, streetlight, security light, or reflective surface is probably keeping the sensor in daytime mode. Relocate the panel or block the interfering light source.
Can solar lights charge through a window?
Solar lights can charge through a window, but charging is usually slower because glass reduces transmitted light and the window frame may shade part of the panel. Indoor charging is practical only for some small decorative fixtures. Outdoor panels need unobstructed light for reliable overnight runtime.
Do solar lights work in winter?
Solar lights can work in winter, but shorter days, low sun angles, snow, cloud, and cold reduce charging and battery performance. Clear the panel, avoid winter shade, and use a battery rated for the fixture. A security light requiring dependable winter illumination may need a larger panel, separate panel mounting, or wired power.
How long do rechargeable solar-light batteries last?
Typical NiMH batteries in inexpensive pathway and decorative lights last about 1-3 years, while suitable lithium packs often last 2-5 years. Heat, repeated deep discharge, moisture, and chronic undercharging shorten those ranges. Replace a battery when full-day charging produces only a short or visibly dim run.
The Bottom Line
When asking why solar lights not working, start with the ON switch, shipping tab, battery polarity, panel cleanliness, and complete sensor test. Then provide 24-72 hours of direct-sun charging, inspect contacts, and install only the specified rechargeable chemistry. If the fixture remains dark or runs briefly after those checks, a worn battery, failed controller, corroded circuit, or damaged wiring is more likely than an LED failure.