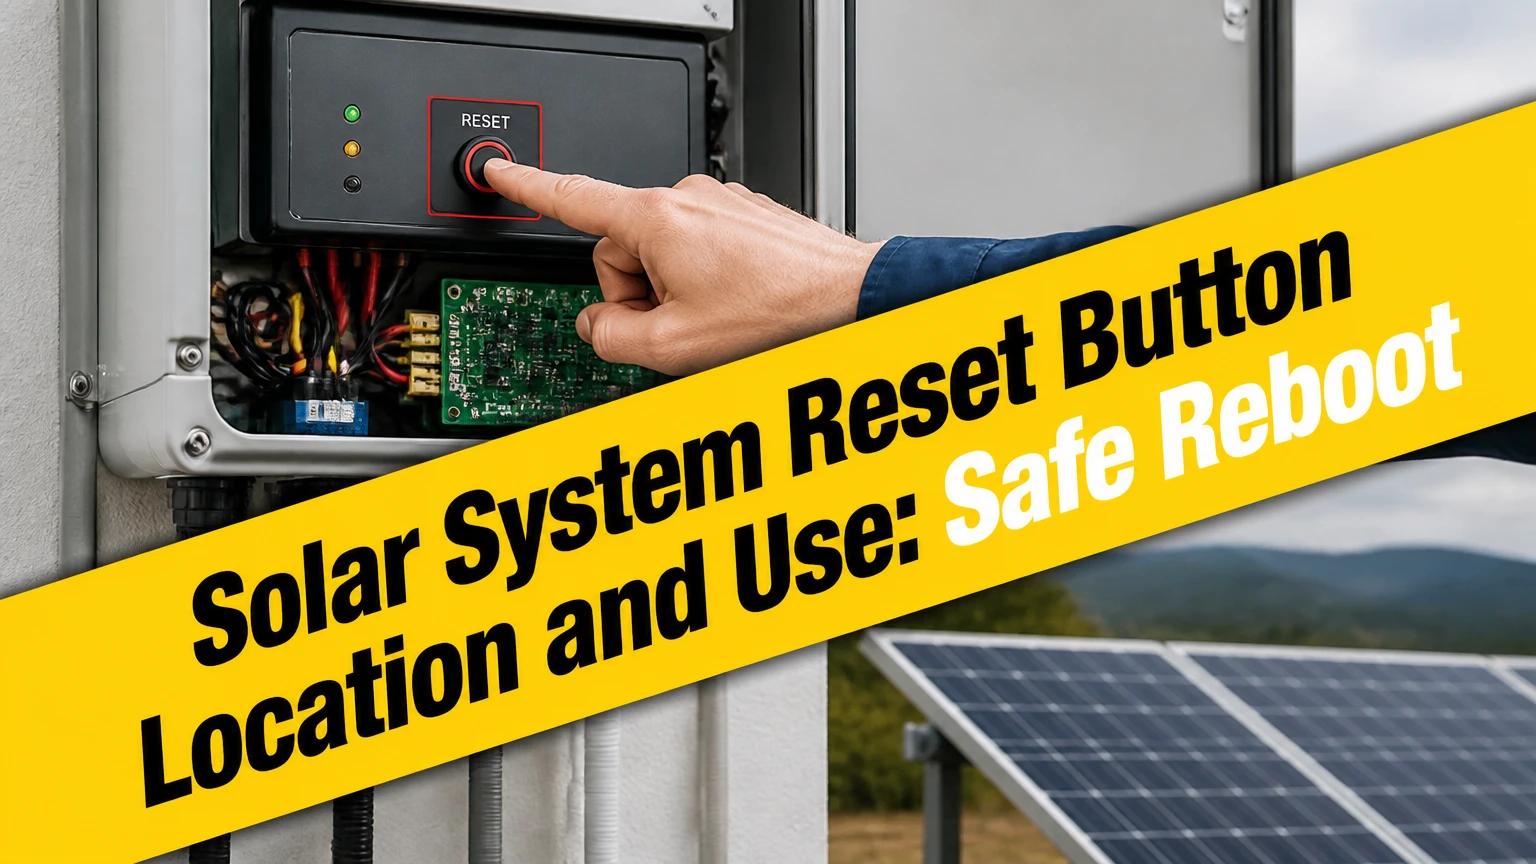
A solar system has no universal reset button. The correct control may be a menu command on the inverter, an AC or DC disconnect, a battery power switch, a BMS wake button, or a charge-controller sequence, and the equipment manual determines the safe order.
Key Facts at a Glance
- A solar inverter reset button is usually on the front, underside, or side of the inverter, but some models provide only a digital reset.
- A hard reset normally means isolating AC, PV DC, and battery power, waiting for the manufacturer’s interval, then restoring power in the specified order.
- A solar battery BMS reset button does not repair damaged cells, unsafe temperature conditions, wiring faults, or a failed battery contactor.
- A persistent ground-fault, insulation, arc-fault, or overtemperature warning should not be cleared through repeated resets.
- Grid-connected inverters may wait about 1-5 minutes before producing power after utility voltage returns, depending on the grid code and manufacturer.
- Turning off a disconnect does not make an inverter safe to open because capacitors and other circuits can retain hazardous energy.
What Does a Solar System Reset Actually Do?
A solar system reset restarts control electronics after a temporary communication, software, or protection event. A reboot can clear a frozen display, reconnect a monitoring service, or make an inverter repeat its startup self-test, but it cannot repair a damaged conductor, failed relay, defective sensor, or degraded battery cell.
The phrase “reset” covers several different actions. A soft reset restarts software while power remains connected. A power cycle removes operating power from accessible disconnects. A BMS reset wakes or clears a battery protection state. A factory reset changes configuration and can delete network credentials or grid settings.
Why Waiting Matters
Inverters contain capacitors that can retain voltage after disconnects open. Waiting 5-15 minutes is a common manufacturer instruction, but the exact interval varies by model; the manual, label, and local electrical rules take priority over a generic timer.
A waiting period allows internal circuits to discharge through designed paths and gives relays time to open. It does not “wipe temporary RAM” in a literal or universal sense. Firmware remains stored in nonvolatile memory, and some fault records remain available after a reboot.
The National Fire Protection Association’s NFPA 70E 2024 standard states, “Electrical conductors and circuit parts shall be put into an electrically safe work condition before an employee performs work.” A homeowner can operate an externally labeled switch without opening equipment, but terminal work and voltage verification require appropriate qualifications.
Where Is the Solar System Reset Button?
The solar system reset button location depends on the equipment architecture. Look first for a button labeled Reset, Restart, Reboot, Power, Wake, or Clear, then check whether the device instead uses an AC breaker, DC isolator, battery disconnect, or mobile application.
| Equipment | Typical reset location | Common label | Access boundary |
|---|---|---|---|
| String inverter | Front panel, lower edge, or right side | Reset, Power, Restart | External user control |
| Hybrid inverter | Front display, side switch, or app menu | System Restart, Shutdown | External user control |
| Microinverter system | AC branch breaker or IQ Gateway | Reboot, Gateway Restart | External user control |
| Charge controller | Front keypad, side button, or battery disconnect | Reset, Load Off | External user control |
| Lithium battery | Front panel, side switch, or service disconnect | Power, Wake, BMS Reset | External user control |
| Monitoring gateway | Ethernet enclosure or app menu | Reboot, Restart Gateway | External user control |
Do not remove the inverter cover to search for a hidden button. Internal terminals can remain energized from PV input, battery voltage, or stored capacitor charge even when the display is dark.
How Do Soft and Hard Resets Differ?
A soft reset is the lower-risk first choice for a minor software or communication fault. A hard reset interrupts power to one or more system components and is appropriate only when the manufacturer provides the sequence or a qualified installer directs it.
| Reset method | Typical duration | Best use | Main limitation |
|---|---|---|---|
| App restart | 1-5 minutes | Monitoring freeze or remote reboot | Requires network and supported model |
| Inverter menu reboot | 2-10 minutes | Display or software fault | Cannot clear a dead or unpowered unit |
| AC power cycle | 5-15 minutes | Grid-side communication problem | PV or battery may still energize equipment |
| Full system power cycle | 10-30 minutes | Coordinated hybrid-system reboot | Incorrect order can damage equipment |
| Factory reset | 10-30 minutes | Installer reconfiguration | May erase settings and credentials |
A factory reset is not the same as a reboot. It may remove Wi-Fi details, export limits, battery profiles, time-of-use schedules, and grid-code parameters, so it should normally be an installer-controlled action.
How to Perform a Safe Inverter Reboot
A safe inverter reboot uses the model-specific shutdown and startup sequence, takes approximately 10-30 minutes, and requires no tools when every control is an external, labeled switch. The factor that most determines success is identifying every energy source, including utility AC, PV DC, battery DC, backup circuits, and generator input.
Before You Start
| Preparation item | Typical value | Why it matters |
|---|---|---|
| Time required | 10-30 minutes | Includes waiting and restart delays |
| Tools | 0 for external switches | No cover removal is permitted |
| Production timing | Low sunlight preferred | Reduces PV current during isolation |
| Manual | Exact model and revision | Determines switch order and wait time |
| Loads | 0-1 critical loads | Prevents backup interruptions |
| Access | Main panel and inverter area | Both sides may contain controls |
Save the current error code and photograph switch positions before changing anything. Tell occupants that grid power, battery backup, and solar production may stop during the reboot.
Step 1: Record the Fault and Identify Energy Sources
Write down the inverter model, displayed code, indicator color, battery state, and time of day. Identify the main AC breaker or AC isolator, PV DC isolator, battery breaker, rapid-shutdown device, backup gateway, and generator input if present.
Success checkpoint: every disconnect has a readable label and a known function. Common mistake: assuming the switch beneath the inverter controls the battery, because some installations place the battery disconnect several feet away.
Step 2: Shut Down AC and Backup Sources
Follow the manufacturer’s stated order, because sequences differ between equipment families. If the manual gives no homeowner procedure, stop and contact the installer instead of applying a generic sequence.
For many hybrid systems, the first external action is opening the inverter’s AC isolator or dedicated breaker. Some backup systems also require a gateway, generator, or critical-load disconnect to be placed in a specified state.
Success checkpoint: the inverter reports grid loss or its AC indicator changes as described in the manual. Common mistake: switching off the home’s main breaker when only the dedicated inverter breaker is required, which unnecessarily interrupts household circuits.
Step 3: Isolate PV and Battery Power
Open the PV DC isolator only when its label and rating are suitable for the installation. Then operate the battery breaker or battery power switch if the system includes storage, following the manual’s sequence rather than assuming that battery power always comes first or last.
Grid-tied string inverters often use an AC breaker and DC isolator. Hybrid systems can add a battery disconnect, backup gateway, and rapid-shutdown controller. Enphase systems generally use AC branch circuits and an IQ Gateway, so they do not follow the same physical sequence as a central string inverter.
Success checkpoint: external status indicators reach the documented shutdown state. Common mistake: opening an unfamiliar DC switch under high PV current, which can cause arcing if the switch is incorrectly rated, damaged, or operated outside its instructions.
Step 4: Wait for the Specified Discharge Interval
Wait the exact interval stated by the manual, commonly 5-15 minutes. Do not open the enclosure, remove terminals, or touch conductors during the waiting period.
Success checkpoint: the display is off and the documented delay has elapsed, but a dark display alone is not proof of zero voltage. Common mistake: rapidly toggling switches off and on, which may leave internal circuits energized and does not provide a complete reboot.
Step 5: Restore Power in the Manufacturer’s Order
Restore the battery, PV DC, and AC sources only in the order specified for the equipment. A common hybrid-system startup pattern is battery first, PV DC second, and AC third, while some manufacturers require AC first or a gateway-specific sequence.
Success checkpoint: the inverter begins its normal initialization without a new fault. Common mistake: connecting PV DC before a battery-supported hybrid inverter is ready, which can produce a low-battery, DC-bus, or communication alarm.
Step 6: Allow Grid Synchronization and Verify Operation
Allow 1-5 minutes for a grid-tied inverter to complete checks before expecting production. Verify the absence of active faults, confirm that battery charging or discharging follows the schedule, and check the monitoring portal after communication services reconnect.
Success checkpoint: status changes to producing, standby, charging, or the model’s equivalent normal state. Common mistake: treating “no solar production” at night as a failed reboot, since many inverters need sufficient PV voltage before starting.
How Do Battery and BMS Resets Work?
A battery BMS reset clears or exits a protection state through the battery’s external power switch, breaker, wake button, or approved charger procedure. The control is usually on the front or side of a residential battery, but DIY LiFePO4 batteries may place a small push button near the display or communications port.
| Battery condition | Likely BMS response | User-visible symptom | Correct next action |
|---|---|---|---|
| Low state of charge | Discharge cutoff | Battery shows offline | Use approved charging procedure |
| Overcurrent event | Charge or discharge cutoff | Inverter reports battery fault | Remove abnormal load and inspect logs |
| Low temperature | Charge inhibition | Charging remains unavailable | Wait for approved temperature range |
| Cell imbalance | Protective shutdown | Battery refuses normal operation | Installer or battery service |
| Communication loss | Contactor or data lockout | Inverter shows no battery | Inspect approved communications path |
| Internal fault | Permanent protective state | Red fault indicator | Stop resetting and request service |
Do not repeatedly press a BMS reset button when the battery is swollen, hot, wet, damaged, smoking, or producing an unusual odor. Lithium batteries can contain stored energy even when the inverter is off, and a BMS reset may re-enable a hazardous pack rather than cure its cause.
When Should a Battery Wake Button Be Used?
Use a battery wake button only when the manufacturer documents it for sleep mode or controlled startup. An over-discharged battery may require a compatible charger, minimum voltage, temperature limits, and installer access; a button alone cannot safely recover unknown cell conditions.
How Are Off-Grid Charge Controllers Reset?
An off-grid charge controller is commonly reset by disconnecting PV input while leaving the battery connected, waiting for the controller to shut down, and reconnecting PV after the battery voltage is stable. The controller manual overrides this pattern because some models specify a different order or prohibit switching under load.
| Off-grid component | Typical control | Typical reset action | Typical restart time |
|---|---|---|---|
| MPPT controller | PV breaker and battery breaker | PV off, battery state per manual | 1-10 minutes |
| PWM controller | PV fuse and battery fuse | Remove PV, then restore battery and PV | 1-5 minutes |
| Inverter-charger | AC input, battery breaker | Shutdown menu or full isolation | 5-20 minutes |
| DC load panel | Load breaker | Isolate affected branch | 1-5 minutes |
A charge controller normally needs a valid battery voltage reference before PV input is restored. Reversing the sequence can cause incorrect voltage recognition, nuisance faults, or equipment damage on models that require battery-first startup.
Which Reset Method Should You Use?
Use a digital or app restart for a communication freeze, an external power cycle for a documented inverter lockup, and professional diagnosis for a safety fault or repeated failure. The least invasive method that addresses the symptom is preferable because every unnecessary power cycle interrupts production and can complicate fault history.
| Symptom | First action | Escalation threshold | Reset suitability |
|---|---|---|---|
| Wi-Fi offline, inverter operating | Restart communications or app gateway | No connection after 15 minutes | Soft reset |
| Frozen display | Document code, use menu reboot | Display remains frozen after reboot | Soft, then service |
| Grid fault after utility outage | Wait for grid and anti-islanding timer | Fault persists with stable grid | One documented reboot |
| Isolation or ground fault | Do not repeatedly reset | Immediate recurrence | Professional diagnosis |
| Battery unavailable | Check approved battery status | Red fault or low-temperature lockout | Manual-specific reset |
| No lights at all | Check dedicated breakers externally | Correct breakers, still dark | Installer or electrician |
What Does a Ground-Fault Reset Indicate?
A returning ground-fault or isolation fault indicates a possible insulation, moisture, connector, or cable problem, not a software glitch. Stop resetting when the warning returns immediately, especially during rain or after roof work, because energized PV conductors can create shock and fire hazards.
Common causes include a damaged module cable, water inside a junction box, an incorrectly seated MC4-style connector, rodent damage, and insulation breakdown. Do not disconnect rooftop connectors or test PV strings yourself unless you are qualified and equipped for high-voltage DC work.
Why Is the Inverter Still Offline After Resetting?
An inverter can remain offline after a successful reboot because sunlight is insufficient, the utility grid is absent, the battery is below its operating threshold, the anti-islanding timer is active, or a genuine fault remains. A blank display at night may be normal for some PV-only inverters.
| Post-reset symptom | Plausible cause | Safe observation | Required response |
|---|---|---|---|
| No display at night | No PV wake voltage | Check monitoring history | Recheck in daylight |
| Grid relay open | Utility outage or voltage limit | Check household AC status | Contact utility if outage exists |
| Battery not detected | Breaker, BMS, or data link | Read battery indicator | Follow battery manual |
| Red fault returns | Hardware or wiring issue | Record exact code | Stop repeated resets |
| Wi-Fi missing | Gateway or router issue | Check local network | Re-run network setup |
| Production remains zero | Shade, snow, or curtailment | Compare irradiance and status | Installer diagnosis if persistent |
Grid-connected inverters intentionally delay reconnection to verify acceptable voltage and frequency. The delay is not evidence of a failed restart, and the permitted timing depends on the inverter certification, utility requirements, and jurisdiction.
What Are the Monitoring, Firmware, and Warranty Effects?
A reboot usually preserves production logs, while a factory reset can erase local configuration and disconnect monitoring. A power cycle also creates a data gap, so record the time and error before restarting if a warranty claim or installer diagnosis may follow.
Do not install firmware, change grid-code settings, alter export limits, or modify battery chemistry profiles merely because an error remains. Those settings can affect utility compliance, battery safety, and warranty eligibility.
A reset is also a poor substitute for maintenance. If a system requires a reboot more than once a month, treat that pattern as diagnostic evidence and request an inspection rather than accepting the reboot as routine operation.
What Mistakes Make a Reset Unsafe?
The most serious reset mistakes involve switching the wrong source, opening DC equipment under unsuitable conditions, and treating a recurring safety alarm as a software problem. External disconnect operation is different from electrical repair, and a homeowner should never remove an inverter cover to complete a reset.
- Using a generic sequence without the manual: AC-first, battery-first, and PV-first procedures vary by manufacturer.
- Rapid cycling: Immediate restoration may not allow relays and capacitors to reach the intended shutdown state.
- Resetting during a severe fault: Ground, arc, smoke, heat, and water warnings require isolation and service.
- Ignoring backup equipment: A gateway or automatic transfer switch may keep circuits energized after the main inverter is off.
- Testing busbars casually: A multimeter reading requires correct category rating, leads, procedure, and training.
- Factory-resetting first: Configuration loss can create a larger commissioning problem than the original Wi-Fi fault.
A practitioner rule is to photograph every switch before changing it and to change one documented control at a time. Another is to preserve the error code before rebooting, because a reboot can remove useful transient evidence from the display.
What Is the Typical Time and Cost?
A homeowner’s external reboot typically costs $0 and takes 10-30 minutes, while professional diagnosis commonly costs about $150-$300 for a basic service visit in the United States. Actual pricing varies by region, travel distance, warranty status, system complexity, and whether roof access or component replacement is required.
| Service or event | Typical time | Typical US cost | Variables |
|---|---|---|---|
| App or menu restart | 1-10 minutes | $0 | Remote access and model support |
| Full documented power cycle | 10-30 minutes | $0 | Number of disconnects |
| Remote installer diagnosis | 15-60 minutes | $0-$150 | Warranty and monitoring access |
| On-site fault diagnosis | 1-3 hours | $150-$300 | Travel and labor rates |
| Connector or fuse repair | 1-4 hours | $200-$800 | Roof access and parts |
| Inverter replacement | 2-6 hours | $1,500-$5,000+ | Capacity, labor, and warranty |
The commonly cited claim that a hard reset fixes 80 percent of solar faults is not a dependable published performance measure. A reboot can clear temporary faults, but no universal success percentage applies across inverter brands, battery chemistries, installation quality, and failure types.
Situational Reset Rules
Can You Reset Solar Equipment at Night?
Nighttime is often a lower-production period for PV DC switching, but it does not guarantee that the array is electrically dead. Moonlight, artificial light, battery voltage, and grid power can still energize parts of the system, so the manual and disconnect labels remain decisive.
What Changes on a Hybrid Backup System?
A hybrid system requires attention to the battery, backup gateway, critical-load panel, and automatic transfer equipment. Household backup circuits may remain energized even after the inverter display turns off, so do not assume that a dark screen means every circuit is de-energized.
What Changes With Microinverters?
Microinverter systems usually have no single high-voltage DC disconnect at the central inverter because each module converts power on the roof. The practical reset point is often the dedicated AC branch breaker, the communications gateway, or the manufacturer’s app, and rooftop units should not be handled by an unqualified homeowner.
FAQ
Will Resetting a Solar Inverter Delete My Production History?
A normal menu reboot or external power cycle usually does not delete cloud production history, although monitoring can show a temporary data gap. A factory reset is different because it may remove Wi-Fi credentials, site settings, schedules, and local configuration, so document the system before using that option.
How Often Should a Solar System Need a Reset?
A healthy solar system should not need a routine monthly reset. If an inverter, battery, or gateway needs repeated reboots, the pattern can indicate unstable grid voltage, communication interference, overheating, loose wiring, firmware problems, or battery degradation that requires diagnosis.
Can a Reset Fix a Solar Panel That Is Not Producing?
A reset can clear an inverter communication or control fault, but it cannot repair a shaded module, cracked panel, failed optimizer, damaged connector, blown fuse, or open circuit. Compare the inverter status with sunlight conditions and recent production history before concluding that the panel itself failed.
Should I Turn Off the AC or DC Switch First?
There is no universal AC-first or DC-first rule for every solar architecture. The inverter, battery, and charge-controller manual specifies the safe shutdown order, and hybrid systems may include additional gateway or generator controls that change the sequence.
Why Does My Battery Show 0 Percent After a Reset?
A battery may display 0 percent because the BMS entered low-voltage protection, the state-of-charge estimate needs recalibration, communications are unavailable, or the battery is genuinely depleted. Do not force charging or repeatedly reset the BMS without the manufacturer’s approved recovery procedure.
When Should I Call a Solar Technician?
Call a qualified technician when a ground-fault, arc-fault, isolation, smoke, heat, water-ingress, burning-odor, or battery-damage condition appears, or when the same error returns after one documented reboot. Service is also appropriate when labels are missing or the equipment manual cannot be identified.
The Bottom Line
The solar system reset button location and use depend on the system’s architecture, not on a universal control. Start with the inverter menu or monitoring app for a minor software issue, identify every AC, PV DC, battery, and backup disconnect before a power cycle, wait for the manufacturer’s specified interval, and stop when a safety fault returns. A reset is a reboot, not a repair.