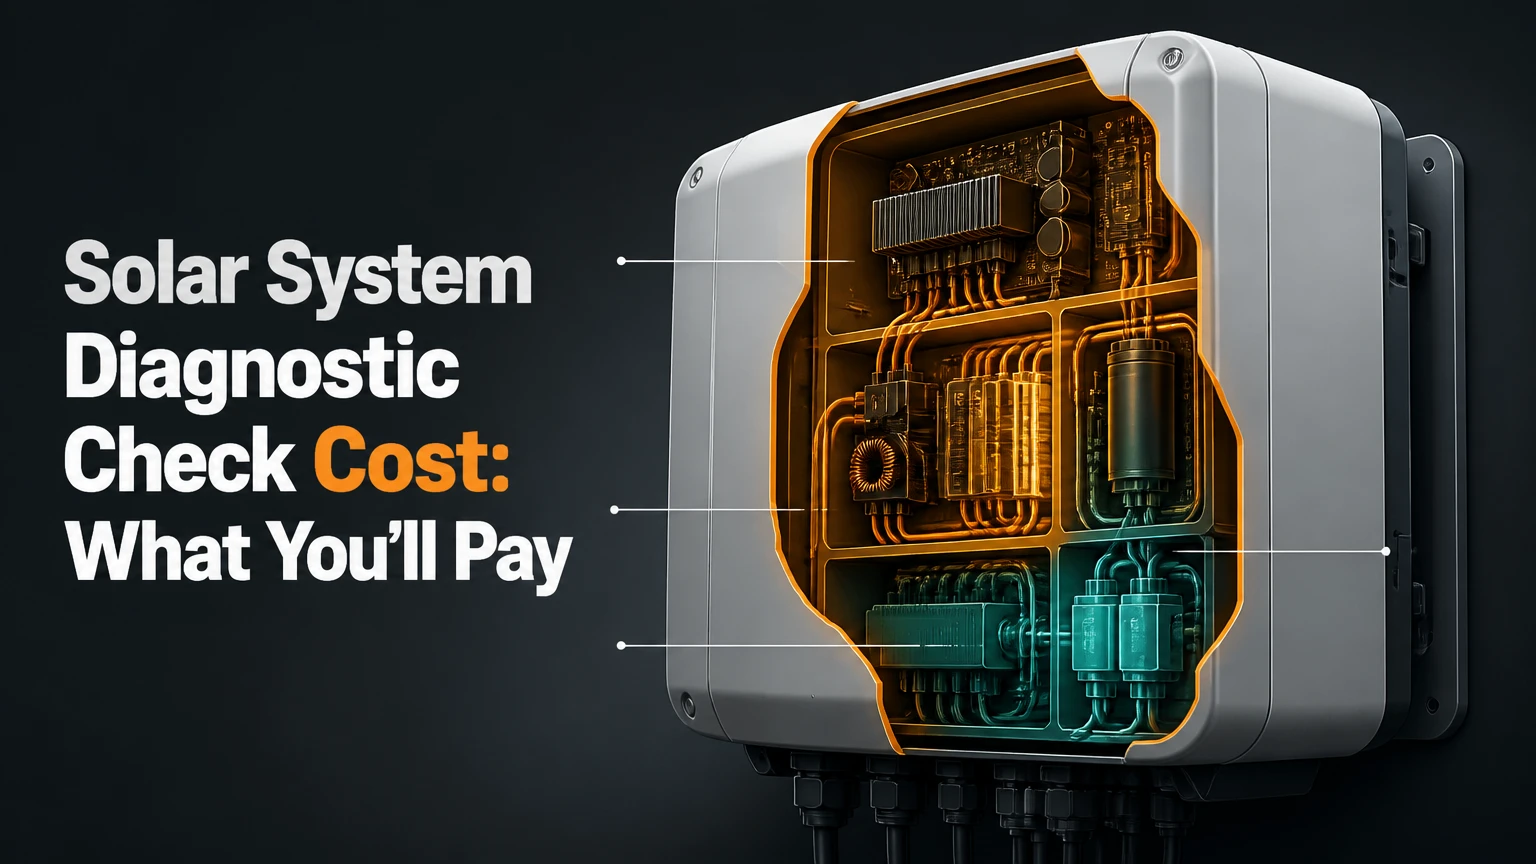
A professional solar system diagnostic check cost is typically $150-$400 for a residential system, depending on testing depth, roof access, location, and fault complexity. Advanced drone, I-V curve, insulation, or battery testing commonly costs $500-$999, while commercial diagnostic work usually starts around $1,500 and can exceed $3,000.
Key Facts at a Glance
- A basic residential solar inspection typically costs $150-$200 and takes 1-1.5 hours.
- A standard electrical and thermal diagnostic usually costs $250-$400 and takes 2-3 hours.
- Advanced string testing, drone thermography, or extensive fault tracing commonly costs $500-$999.
- Commercial and utility-scale diagnostic projects generally start at $1,500 and may exceed $3,000.
- A monitoring review can identify a production problem, but it cannot confirm insulation failure, hot spots, loose terminals, or damaged modules.
- Thermal imaging requires an operating array and adequate sunlight; a scan during weak irradiance can miss temperature differences.
What Is a Solar Diagnostic Check?
A solar diagnostic check is a structured evaluation of a photovoltaic system’s electrical output, physical condition, safety, and communications. A qualified technician compares monitoring data and field measurements with inverter records, module specifications, system design documents, and expected production for the site.
A diagnostic differs from routine panel cleaning. Cleaning removes soiling, while diagnosis determines whether low output comes from dirt, shade, inverter clipping, failed optimizers, string imbalance, wiring damage, or module degradation. A professional report should identify the suspected cause, supporting measurements, recommended repair, and financial effect of leaving the fault unresolved.
The diagnostic may cover a grid-tied array, inverter, rapid-shutdown equipment, roof-mounted racking, electrical disconnects, batteries, charge controllers, and monitoring gateways. Scope matters more than the label. Some companies call a 30-minute visual visit a “diagnostic,” even though that appointment cannot test insulation resistance or isolate a failing module.
Inspection, maintenance, and diagnosis compared
| Service type | Typical price | Typical time | Main deliverable |
|---|---|---|---|
| Visual inspection | $150-$200 | 1-1.5 hours | Photos, safety observations, visible defects |
| Preventive maintenance | $150-$350 | 1-3 hours | Cleaning, torque checks, vegetation management |
| Electrical diagnostic | $250-$600 | 2-4 hours | Voltage, current, string, inverter findings |
| Full diagnostic report | $400-$999 | 3-6 hours | Test results, fault cause, repair priorities |
A maintenance visit may reveal a problem, but a diagnostic appointment is designed to prove or isolate one. The distinction becomes important when a homeowner needs evidence for an installer warranty, an insurance claim, or a sale.
How Does a Solar Diagnostic Work?
A solar diagnostic works by moving from low-risk evidence to targeted tests: monitoring records first, visual inspection second, live electrical measurements third, and isolated safety tests when the evidence justifies them. The sequence reduces unnecessary roof work and prevents technicians from interpreting one abnormal reading without operating context.
The technician begins with system size, module count, inverter model, commissioning date, utility bills, and the reported symptom. Monitoring data can show whether the problem affects the whole array, one inverter, a single string, or a particular time of day.
Live or “hot” testing measures an operating system under sunlight and load. Shutdown or “cold” testing isolates equipment so the technician can assess continuity, insulation resistance, connectors, and grounding without normal operating voltage. Only qualified personnel should perform energized photovoltaic testing because DC arcs can persist and rapid-shutdown equipment does not remove every hazard.
The usual diagnostic sequence
- Review production records. Compare daily, monthly, and per-string data against the same season in prior years.
- Inspect visible components. Check modules, racking, cable management, connectors, conduit, disconnects, inverter ventilation, and animal damage.
- Scan operating equipment. Use infrared thermography when sunlight and load are sufficient to reveal abnormal heating.
- Measure electrical parameters. Record string voltage, current, inverter input values, and relevant AC output readings.
- Test isolated circuits. Use insulation resistance, continuity, polarity, and grounding tests where permitted by the equipment manufacturer.
- Trace the fault. Separate array, string, module, optimizer, inverter, communications, and grid-side causes.
- Issue a report. Document readings, photographs, error codes, limitations, repair options, and retest requirements.
The report should state the test date, weather, irradiance if measured, equipment serial numbers, instruments used, and calibration status. Without those details, a numerical result is difficult to reproduce or use in a warranty dispute.
How Much Does a Solar System Diagnostic Check Cost?
A standard residential solar system diagnostic check costs $250-$400 when it includes monitoring analysis, visual inspection, inverter review, electrical measurements, and a basic infrared scan. A simple visual visit may cost less, while difficult access, multiple inverters, batteries, or an intermittent ground fault can raise the invoice substantially.
The following are typical United States service ranges, not fixed national prices. Labor rates, travel distance, roof height, local licensing requirements, and the availability of an original installer can shift the quote by $50-$300 or more.
| Diagnostic scope | Residential price | Field time | Typical equipment |
|---|---|---|---|
| Basic visual and safety check | $150-$200 | 1-1.5 hours | Camera, electrical checklist, basic meter |
| Standard electrical and thermal check | $250-$400 | 2-3 hours | Multimeter, clamp meter, IR camera |
| String and I-V curve testing | $400-$750 | 3-5 hours | I-V tracer, irradiance meter, DC clamp meter |
| Drone or advanced fault survey | $500-$999 | 3-6 hours | Thermal drone, analyzer, aerial imaging |
Commercial systems use different pricing logic because technicians may test dozens or hundreds of strings, multiple inverters, combiner boxes, transformers, batteries, and networked monitoring devices.
| System type | Typical diagnostic price | Typical duration | Common scope |
|---|---|---|---|
| 3-10 kW home array | $200-$400 | 2-3 hours | One inverter, visual, thermal, electrical |
| 10-25 kW home or farm array | $350-$750 | 3-5 hours | Multiple strings, I-V sampling, roof access |
| 25-100 kW commercial array | $1,500-$3,000 | 1-2 days | String sampling, inverter bank, thermography |
| 100 kW and larger asset | $3,000-$10,000+ | 2-5 days | Full survey, reporting, corrective testing |
What raises the invoice?
The largest cost drivers are the number of circuits and the amount of proof required. A technician can inspect one inverter quickly, but testing 24 strings individually requires setup, isolation, repeated measurements, and documentation.
Typical additions include:
| Cost factor | Typical added cost | Why it matters |
|---|---|---|
| Travel beyond local service area | $50-$200 | Covers mileage and technician time |
| Steep or difficult roof access | $100-$300 | Requires extra safety controls or lift access |
| Battery system testing | $150-$500 | Adds battery, inverter, and control checks |
| Written warranty report | $100-$300 | Requires measurements, photos, and formal analysis |
| Emergency or weekend visit | 25%-100% surcharge | Changes scheduling and labor availability |
Ask whether the quote includes tax, travel, roof access, written reporting, and a return visit. A low initial price can become expensive when every test or report page is billed separately.
Which Diagnostic Tests Are Worth Paying For?
The best diagnostic test depends on the symptom, not on the most expensive instrument available. Monitoring review and visual inspection are usually sufficient for obvious shading or a tripped inverter, while I-V tracing and insulation testing become valuable when production loss is unexplained or intermittent.
| Test method | Finds effectively | Typical price contribution | Main limitation |
|---|---|---|---|
| Monitoring analysis | Output drops, clipping, communication loss | $0-$150 | Cannot prove physical failure |
| Visual inspection | Broken glass, corrosion, loose hardware | Included or $150-$200 | Misses hidden electrical defects |
| Infrared thermography | Hot cells, bypass diode issues, loose connections | $100-$300 | Needs sunlight, load, and temperature contrast |
| I-V curve tracing | Current mismatch, shading, module faults | $200-$500 | Requires suitable irradiance and string access |
| Insulation resistance testing | Ground faults, wet or pinched conductors | $150-$400 | Must follow equipment and safety procedures |
| Electroluminescence imaging | Microcracks and cell defects | $500-$2,000+ | Often requires module removal or specialist equipment |
When is infrared thermography useful?
Infrared thermography is useful when a functioning array has enough sunlight to create measurable temperature differences between healthy and defective cells or connections. A practical field target is often irradiance above approximately 600 W/m², although the required level varies with module technology, wind, ambient temperature, and camera sensitivity.
An IR scan can identify a hot cell, a failed bypass diode, a loose connector, or an overloaded termination. It cannot reliably diagnose every low-output module. A cool, shaded, recently rained-on array may produce a clean-looking thermal image even when an electrical defect exists.
A practitioner rule is to treat a thermal image as a location clue, not a final diagnosis. The technician should confirm the anomaly with electrical readings, visual evidence, or manufacturer-specific testing before recommending replacement.
What does an I-V curve test show?
An I-V curve test measures the relationship between current and voltage for a module or string and compares the curve with expected behavior under recorded irradiance and temperature. The test can reveal current loss from shading or soiling, voltage loss from inactive modules, mismatch, bypass-diode behavior, and certain wiring faults.
I-V testing is more informative than checking voltage alone. A string can show a normal open-circuit voltage while producing weak current under load. Conversely, a low voltage reading can result from shading, an open connector, a failed optimizer, or an incorrect string design.
Why Is Solar Production Low?
Low solar production usually comes from shade, soiling, inverter downtime, communication errors, equipment mismatch, or a fault affecting one string rather than the entire system. A production decline greater than 15% for two consecutive months, after weather and seasonal effects are considered, justifies professional investigation.
| Symptom | Likely cause | First useful check | Confirmatory diagnostic |
|---|---|---|---|
| Entire system shows zero output | Tripped breaker, inverter fault, grid outage | Inverter display and AC panel | AC/DC isolation and inverter test |
| One string underperforms | Loose connector, shade, module fault | Per-string monitoring | I-V curve and thermal scan |
| Output falls at midday | Clipping, overheating, grid voltage | Inverter power curve | Inverter logs and AC voltage test |
| Fault appears after rain | Insulation breakdown or moisture | Error history and weather timing | Megohmmeter insulation test |
| Daily data disappears | Gateway, Wi-Fi, cellular, or inverter communication | Monitoring connection | Communications and device-log review |
| One module has a hot patch | Bypass diode or cell defect | Thermal image | Module electrical test and visual inspection |
Solar module degradation needs careful interpretation. Many manufacturers warrant a gradual decline in nameplate output, often around 0.3%-0.5% per year, but warranty curves differ by product and production conditions. A 10-year-old array producing less than its first-year output is not automatically defective.
The counterintuitive failure pattern is a system that appears normal on monthly totals while one string is failing. Other strings can mask the loss, particularly during low-demand review. Per-string or optimizer-level data provides better fault localization than a single system-wide production number.
What Can Homeowners Check Safely?
Homeowners can perform a limited visual and monitoring review, but they should not open energized equipment, disconnect MC4 connectors, measure live DC circuits, or climb onto a roof without appropriate training and fall protection. Safe preliminary checks often identify whether a service call is urgent and give the technician useful evidence.
- Check the inverter display or monitoring app for active fault codes and the last communication time.
- Look at the main electrical panel for a clearly labeled solar or photovoltaic breaker in the tripped position.
- Check ground-level views for new tree shade, construction debris, visible glass damage, sagging cables, or animal activity.
- Record the date, weather, error code, and production value before resetting anything.
- Compare the same day or month with prior years, allowing for cloud cover, snow, smoke, and seasonal sun angle.
- Contact the installer, inverter manufacturer, or licensed solar electrician if a fault returns after an approved reset.
Do not repeatedly reset an inverter that reports insulation, arc-fault, ground-fault, or overheating errors. Repeated resets can erase useful fault history and leave a hazardous condition unresolved.
How Often Should a Solar System Be Diagnosed?
A residential grid-tied system with stable monitoring commonly needs a professional diagnostic every 3-5 years, or sooner after a sustained production decline, severe weather event, roof work, or repeated inverter faults. Hybrid systems with batteries generally justify an electrical review every 2 years because battery controls add more failure points.
Commercial operators often schedule annual thermography and periodic string testing, with the exact sample size determined by asset size, warranty terms, and performance-alert history. A full test of every string may be unnecessary each year when automated monitoring and representative sampling show stable behavior.
| System profile | Routine interval | Trigger for immediate testing | Priority checks |
|---|---|---|---|
| Grid-tied home, no battery | 3-5 years | Production loss above 15% for 2 months | Inverter, strings, roof hardware |
| Home with battery | 2 years | State-of-charge errors or backup failure | Battery, charger, transfer switch |
| Off-grid cabin | 1-2 years | Generator or low-voltage events | Battery, controller, DC wiring |
| Commercial solar asset | 12 months | Performance-ratio decline or alarm | Thermography, strings, inverter bank |
Weather damage changes the schedule. Hail, wind, lightning, flooding, and roof replacement can justify an inspection even when the monitoring app still shows output, because physical damage and electrical degradation do not always appear immediately.
Does a Warranty or Insurance Policy Pay for the Diagnostic?
A manufacturer or installer warranty may pay for diagnostic labor when the confirmed defect falls within warranty coverage, but many policies require approval before the technician visits. Insurance may cover inspection costs associated with a covered event such as hail or lightning, subject to the deductible and policy exclusions.
Ask the responsible party these questions before authorizing work:
- Is diagnostic labor reimbursable if the inverter or module is defective?
- Does the warranty require an approved service provider?
- Will opening a connector, inverter, or battery affect coverage?
- Is the written report included in the quoted price?
- Who pays if the technician finds installation error rather than failed equipment?
- Will the company credit the diagnostic fee toward an approved repair?
A useful warranty report includes serial numbers, installation date, photographs, error logs, measured values, environmental conditions, and a specific failure statement. “System is underperforming” is weaker evidence than “String 3 current measured 4.1 A versus 9.8 A on matched strings at recorded irradiance.”
How Do You Compare Diagnostic Quotes?
Compare solar diagnostic quotes by scope, test conditions, reporting, credentials, and follow-up terms rather than by price alone. A $175 visual inspection and a $375 electrical diagnostic are different services, so the cheaper quote is not a bargain if the suspected fault requires string isolation or insulation testing.
| Quote item | Minimum detail to request | Stronger specification |
|---|---|---|
| System review | Monitoring and inverter logs | 12-24 months of per-string data |
| Field inspection | Modules and inverter | Racking, connectors, conduit, disconnects |
| Electrical tests | Voltage and current | Recorded (V_{oc}), (I_{sc}), operating current |
| Thermal work | IR scan included | Irradiance, ambient conditions, annotated images |
| Final report | Written findings | Measurements, cause, repair priority, limitations |
Expert buying rules
- A diagnostic without a written report is difficult to use for warranty or insurance purposes.
- A thermal scan scheduled at dawn or under heavy cloud has a high risk of producing inconclusive results.
- A company recommending full module replacement before testing strings, connectors, and inverter data has skipped the fault-isolation stage.
- Battery diagnostics should identify whether the technician measures state of charge, charge and discharge behavior, temperature, alarms, and internal resistance.
- Ask for the instrument model and calibration date when the result may support a warranty dispute.
A competent technician should explain what the selected test can and cannot establish. No single meter reading proves that a module is healthy, and no thermal photograph alone proves that a panel must be replaced.
Is a Professional Diagnostic Worth the Cost?
A professional diagnostic is usually worth the cost when the system has a sustained output loss, recurring safety fault, inaccessible equipment, or a warranty decision at stake. The service is less economical when the only issue is obvious surface dirt, a new shade source, or a monitoring internet connection that the homeowner can safely restore.
Consider lost production. If a 10 kW system normally produces 1,200 kWh per month during a high-sun period and now produces 1,000 kWh, the shortfall is 200 kWh. At an avoided electricity value of $0.25 per kWh, the monthly impact is approximately $50, so a $300 diagnostic breaks even in six months if it identifies and fixes the cause.
That calculation changes with net-metering rules, utility rates, export credits, and seasonal production. A report may still be valuable when the direct energy loss is modest because it protects a roof, inverter, battery, or equipment warranty.
Amory Lovins of Rocky Mountain Institute wrote, “The cheapest energy is the energy you don’t use.” For a solar owner, the practical meaning is narrower: recovering avoidable generation can cost less than replacing lost grid energy, but only when the diagnostic leads to a proportionate repair.
The Bottom Line
A residential solar system diagnostic check cost normally falls between $150 and $400, with $250-$400 representing a standard visit that includes monitoring review, electrical measurements, and basic thermal work. Budget $500-$999 for advanced string, I-V, or drone analysis, and at least $1,500 for commercial systems.
Choose the narrowest service that can answer the actual fault question. Start with monitoring and a visual review, then add thermal, I-V, insulation, battery, or aerial testing when the symptom requires stronger evidence. Request a written report with conditions and measurements before approving repairs.
Frequently Asked Questions
Can a solar diagnostic detect a bad panel?
A solar diagnostic can often identify a module or string that performs abnormally, but confirmation may require I-V tracing, thermal imaging, connector testing, or manufacturer-level examination. A low system total does not identify a specific panel because shade, wiring, optimizer, inverter, and grid conditions can produce the same symptom.
How long does a solar diagnostic appointment take?
A basic visual assessment usually takes 1-1.5 hours, while a standard residential electrical and thermal diagnostic takes 2-3 hours. I-V tracing, battery testing, difficult roof access, or multiple inverters can extend the visit to 3-6 hours, excluding a later report or repair appointment.
Should panels be cleaned before testing?
Panels should be cleaned before testing only when heavy soiling is itself part of the suspected problem and cleaning can be performed safely. A technician should document soiling before removal because cleaning first can erase evidence needed to distinguish dirt-related losses from electrical faults.
What weather is best for a solar diagnostic?
Clear or partly sunny conditions around midday are generally best for operating-output measurements and infrared scans. Thermal testing needs sufficient irradiance and load, while rain can create insulation faults that are useful to investigate but can make roof access and some measurements unsafe.
Is a solar inspection required when selling a house?
A solar inspection is not universally required for a home sale, but buyers and lenders may request one when the system is leased, financed, older, damaged, or missing installation records. A documented inspection can clarify ownership, remaining warranty, roof condition, inverter status, and expected repair needs.
Can an electrician diagnose a solar system?
A licensed electrician with photovoltaic experience can diagnose many AC, inverter, grounding, and wiring problems, but advanced module, I-V curve, drone, or battery work may require specialized training and equipment. Confirm that the provider understands the relevant equipment manufacturer procedures and local electrical requirements before booking.