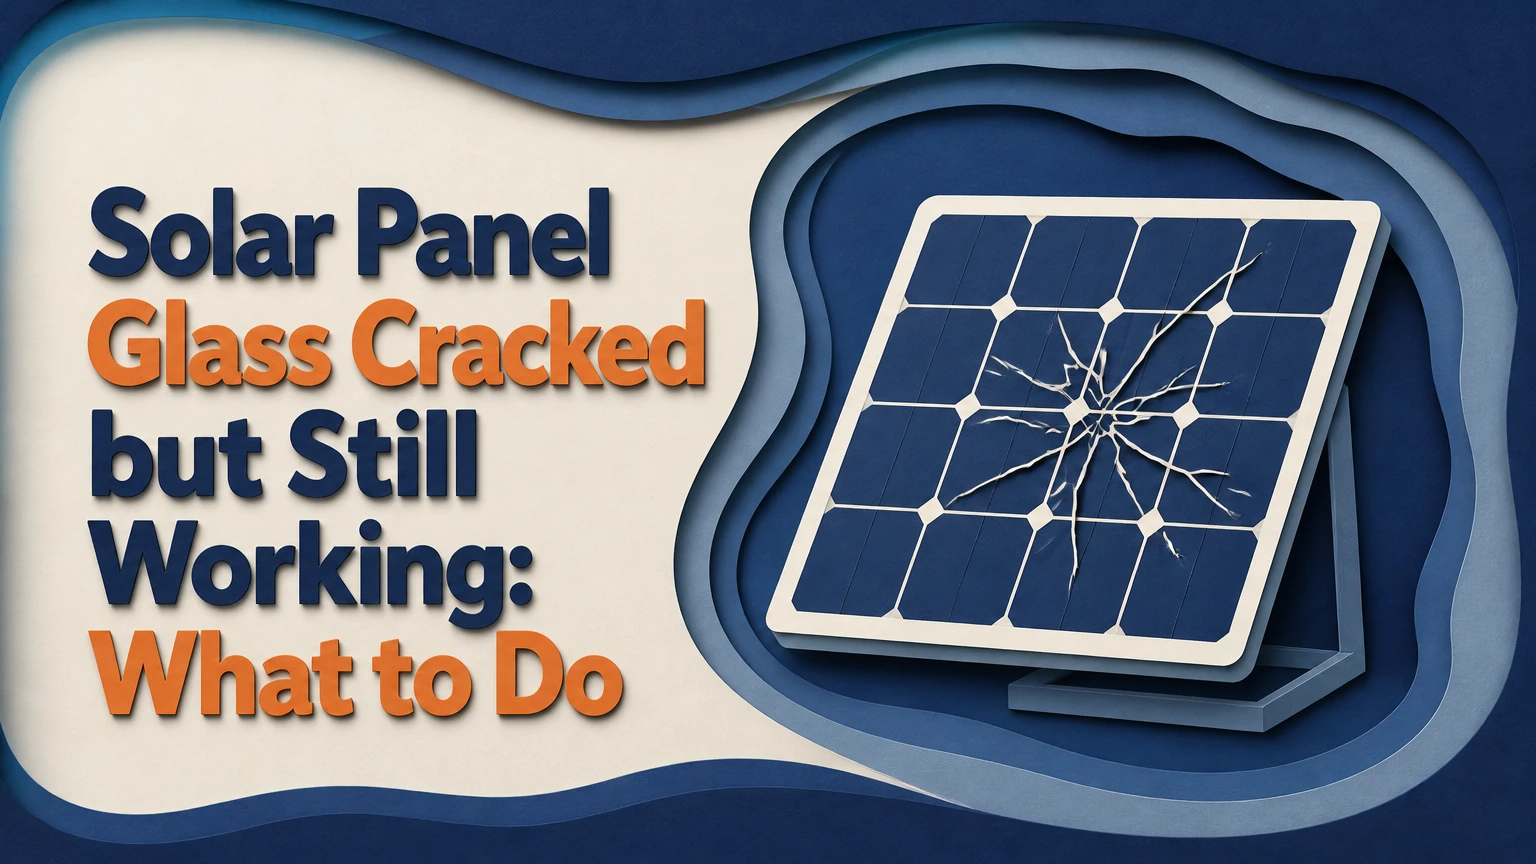
A solar panel with cracked glass can still produce voltage and power because the silicon cells, busbars, and encapsulant may remain electrically connected. Solar panel glass cracked but still working is nevertheless an unsafe temporary condition: moisture can reach energized conductors, reduce insulation resistance, trigger inverter faults, accelerate corrosion, and create fire or shock hazards.
Key Facts at a Glance
- A cracked photovoltaic module should be isolated and professionally assessed, even when its monitoring app shows normal output.
- Turning off the AC and DC isolators does not remove sunlight-generated voltage from the module or eliminate battery energy in an off-grid system.
- Glass replacement is not a normal field repair because the glass, EVA encapsulant, and cells are vacuum-laminated as one assembly.
- Temporary tape or sealant can limit water entry while arranging service, but it does not restore structural strength, insulation certification, or the manufacturer warranty.
- Typical residential replacement costs include approximately $200-$500 for a module and $150-$300 per hour for labor, before difficult access, permits, and disposal.
- An isolation fault that appears after rain or morning dew strongly suggests moisture-related insulation leakage, but only qualified electrical testing can identify the failed module.
Why Is Solar Panel Glass Cracked but Still Working?
A cracked solar panel can keep working when the glass is damaged but the cell circuits, soldered interconnects, and junction box remain connected. The module may produce nearly normal current at first, although scattered glass can reduce light transmission and hidden microcracks can lower output later.
A conventional module contains front glass, encapsulant, silicon cells, rear encapsulant or backsheet, a junction box, bypass diodes, and an aluminum frame. The EVA or POE encapsulant bonds those layers under heat and vacuum, so it can hold fractured glass in place after impact.
Electrical production does not prove mechanical or insulation integrity. A digital multimeter may show open-circuit voltage while the module still has a dangerous leakage path under wet, high-voltage operating conditions.
What a Cracked Module Can Still Do
| Observed condition | What it proves | What it does not prove |
|---|---|---|
| Normal voltage at midday | Cell strings remain electrically connected | Safe insulation or full rated power |
| Lower current than neighboring modules | Possible shading, cell damage, or glass scattering | The precise failure location |
| Inverter operating normally | No detected fault at that moment | No future moisture or arc risk |
| Intermittent production | Possible wet connectors, microcracks, or thermal cycling | That the panel will recover permanently |
Cracks often form a spiderweb pattern because tempered solar glass breaks into small fragments rather than large sharp shards. The encapsulant usually retains those fragments, but retention does not seal the module against water.
Is a Working Cracked Panel Safe?
A working cracked solar panel is not considered safe for normal continued service when the crack reaches the module edge, exposes layers, creates loose glass, or allows water into the laminate. The hazard is highest on grid-tied roofs and high-voltage battery systems, where a module can remain energized in daylight.
The relevant risks are different:
- Electric shock: damaged insulation can allow current to leak toward a grounded frame or wet roof surface.
- Ground fault: leakage can cause an inverter shutdown or energize accessible conductive parts.
- DC arcing: damaged cell ribbons, connectors, or junction-box components can sustain an arc because photovoltaic DC does not naturally pass through zero each cycle.
- Fire: an arc or hot spot can damage the backsheet, roof membrane, cable insulation, or nearby combustible materials.
- Progressive degradation: water and oxygen can corrode metallization, interconnects, and junction-box contacts.
The Occupational Safety and Health Administration states, “Energized parts shall be deenergized before the employee works on or near them,” in its electrical safety requirements. A rooftop photovoltaic module remains capable of generating voltage whenever illuminated, so inspection and replacement belong with trained solar or electrical personnel.
When the Risk Is Especially High
| Condition | Risk increase | Immediate response |
|---|---|---|
| Crack reaches an edge | Water can bypass the frame seal | Keep the system isolated and arrange service |
| Exposed cells or white backsheet | Encapsulation has failed | Do not touch or wash the module |
| Loose glass fragments | Cut and impact hazard | Keep people away from the roof area |
| ISO or ground-fault alarm | Insulation leakage is detected | Stop repeated resets and call a qualified technician |
| Rain, dew, or condensation | Wet surfaces lower insulation resistance | Avoid rooftop access and document the fault from ground level |
A small surface line confined beneath intact glass is less urgent than a shattered laminate, but neither condition justifies walking on the roof to investigate without appropriate electrical and fall-protection controls.
What Should You Do Immediately?
The safest first action is to keep people away from the damaged module, notify the system owner or installer, and follow the equipment manufacturer’s shutdown procedure. Do not touch the glass, connectors, frame, or roof beneath the module, especially in daylight or wet weather.
- Stay on the ground if possible. Photograph the module from a safe location and keep children, pets, and contractors away from the roof area.
- Check the inverter without opening it. Record messages such as ISO Fault, Isolation Fault, Ground Fault, GFDI, Arc Fault, or Riso Low.
- Use the labeled AC and DC disconnects only if you are trained and the system instructions permit it. Many systems require AC shutdown first, followed by the PV DC isolator, but equipment-specific instructions control.
- Do not assume shutdown removes all energy. Modules can generate DC voltage in daylight, and batteries can feed circuits even after PV input is isolated.
- Contact a certified solar installer or licensed electrician. Give them the module location, crack photos, inverter model, error code, and whether rain preceded the fault.
- Arrange a temporary exclusion zone. Prevent roof access below loose glass or visibly damaged wiring until inspection.
A roof-mounted photovoltaic array is not equivalent to an appliance that becomes harmless when unplugged. If smoke, burning odor, audible crackling, melted connectors, or visible arcing appears, call emergency services from a safe location and do not approach the array.
What Changes During Rain or Dew?
Rain and dew can convert an apparently functional cracked module into an intermittent insulation fault because moisture enters the laminate and lowers resistance between energized conductors and grounded components. Faults that appear in the morning or during rain, then clear as the array dries, are a strong diagnostic clue.
Water can travel through microscopic fracture paths by capillary action. Thermal cycling then expands and contracts the laminate, worsening separation around the crack. Corrosion may continue after the surface looks dry, so a disappearing inverter warning does not mean the module recovered.
Technicians may use insulation-resistance testing with a properly rated megohmmeter, string measurements, current-voltage tracing, and visual inspection. Testing must follow the inverter, module, and local electrical requirements because inappropriate test voltage can damage electronics such as module-level power electronics.
Can Solar Panel Glass Be Replaced?
Solar panel glass generally cannot be replaced economically or reliably in the field. Manufacturers laminate the front glass, encapsulant, cells, and back layers in a controlled factory process, so removing only the glass can damage cell fingers, solder ribbons, seals, and the moisture barrier.
A glass-replacement attempt also creates certification problems. The repaired assembly may no longer meet the module’s original insulation, fire, mechanical-load, water-ingress, or electrical safety specifications. A new frame seal or resin layer cannot recreate factory vacuum lamination.
| Repair route | Typical material or labor cost | Safety result | Warranty result |
|---|---|---|---|
| Factory module replacement | $200-$500 module, plus labor | Restores listed module assembly | May preserve system warranty |
| Panel glass replacement | Often unavailable as a standard service | Uncertain insulation and water sealing | Usually voids module warranty |
| Exterior repair tape | Approximately $20-$80 in materials | Temporary water reduction only | May void product warranty |
| Clear resin or epoxy | Approximately $15-$60 in materials | Unverified thermal and electrical behavior | Usually voids product warranty |
Replacement is the normal permanent remedy. The technician should remove the damaged module, secure or cap disconnected conductors according to the system design, inspect adjacent connectors and rails, and install a compatible module.
Is Temporary Sealing Ever Acceptable?
Temporary sealing is acceptable only as short-term weather protection while a qualified professional arranges replacement, and only when the module can be treated without rooftop exposure. Tape or sealant does not make a cracked panel safe to touch, restore its electrical listing, or guarantee protection from water.
A technician may recommend a UV-resistant, exterior-rated product compatible with the glass and module surface. Household duct tape, indoor adhesive film, cyanoacrylate glue, and random silicone products can release residue, degrade under ultraviolet exposure, trap water, or interfere with later replacement.
There is no universal 24-48-hour safety limit for a patch. Weather, crack depth, edge exposure, humidity, module voltage, and sealant compatibility determine how quickly risk changes. Treat the patch as an emergency holding measure, not a repair schedule.
Situations Where Patching Is a Poor Choice
Do not rely on temporary sealing when the backsheet is torn, the junction box is damaged, connectors are melted, glass is loose, the crack reaches the edge, water is visible inside, or the inverter reports a ground or arc fault. Those conditions require isolation and professional replacement or testing.
How Do You Match a Replacement Module?
A replacement module must fit the electrical limits of the inverter and the remaining string, not merely the roof opening. Match the manufacturer model when possible, then verify dimensions, mounting locations, connector type, Voc, Vmp, Isc, Imp, maximum system voltage, fuse rating, and power-electronics compatibility.
Current mismatch can reduce the performance of a series string because the same current flows through each series-connected module. Voltage mismatch can affect string operating voltage and inverter startup, while a different physical frame or clamp zone can create mounting and wind-load problems.
| Specification | Example original value | Replacement check | Why it matters |
|---|---|---|---|
| Maximum power | 400 W | Within approved system range | Determines expected array output |
| Voc | 37.2 V | Must fit cold-weather string voltage | Protects inverter voltage limits |
| Vmp | 31.0 V | Compare with string operating voltage | Affects MPPT performance |
| Isc and Imp | 13.7 A and 12.9 A | Check inverter and fuse ratings | Prevents current incompatibility |
| Dimensions | 1722 x 1134 mm | Confirm rail and roof clearance | Prevents unsafe installation |
| Connector | MC4-compatible specified type | Confirm manufacturer compatibility | Avoids poor contact and arcing |
Do not mix connectors solely because they physically click together. The National Electrical Code and local adoption rules can require listed, compatible connector combinations, and some manufacturers restrict mating parts from different brands.
How Does the Inverter Respond?
A string inverter may continue operating with one damaged module if leakage remains below its detection threshold, or it may shut down the complete string when insulation resistance falls too low. A microinverter usually limits the immediate electrical effect to one module, but the damaged rooftop equipment remains a safety concern.
Power optimizers add another variation. An optimizer can report module-level voltage and power, yet its own connectors and wiring may still be exposed to moisture from a cracked module. Monitoring data is useful evidence, not a safety clearance.
| System architecture | Typical fault effect | Useful diagnostic clue | Recommended action |
|---|---|---|---|
| String inverter | Several modules or a whole MPPT may stop | ISO or Riso warning after rain | Professional string insulation testing |
| Microinverter | One module commonly disappears from monitoring | Single-module low output | Isolate affected branch and inspect |
| DC optimizer | Module may report abnormal voltage or power | Module-level alert | Test module, optimizer, and connectors |
| Off-grid charge controller | Charging may fluctuate or stop | PV input alarm or low harvest | Isolate PV and protect battery circuits |
Never repeatedly reset an isolation or arc-fault alarm. Repeated resets can re-energize a fault without removing the damaged component.
How Much Does Replacement Cost?
A typical single residential module replacement costs about $350-$1,000 before unusual roof access, permit, travel, disposal, or electrical repairs are added. The commonly quoted $200-$500 module price covers the panel itself, while labor can add approximately $150-$300 per hour or a contractor’s minimum service charge.
The total varies sharply by location and system design. A ground-mounted array with easy access may take less labor than a roof-mounted module above a steep tile roof, even when both use the same panel.
| Cost component | Typical range | Main cost driver |
|---|---|---|
| Replacement module | $200-$500 | Wattage, brand, availability |
| Solar technician labor | $150-$300 per hour | Roof access and local rates |
| Diagnostic testing | $150-$500 | Fault tracing and travel |
| Permit or inspection | $0-$300 | Jurisdiction and scope |
| Disposal and freight | $25-$200 | Broken glass and delivery distance |
Insurance may cover hail, wind, falling branches, or vandalism under a comprehensive homeowners policy, subject to the deductible and exclusions. Product warranties more commonly address manufacturing defects and power degradation than impact damage, so retain photos and avoid discarding the module before an adjuster or manufacturer reviews it.
How Long Does a Panel Replacement Take?
A straightforward one-panel replacement usually takes 1-3 hours on an accessible residential roof, but diagnosis, permit requirements, weather, tile repair, matching-panel availability, and damaged connectors can extend the project to several days or weeks.
The physical swap is only part of the work. The installer may need to verify the fault, isolate the string, remove clamps, inspect neighboring modules, test polarity and insulation, configure a replacement optimizer or microinverter, and confirm normal inverter operation.
A replacement is complete when the module is mechanically secured, connectors are properly mated, cable management prevents abrasion, and the system passes the installer’s electrical and monitoring checks. A panel that produces power after installation is not the only acceptance criterion.
Does Warranty or Insurance Cover the Damage?
Home insurance often considers storm or impact damage separately from manufacturer warranty coverage, while a product warranty may apply when glass failure resulted from a manufacturing defect, thermal stress, or material failure. Coverage depends on the policy, warranty terms, cause of damage, deductible, and installer workmanship obligations.
Document the claim before anyone cleans, patches, or removes the module. Record:
- Date and suspected cause of damage
- Wide and close photographs
- Manufacturer, model, and serial number
- Inverter alarms and monitoring screenshots
- Weather reports for hail, wind, or falling branches
- Installer invoice and original system paperwork
Thermal-stress cracks without a visible impact point can be difficult to attribute. The manufacturer or insurer may request an inspection, so a premature DIY repair can weaken the evidence and complicate reimbursement.
Common Mistakes and How to Fix Them
| Mistake | Why it causes trouble | Correct recovery |
|---|---|---|
| Washing cracked glass | Cold water can worsen hot-glass fractures and drive moisture inward | Photograph it dry and wait for professional inspection |
| Walking on adjacent modules | Concentrated weight creates invisible cell microcracks | Use qualified roof access and designated walkways |
| Resetting ISO faults repeatedly | Re-energizes a possible leakage or arc condition | Leave the fault documented and call a technician |
| Using household tape or epoxy | Materials may fail under UV, heat, and moisture | Use only technician-approved temporary protection |
| Replacing by wattage alone | Electrical and physical mismatch can impair the string | Match full module and inverter specifications |
| Touching connectors in daylight | PV conductors can remain energized after inverter shutdown | Keep connectors closed and use qualified personnel |
One counterintuitive failure mode is normal-looking output. A cracked module can pass a short daytime check while its insulation resistance collapses during condensation, so dry output data cannot substitute for wet-condition fault diagnosis.
Another practitioner rule is to inspect neighboring modules and shared connectors. Hail and falling debris often damage multiple panels, while a loose connector can create heat that appears unrelated to the visibly cracked glass.
How Does the Advice Change for RV and Off-Grid Systems?
RV and off-grid systems may operate at lower nominal voltage, but they are not automatically safe because series strings, charge controllers, battery banks, and inverters can create hazardous energy. A 12 V nominal panel can exceed 20 V open circuit, and a 48 V battery bank can deliver very high fault current.
For a small portable panel with no roof access and no battery connection, temporary isolation is simpler. For a cabin or RV roof, disconnect PV input according to the controller manual, isolate the battery when appropriate, cover or secure the damaged module only if safe, and arrange replacement.
| User situation | Main electrical concern | Best decision |
|---|---|---|
| Grid-tied rooftop array | High DC string voltage and roof fire exposure | Shut down per procedure and replace |
| RV roof with 12 V battery system | PV voltage plus high battery short-circuit current | Isolate PV and battery circuits before service |
| Cabin with 48 V battery bank | Stored DC energy and high fault current | Use qualified electrical service |
| Portable single module | Lower system complexity and no roof hazard | Replace promptly; avoid wet handling |
A temporary film or sealant may be considered for an isolated low-voltage portable application, but the module still has a compromised moisture barrier and should not become a permanent repair.
The Bottom Line
Solar panel glass cracked but still working should be treated as a failed or potentially failing module, not as a normal operating panel. Keep people away, record the damage and inverter status, follow the equipment shutdown procedure, and have a qualified technician test or replace the module before continued wet-weather operation.
Replacement is usually safer and more economical than attempting glass repair. A professional can also determine whether impact damaged adjacent modules, connectors, optimizers, or the roof attachment system.
Frequently Asked Questions
Can a hairline crack reduce solar panel output?
Yes. A hairline glass crack can reduce output immediately through optical scattering, but the larger risk is hidden cell or ribbon damage beneath the visible line. Current may fall gradually as microcracks isolate cell areas, and output can vary with temperature or moisture. Compare module-level monitoring with neighboring panels, then arrange professional testing.
Can I cover a cracked solar panel with a tarp?
Do not place a tarp directly over an energized rooftop module because it can move in wind, abrade the glass, trap heat, contact wiring, or create a roof-access hazard. A qualified technician should decide whether temporary weather protection is appropriate. Isolation and replacement are safer than covering an operating array.
Will a cracked panel damage the other panels?
A cracked module normally does not mechanically damage every other panel, but a shared string can experience an inverter shutdown, abnormal current, or a ground fault. Impact events can also damage nearby modules invisibly. Inspecting the entire affected row and testing the string is more reliable than replacing only the visibly damaged panel.
Can solar panel insurance pay for a cracked module?
Insurance may cover a cracked solar module when hail, wind, a fallen branch, or another insured event caused the damage. Deductibles, roof coverage limits, exclusions, and policy definitions vary. Photograph the damage, save the serial number, preserve weather evidence, and ask the insurer whether an adjuster must inspect the module before removal.
Should I replace one panel or the whole solar array?
Replace one panel when the remaining modules pass inspection and a compatible replacement is available. Consider broader replacement only when several panels are damaged, the product line is obsolete, degradation is widespread, or labor makes a larger project economical. A technician should compare string electrical behavior, age, warranty status, and available matching modules.
Can an electrician test a cracked solar panel?
A licensed electrician with photovoltaic experience can test the circuit, but module-level diagnosis may require a solar specialist familiar with string inverters, optimizers, insulation resistance, and IV-curve testing. A basic voltage reading cannot establish safety. The technician should follow manufacturer procedures and applicable electrical codes before reconnecting the array.