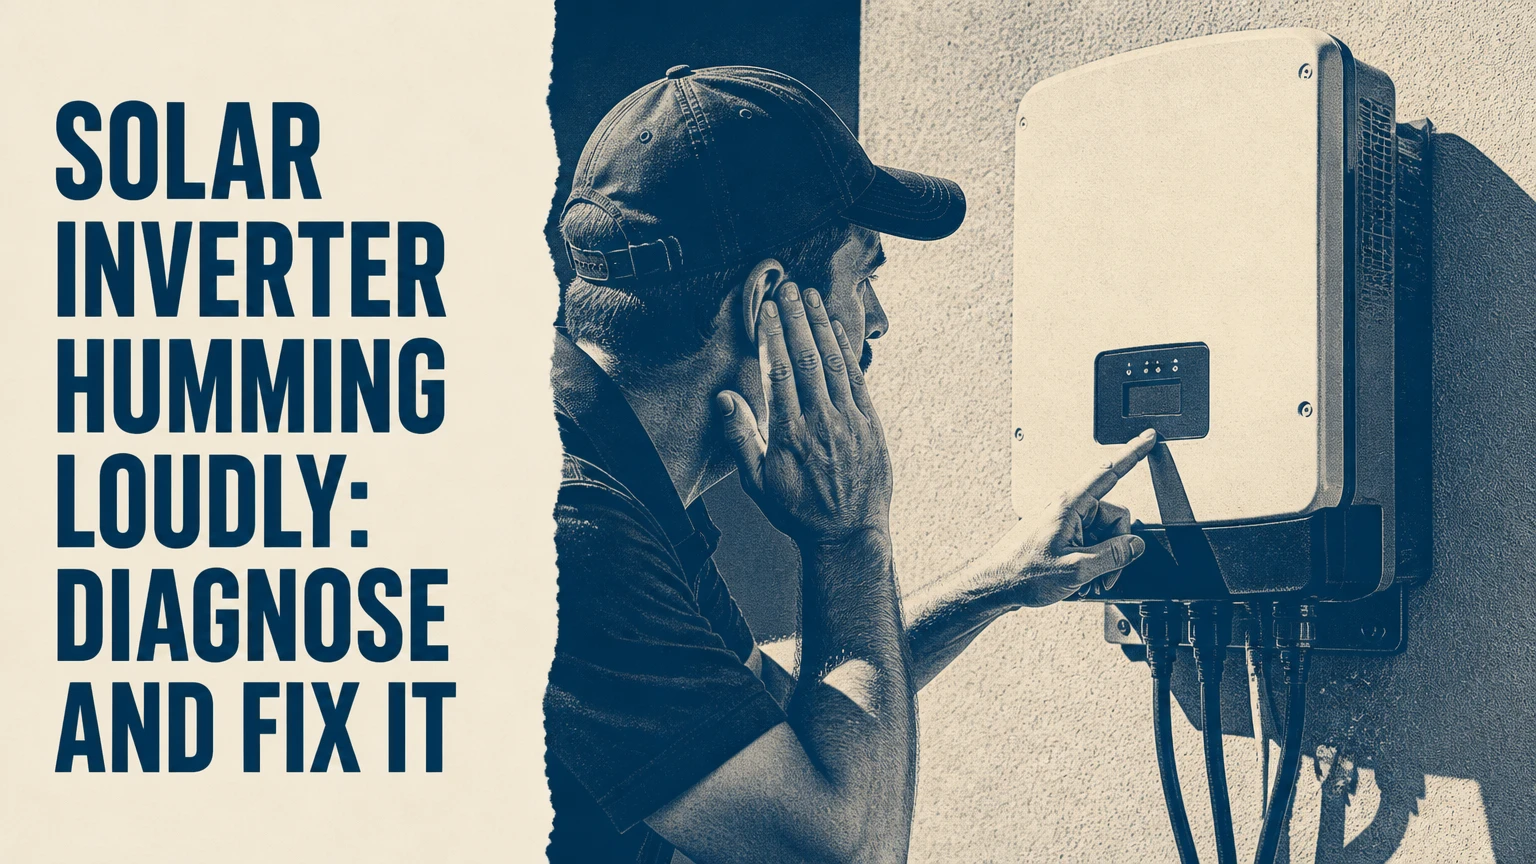
A solar inverter humming loudly usually indicates either normal magnetic vibration amplified by a resonant mount, a cooling fan operating under heavy load, or a developing electrical or mechanical fault. A smooth low hum during strong sunlight can be normal, but metallic buzzing, grinding, burning odor, error codes, or noise at low output requires shutdown and qualified inspection.
Key Facts at a Glance
A transformer-based solar inverter commonly produces a low 100 Hz or 120 Hz hum from alternating magnetic forces.
Cooling fans add a higher-pitched whir that usually rises with inverter temperature and power output.
A sound-level reading above the manufacturer’s specification is more useful than a universal 55 dB threshold.
A solar inverter humming loudly at night may be processing battery power, switching contactors, or experiencing a fault.
Do not remove the inverter cover or spray liquid into vents, because DC voltage can remain hazardous after isolation.
A warranty claim is usually preferable to fan or capacitor repair when the unit is sealed, under warranty, or showing electrical alarms.
Why Is a Solar Inverter Humming Loudly?
A solar inverter hums because magnetic components, capacitors, relays, fans, and enclosure panels can vibrate while the device converts DC electricity to AC power. Transformer magnetostriction produces a steady low-frequency tone, while fans create airflow noise and worn bearings create roughness, ticking, or grinding.
The sound becomes more noticeable at midday because photovoltaic input is higher and the inverter handles more current. Hybrid systems can also become louder while charging a battery or supplying a large load such as an air-conditioner, heat pump, workshop compressor, or electric-vehicle charger.
A normal hum is generally stable, smooth, and tied to power throughput. An abnormal noise changes rapidly, contains metallic rattling, starts during low production, or appears beside a warning light, reduced output, high temperature, or smell.
What Causes the Electrical Hum?
A transformer core contains stacked steel laminations surrounded by copper windings. Alternating magnetic flux makes the core expand and contract by a very small amount, a process called magnetostriction. The vibration commonly appears at twice the 50 Hz or 60 Hz line frequency, producing approximately 100 Hz or 120 Hz components.
Loose laminations, aging varnish, a vibrating cover, or a poorly supported transformer can amplify that small movement. Harmonic currents from switching electronics can add higher-frequency components, although harmonic distortion cannot be diagnosed reliably by listening alone.
The practical rule is to compare the sound with the inverter’s installation manual. SMA, Fronius, SolarEdge, Huawei, Enphase, and other manufacturers publish different acoustic ratings because enclosure design, cooling method, transformer arrangement, and operating mode vary.
What Do Different Sounds Mean?
The character of the noise narrows the likely cause, but sound alone cannot prove an electrical defect. Record a short video showing the inverter display, production power, battery status, and the sound, because that evidence helps an installer reproduce the condition.
| Sound pattern | Likely source | Useful clue | Recommended response |
|---|---|---|---|
| Smooth low hum | Transformer or inductor | Strongest near peak output | Compare with manual rating |
| High-pitched whir | Cooling fan | Speed follows temperature | Inspect vents externally |
| Grinding or scraping | Fan bearing | Pitch changes or intermittent contact | Arrange qualified fan service |
| Metallic rattle | Loose cover or mount | Changes with enclosure vibration | Isolate safely and inspect mount |
| Rapid clicking | Relay or contactor | Starts during mode changes | Check event log and battery status |
| Crackling or sizzling | Loose connection or arcing | Often paired with odor or heat | Stop operation and call technician |
Is Solar Inverter Humming Loudly Normal?
A solar inverter’s low hum can be normal when the tone is steady, the enclosure remains within its specified temperature range, production is normal, and the sound matches the published acoustic specification. A sudden increase in volume or a new rough texture is abnormal even if the inverter continues generating electricity.
Manufacturers often specify sound pressure around the inverter at a stated distance, commonly one metre, under particular load and temperature conditions. A phone application can provide a useful comparison, but it is not a calibrated compliance measurement and may misread low-frequency hum.
The AI Overview’s 35-45 dB normal and 55-65 dB abnormal ranges are reasonable field estimates, not universal limits. A quiet refrigerator may be near 35-45 dB, while a loud conversation can approach 60 dB, but an inverter rated at 45 dB may operate correctly at that level.
How Loud Is Too Loud?
Use the manufacturer’s sound rating first, then compare the inverter at a fixed distance and similar output. A sustained reading 10 dB above the manual’s rating is a meaningful escalation because decibels are logarithmic, not linear.
| Observation at one metre | Typical interpretation | Confidence | Action |
|---|---|---|---|
| 30-45 dBA, steady hum | Common residential operating range | Medium | Monitor output and temperature |
| 45-55 dBA, fan active | Possible high-load cooling | Medium | Check airflow and ambient heat |
| 55-65 dBA, rough or metallic | Likely mechanical or mounting issue | Medium | Book qualified inspection |
| Over 65 dBA, alarm or odor | Potential unsafe failure | High | Isolate if manufacturer permits |
| Any crackle near cabling | Possible arcing | High | Do not continue listening tests |
Sound pressure also depends on distance, walls, reflections, weather, and whether the meter uses A-weighting. A hollow garage wall can make a correctly functioning inverter sound defective inside a bedroom.
Why Does the Sound Change With Solar Production?
Noise that rises with photovoltaic output usually comes from transformer loading, inductors, switching components, or temperature-controlled fans. Noise that appears during low sunlight, while the inverter is idle, or after sunset points toward standby electronics, battery operation, relays, or a fault rather than ordinary midday loading.
Record four conditions: early morning, solar noon, late afternoon, and night. Note DC power, AC power, battery charge or discharge rate, ambient temperature, and any error code. A simple timeline often separates a load-related sound from a persistent mechanical defect.
An inverter can also become louder during clipping when the array supplies more DC power than the inverter can convert. The permitted DC-to-AC ratio is model-specific; a universal 133% limit is incorrect. Many designs use ratios around 1.1:1 to 1.5:1, but local irradiance, inverter warranty rules, voltage limits, and manufacturer documentation control the acceptable value.
What If the Inverter Hums at Night?
Nighttime hum is not automatically dangerous because a hybrid inverter may charge or discharge batteries, run a fan, communicate with the energy-management system, or operate an internal heater. A string inverter with no battery should normally become much quieter after DC production stops, although standby electronics can remain powered.
Check whether the battery state of charge, backup mode, generator input, or scheduled load is active. Do not assume a night hum proves transformer failure. If the noise is accompanied by repeated clicking, battery-temperature warnings, a burning odor, or unexplained battery drain, stop testing and contact the installer.
How Do You Diagnose a Loud Inverter Safely?
Diagnose a loud solar inverter in four stages: identify the sound source, correlate it with operating conditions, check external mounting and airflow, and perform only the manufacturer-approved reset. The process usually takes 15-30 minutes without opening the enclosure, and the decisive factor is whether the noise accompanies an electrical warning or abnormal heat.
Before You Start
| Item | Typical requirement | Safety limit | Result |
|---|---|---|---|
| Time | 15-30 minutes | Daylight test preferred | Operating comparison |
| Tools | Phone, flashlight, notebook | No cover removal | Evidence record |
| Sound meter | Phone app or Class 2 meter | Hold 1 metre away | Relative dBA reading |
| System data | DC, AC, battery percentage | Photograph display only | Operating correlation |
| Cost | $0 for observation | No live repair | Technician decision |
Step 1: Identify the Actual Noise Source
Stand approximately one metre from the inverter and listen without touching the enclosure. Then listen near the adjacent meter, battery, isolators, conduit, roof structure, and ventilation equipment, because sound can travel through a wall and make a nearby device appear responsible.
Separate a smooth hum, a fan whir, a rattle, a click, and a crackle. Photograph the model label and record the time, weather, power output, and error messages. You will know this step worked when the sound changes clearly as you move between the inverter, wall, battery, and conduit.
Do not press the casing while energized. Physical pressure can expose you to hot surfaces or alter a loose enclosure in a way that hides the fault.
Step 2: Compare Load, Temperature, and Time
Observe the inverter at low output and near peak output, provided the system has no alarm condition. Write down the displayed AC power, PV voltage, battery current, and ambient temperature at each observation.
A fan that accelerates as the heatsink warms suggests thermal management. A transformer hum that scales with current suggests magnetic loading. A harsh sound that remains loud at low output is more concerning because the operating load does not explain it.
You will know this step worked when the noise has a repeatable relationship with power or temperature. Do not deliberately switch on large loads to provoke a noise if the system already reports an overtemperature or electrical alarm.
Step 3: Check Mounting, Resonance, and Airflow
Inspect the mounting bracket, fasteners, wall substrate, conduit clips, and clearance around ventilation openings. Brick and concrete usually transmit less audible panel resonance than hollow drywall, thin timber, or lightweight metal siding, although any rigid structure can conduct vibration.
Use a flashlight to check for blocked vents, insect nests, dust accumulation, water entry, or sun-heated enclosure surfaces. Do not insert tools into vents. You will know this step worked when you identify a loose external panel, obstructed airflow, or a clear resonance path that an installer can correct without opening the inverter.
Rubber isolation pads may reduce structure-borne sound, but they cannot repair a failing fan, loose terminal, damaged capacitor, or transformer. The mounting system must still support the inverter’s mass and preserve the manufacturer’s required clearances.
Step 4: Use the Manufacturer Shutdown Procedure
A qualified person should follow the exact shutdown and restart sequence in the installation manual. Many systems require AC isolation, DC isolation, battery isolation, and waiting periods in a specified order, so the universal instruction to turn off AC, then DC, wait exactly five minutes, and reverse the order is not safe for every model.
Before switching anything, photograph the status screen and locate the correct labelled isolators. Keep clear of exposed terminals and never remove covers. NFPA 70E states, “Electrical conductors and circuit parts shall be considered energized until the electrical energy source(s) has been disconnected,” which is the correct working assumption for a residential inverter.
A reset can clear a temporary control or fan fault, but it cannot fix damaged bearings, loose laminations, overheating terminals, or failed capacitors. You will know the reset helped when the error remains cleared and the sound returns to its previous stable pattern under comparable load.
Which Inverter Types Make More Noise?
String and hybrid inverters generally produce more audible noise at one location than microinverters because they concentrate power electronics, inductors, fans, and sometimes transformers in a single enclosure. Microinverters reduce indoor wall noise, but roof framing can still transmit a faint switching or thermal sound.
| Inverter architecture | Typical sound pattern | Main noise source | Placement consideration |
|---|---|---|---|
| Transformer-based string | 35-55 dBA | Transformer, fan, inductors | Garage or external masonry wall |
| Transformerless string | 30-50 dBA | Inductors, fan, enclosure | Follow ventilation clearance |
| Hybrid battery inverter | 40-60 dBA | Fan, inductors, contactors | Ventilated utility space |
| Microinverter | Approximately 20-45 dBA near roof | Switching electronics, heat cycling | Roof structure can transmit sound |
| Central inverter | 50-75 dBA | Large fans, transformer, power stage | Dedicated equipment room |
These are typical field ranges, not product guarantees. Enphase microinverters are often perceived as quiet from ground level, while a hybrid inverter can become distinctly audible during battery charging or backup operation. Consult the exact data sheet before specifying a bedroom-adjacent installation.
What Other Faults Can Make an Inverter Buzz?
Loose terminals, failed cooling fans, swollen capacitors, damaged relays, water ingress, ground faults, arc-fault events, and blocked airflow can create noise or make normal noise more severe. The highest-risk combination is abnormal sound plus heat, odor, discoloration, smoke, sparks, repeated tripping, or a fault code.
Turn off nearby loads and contact an installer if the inverter enclosure is unusually hot, output falls unexpectedly, or a breaker trips repeatedly. If you see smoke, active arcing, or fire, move away, call emergency services, and do not approach the equipment.
A burnt-plastic smell does not prove capacitor failure, but it is a strong stop condition. Capacitors can retain energy after isolation, and an unqualified repair can create both shock and arc-flash hazards.
Which Warning Signs Require Immediate Service?
| Warning sign | Possible issue | User response | Technician check |
|---|---|---|---|
| Acrid or burnt odor | Overheated terminal or capacitor | Stop operation if safe | Thermal and electrical inspection |
| Crackling or snapping | Arcing or poor connection | Keep away from enclosure | Torque and insulation tests |
| Red alarm or repeated restart | Protection event | Photograph code | Event-log diagnosis |
| Hot plastic or discoloration | Thermal damage | Do not touch | Infrared and component check |
| Grinding fan noise | Bearing failure | Arrange service | Fan current and replacement |
| Water or condensation | Enclosure seal failure | Isolate only as instructed | Drying, seal, insulation test |
Can Mounting Make a Normal Inverter Sound Faulty?
A mounting surface can amplify a normal inverter hum by converting small enclosure vibrations into structure-borne sound. Hollow drywall, timber framing, metal cladding, and shared garage walls commonly act as acoustic resonators, especially when the inverter bracket is rigidly fastened.
An installer can use approved isolation hardware, confirm bracket loading, and maintain the specified air gap. Do not improvise with loose foam, household rubber, or pads that reduce fire resistance, block ventilation, distort the bracket, or invalidate the mounting instructions.
The best placement is a structurally sound, dry, shaded, ventilated location away from bedrooms. Moving the unit may reduce perceived noise more effectively than changing the inverter, but relocation involves DC cable length, voltage drop, weather protection, and electrical-code requirements.
Should You Repair, Claim Warranty, or Replace the Inverter?
Choose warranty service for a new or sealed inverter, choose a qualified repair for an accessible fan or mounting defect, and choose replacement when the unit has repeated failures, severe thermal damage, obsolete support, or repair costs approaching a reliable replacement. Continued energy production does not prove safe condition.
| Remedy | Typical cost, USA | Typical time | Best fit | Main limitation |
|---|---|---|---|---|
| Mount correction or isolation | $50-$200 | 1-3 hours | Resonant wall or loose bracket | Cannot fix internal damage |
| External vent cleaning | $0-$150 | 15-60 minutes | Dust or blocked airflow | No liquids or cover removal |
| Qualified fan replacement | $150-$400 | 1-3 hours | Worn bearing, out of warranty | May void warranty if unauthorized |
| Diagnostic visit | $150-$350 | 1-2 hours | Unknown sound or alarm | Repair may cost extra |
| Warranty exchange | Usually $0-$500 labor | 1-4 weeks | Covered hardware fault | Downtime and shipping |
| New string inverter | $1,200-$2,800 | 1-3 days | Failed older system | Recommissioning required |
| Hybrid replacement | $2,000-$5,000 | 1-3 days | Battery-capable system failure | Compatibility and configuration |
Prices are typical US residential ranges for equipment or service and exclude unusual scaffolding, rewiring, batteries, permits, and taxes. Australian, UK, Canadian, and European prices differ substantially because labor, electrical standards, and warranty logistics vary.
A fan replacement is not a casual do-it-yourself task. The technician must preserve enclosure seals, confirm fan voltage and airflow, inspect the power stage, and verify thermal operation after reassembly.
How Can You Reduce Inverter Noise Long Term?
Reduce solar inverter noise by improving airflow, avoiding resonant mounting, keeping high-load battery equipment away from living areas, and selecting a model with an acoustic rating suitable for its location. Noise control works best when the source is mechanical or structural, not when the inverter is reporting an electrical failure.
For a new installation, request the manufacturer’s dBA rating, test distance, operating condition, minimum clearances, and fan-control behavior in writing. For a battery system, include charging noise, backup switching, and overnight operation in the placement decision.
Microinverters are a useful alternative when wall-mounted equipment noise is unacceptable, but conversion moves onto the roof, where access and replacement labor become more difficult. Microinverters are not a universal solution for every shaded, battery-backed, or high-voltage design.
Practitioner Rules That Prevent Repeat Problems
- Compare noise at equal output before and after any repair. A louder inverter at 20% load than at 90% load deserves a different diagnosis from normal peak-load hum.
- Save event logs before resetting. A reset can erase useful timing evidence even when it does not erase the manufacturer’s permanent fault record.
- Treat mounting as part of acoustics and safety. An isolation pad that weakens the bracket is a failed installation, regardless of the decibel improvement.
- Keep warranty paperwork, serial number, firmware version, and installation date together. These details can shorten a replacement decision by days.
What Should You Record for a Technician?
Record the inverter brand and model, serial number, installation date, sound type, time of day, AC output, PV input, battery state, ambient temperature, error code, and a video with the display visible. Include whether the noise began after firmware updates, storms, electrical work, or battery installation.
| Data point | Example entry | Why it matters | Collection method |
|---|---|---|---|
| Model | SolarEdge SE7600H | Determines acoustic and reset rules | Photograph label |
| Operating time | 12:30, clear sky | Correlates with solar load | Phone timestamp |
| AC output | 6.8 kW | Tests load relationship | Display or monitoring app |
| Battery state | 82%, charging at 3 kW | Identifies hybrid activity | Battery screen |
| Sound level | 58 dBA at 1 metre | Compares with rating | Same meter position |
| Fault code | F.XXX or isolation alarm | Directs service path | Photograph screen |
Do not record by opening the unit, placing a hand on hot surfaces, or touching cables. A short, repeatable observation is more valuable than an unsafe inspection.
FAQ
Can rain or cold weather make an inverter hum?
Rain can make roof panels, cladding, and wall cavities transmit sound differently, while cold temperatures can change fan bearing noise and enclosure contraction. Weather does not make arcing safe. A new crackle, odor, water entry, or repeated fault after rain needs professional inspection rather than repeated resets.
Does inverter noise reduce solar production?
Noise alone does not establish reduced production. Compare daily energy with the monitoring portal, historical weather, shading, and inverter clipping. A fan hum may accompany normal output, while a failing power stage can produce both abnormal noise and derating. A persistent power shortfall with a new sound warrants service.
Can I put acoustic foam around the inverter?
Do not enclose a solar inverter in acoustic foam or place material over its vents. Foam can obstruct cooling, trap heat, violate fire requirements, and worsen the failure. Use an approved location, structural isolation hardware, and manufacturer clearances. A separate ventilated utility enclosure is safer than an improvised sound box.
Why does my inverter buzz when the air conditioner starts?
An air conditioner creates a large electrical demand and may cause a hybrid inverter to increase current, change operating mode, or start a cooling fan. A brief change in pitch can be normal. Persistent metallic buzzing, voltage alarms, repeated shutdowns, or overheating indicates that an electrician should check load capacity and connections.
Will tightening the inverter screws stop the hum?
Tightening accessible mounting hardware may stop a loose bracket from resonating, but it will not correct internal transformer, fan, capacitor, or terminal faults. Never remove the cover to reach internal screws. A qualified installer should check fastener torque and bracket alignment with the system isolated according to the model manual.
Is a humming inverter dangerous if the lights stay on?
A humming inverter can remain operational while developing a thermal, mechanical, or electrical defect. Normal stable hum without alarms is usually low risk, but crackling, burning odor, smoke, abnormal heat, repeated trips, or a rapidly worsening sound changes the decision. Stop relying on output alone and arrange qualified diagnosis.
The Bottom Line
A solar inverter humming loudly is usually explained by transformer vibration, fan operation, electrical loading, or mounting resonance, but the sound’s timing and texture determine whether it is normal. Compare the noise with the model’s specification, document operating conditions, follow only the manufacturer’s isolation procedure, and stop immediately for odor, arcing, overheating, or alarms. Do not replace a functioning unit solely because it hums, but do not ignore a new or worsening sound. Proper diagnosis protects both energy production and electrical safety.