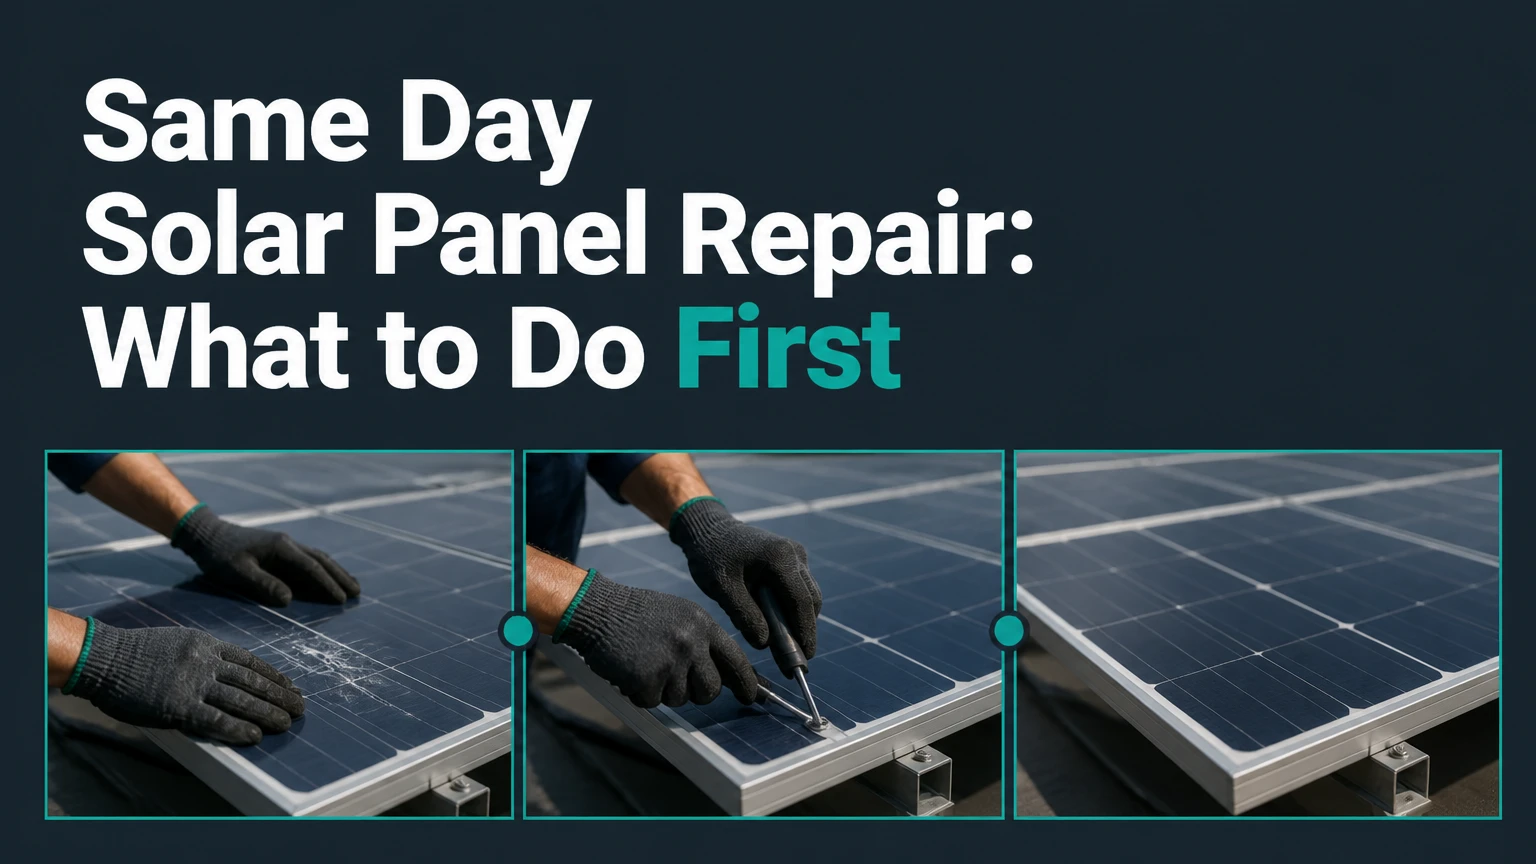
Same day solar panel repair is an expedited diagnostic and restoration service for a solar photovoltaic system with an urgent electrical, fire, weather, or production fault. A qualified solar technician may isolate the array, identify the failed component, and restore operation within hours, but same-day completion depends on safety, weather, permits, access, and replacement-part availability.
Key Facts at a Glance
- Same-day solar panel repair means priority response, not a guaranteed completed repair within 24 hours.
- Smoke, burning odor, arcing, exposed conductors, and water entering electrical equipment require immediate isolation and professional help.
- A monitoring-app outage can indicate lost internet communication rather than lost solar production.
- Typical residential emergency visits cost $200-$400 before parts and labor.
- A string inverter commonly lasts about 10-15 years; panel replacement may be more practical when damage is widespread.
- Technicians should verify DC voltage, AC output, insulation integrity, grounding, monitoring, and physical security before closing the job.
What Is Same Day Solar Panel Repair?
Same-day solar panel repair is a priority service call intended to diagnose and, where practical, restore a malfunctioning photovoltaic system on the day of dispatch. The service covers the complete energy system, including modules, string or microinverters, DC cabling, connectors, combiner boxes, isolators, racking, monitoring equipment, and related battery controls.
The phrase does not guarantee that a roof-mounted panel will be repaired immediately. Cracked glass, failed laminate, unavailable inverter models, structural damage, unsafe roofs, storm conditions, and permit requirements can turn a same-day visit into diagnosis plus temporary isolation. A reliable contractor states whether the promise concerns arrival, diagnosis, temporary stabilization, or final restoration.
Same-day service is most valuable when downtime creates a safety concern or measurable financial loss. A commercial array losing 50 kW during peak production has a different urgency from a residential system whose app has stopped receiving data while the inverter continues producing electricity.
What qualifies as an emergency?
| Symptom or condition | Immediate action | Same-day priority | Typical consequence |
|---|---|---|---|
| Smoke, flame, or burning odor | Move away and call emergency services if fire exists | 1 hour | Fire or equipment damage |
| Visible arcing or crackling | Do not touch equipment; isolate only if safely accessible | 1-4 hours | Arc-flash and conductor failure |
| Exposed DC cable after wind damage | Keep people away from roof and array | 4-24 hours | Shock, short circuit, water ingress |
| Zero production with no visible hazard | Record inverter code and contact service provider | Same business day | Lost generation or grid fault |
| App communication failure only | Check internet and inverter status from ground | Same or next day | No production data, possible normal operation |
How Does Same Day Solar Panel Repair Work?
Same-day solar panel repair follows four controlled phases: safe isolation, electrical diagnosis, component repair or replacement, and recommissioning. A typical residential visit takes 2-5 hours when the technician has the correct part, the roof is accessible, and no permit or structural work is required.
Solar arrays remain capable of producing DC electricity in daylight, even when the inverter is switched off. Technicians therefore treat the array as energized until appropriate isolation and testing confirm otherwise. The exact shutdown sequence varies by equipment manufacturer and installation design, especially where batteries, backup loads, rapid-shutdown devices, or multiple inverters are installed.
Phase 1: Isolate and secure the system
The technician identifies every energy source, including the utility supply, PV strings, batteries, generators, and backup circuits. The technician then follows the equipment labels and manufacturer instructions to operate the AC disconnect, DC disconnect, rapid-shutdown controls, and battery isolation points in the correct order.
Lockout/tagout prevents another person from restoring power during work. OSHA 29 CFR 1910.147 requires employers to control hazardous energy during servicing, while NFPA 70E addresses electrical safe-work practices and arc-flash risk. Homeowners should not remove covers, disconnect MC4 connectors, or handle exposed conductors.
The site also needs roof-fall protection, insulated tools, voltage-rated gloves, eye protection, and arc-rated clothing when the task requires them. Rain, standing water, high winds, fragile roofing, and fire-damaged equipment can make same-day completion unsafe.
Phase 2: Diagnose the fault
Diagnosis begins with records, not random part replacement. The technician reviews the inverter display, monitoring history, recent utility events, weather exposure, previous service notes, and the system’s original design.
| Diagnostic method | Measurement or observation | Faults it can narrow | Important limitation |
|---|---|---|---|
| AC voltage and current test | Utility-side voltage and inverter output | Grid outage, breaker, inverter shutdown | Requires qualified electrical work |
| DC string voltage test | Open-circuit voltage by string | Open circuit, blown fuse, disconnected string | Daylight and string design affect readings |
| Clamp-meter current test | Operating current by circuit | Mismatch, shading, failed string | Low irradiance can mimic a fault |
| Insulation resistance test | Leakage resistance to ground | Damaged cable, moisture, rodent damage | Sensitive electronics may need isolation |
| Infrared thermography | Abnormal cell, connector, or fuse temperature | Hot spots, loose connections, bypass-diode faults | Requires suitable irradiance and thermal contrast |
| Monitoring-history review | Output against prior days and design baseline | Gradual degradation, communications loss | Cloud data may lag or contain gaps |
A thermal image does not prove that a panel needs replacement. A hot connector can result from poor crimping, excessive current, corrosion, or incompatible mating parts. The technician must combine thermal evidence with electrical measurements and a physical inspection.
Phase 3: Repair or replace the failed component
Technicians may replace a fuse, isolator, connector, cable section, microinverter, optimizer, inverter, or damaged module. A proper connector repair uses manufacturer-compatible parts and the correct crimping die; joining unlike connector families can create resistance, heat, and future fire risk.
Panel junction-box or bypass-diode work is uncommon in field service. It usually requires a controlled repair process and may invalidate the module warranty, so replacing the module is often the safer commercial decision. Likewise, a string inverter replacement must match voltage range, power rating, communications architecture, grounding configuration, and applicable grid settings.
| Repair category | Common fault | Same-day likelihood | Typical parts or constraint |
|---|---|---|---|
| Inverter electronics | Error code, no AC output, failed fan | High for common models | Matching inverter, firmware, grid profile |
| DC wiring | Rodent bite, abrasion, insulation fault | High if cable route is accessible | PV-rated cable, compatible terminals |
| MC4-style connector | Heat damage, corrosion, loose crimp | High | Correct connector family and crimp tool |
| Module damage | Broken glass, hail, delamination | Medium | Matching dimensions, electrical rating, stock |
| Racking and flashing | Loose clamp, damaged roof seal | Medium to low | Roofing materials, weather, permit conditions |
| Battery interface | BMS fault, isolation error, backup failure | Medium | Manufacturer access and battery-safe procedure |
Phase 4: Recommission and document
Recommissioning is more than turning the inverter back on. The technician checks conductor routing, connector engagement, enclosure seals, module clamps, grounding and bonding, labels, and roof penetrations before restoring energy.
The system is then energized according to the equipment instructions. Verification should include inverter status, AC output, string or MPPT behavior, battery status where applicable, monitoring communication, and comparison with a reasonable historical baseline under similar sunlight.
Request a written service report. It should identify the fault, measurements, parts and serial numbers, photographs, temporary restrictions, warranty terms, and whether an inspection or permit remains outstanding.
Which Solar Repairs Can Finish in One Day?
Inverter, fuse, accessible wiring, connector, and isolator repairs have the highest same-day completion potential because technicians can carry standardized parts. Module replacement and roof or racking repairs are less predictable because matching inventory, weather, structural inspection, and authority requirements can extend the job.
The table below uses typical residential service conditions, not guaranteed industry averages. Local labor markets, equipment brands, roof height, and travel distance materially change both duration and price.
| Repair task | Typical active work time | Typical total cost | Main same-day limitation |
|---|---|---|---|
| Diagnostic visit only | 1-3 hours | $200-$550 | Testing may reveal a second fault |
| Fuse or isolator replacement | 1-2 hours | $250-$650 | Correct voltage and enclosure rating |
| Cable or connector repair | 2-4 hours | $350-$900 | Hidden damage behind modules |
| Microinverter replacement | 2-4 hours | $400-$1,200 | Roof access and model compatibility |
| String inverter replacement | 3-6 hours | $1,500-$3,500 | Stock, programming, permit, utility rules |
| One or two module replacements | 3-6 hours | $600-$1,500 | Matching module and roof access |
| Racking or flashing repair | 3-8 hours | $500-$2,000 | Weather and roofing damage |
How Much Does Same Day Solar Panel Repair Cost?
Typical same-day solar panel repair costs $200-$400 for an emergency dispatch, plus approximately $100-$150 per technician hour and the replacement component. A minor repair may total $250-$650, while a major out-of-warranty inverter replacement commonly reaches $1,500-$3,500 before unusual permitting, crane, battery, or roof work.
A quote should separate travel, emergency priority, diagnosis, labor, parts, tax, permit fees, disposal, and follow-up inspection. Some companies credit the diagnostic fee toward approved repairs; others charge it regardless of whether the repair proceeds.
| Price component | Typical residential range | What changes the amount |
|---|---|---|
| Priority dispatch | $200-$400 | Distance, nights, weekends, storm demand |
| Diagnostic labor | $100-$150 per hour | One or two technicians, testing complexity |
| Minor electrical repair | $250-$650 total | Fuse, isolator, accessible connector |
| Cable and connector repair | $350-$900 total | Number of strings and module removal |
| Module replacement | $600-$1,500 each | Module availability, roof access, disposal |
| Inverter replacement | $1,500-$3,500 total | Capacity, brand, programming, permit |
| Commercial emergency response | $500-$2,500 dispatch | Array size, SLA, travel, production loss |
The lowest invoice is not always the lowest cost. A temporary connector repair that leaves damaged cable under modules may produce a repeat call, another shutdown, and a larger fire risk.
Should You Repair or Replace the Solar Equipment?
Repair isolated damage when the array is relatively young, the remaining equipment has a sound service history, and the failed part is available with a meaningful warranty. Consider replacement when the system is 12-15 years old, multiple components are failing, output has materially declined, or a discontinued inverter requires expensive adaptation.
A useful decision rule compares the repair price with the expected value of restored production and the probability of another failure. A $400 cable repair is usually sensible on an eight-year-old system with healthy modules. A $2,800 inverter on a 15-year-old system with brittle wiring and several failed optimizers deserves a broader replacement estimate.
| Decision factor | Targeted repair | Component replacement | Whole-system evaluation |
|---|---|---|---|
| Typical cost | $250-$900 | $1,500-$3,500 | $8,000-$25,000 residential |
| Best system age | 0-12 years | 8-15 years | 12-20 years |
| Downtime | 2-8 hours | 1-3 days typical | Days to weeks |
| Warranty outcome | Existing coverage remains | New component warranty | New coordinated equipment |
| Permit risk | Low for like-for-like work | Medium | High |
| Appropriate fault scope | One isolated failure | Repeated component failure | Multiple failures or major redesign |
Manufacturer warranties and workmanship warranties must be checked separately. A module performance warranty may cover output degradation, while a workmanship warranty may cover roof penetrations or installation defects, and neither automatically pays emergency labor.
What Should Homeowners Check Before Calling?
Homeowners can perform safe, ground-level checks that distinguish a communications problem from a production fault. Homeowners should not climb onto the roof, open inverter covers, reset unknown battery equipment, unplug DC connectors, or touch damaged wiring.
Check the solar breaker at the main service panel only if the panel is dry, accessible, clearly labeled, and free from heat or damage. A breaker in the middle position may be tripped; a single reset following the manufacturer or installer instructions is reasonable, but repeated tripping requires professional diagnosis.
Record the inverter brand, model, serial number, display message, error code, time of failure, weather conditions, and whether the utility has power. Photograph damaged equipment from a safe distance. If the monitoring app says zero while the inverter shows normal daytime operation, check internet connectivity before assuming the array is offline.
Safety triage for urgent faults
Leave the area and contact emergency services for active fire, smoke, loud arcing, exploding equipment, or a burning smell. Keep children, pets, and contractors away from fallen panels and exposed cables, because daylight can leave damaged PV conductors energized.
Do not spray water on energized electrical equipment. Do not cover a panel with a tarp unless a qualified professional directs the procedure, because improvised covering can create wind loads, roof damage, or unsafe handling.
What Happens After Hail, Wind, or Water Damage?
Storm-related solar repair begins with electrical and structural safety, not cosmetic glass inspection. A technician checks modules, wiring, connectors, racking, roof penetrations, inverter enclosures, battery equipment, and the building’s electrical service before deciding whether the system can be re-energized.
Hail can produce invisible cell fractures that reduce output without immediately shattering glass. Wind can loosen clamps or pull cables against racking. Water can enter a cracked junction box or inverter enclosure, where delayed corrosion appears days or weeks later.
Notify the insurer before disposing of damaged modules, and photograph the array, roof, inverter display, serial labels, and debris. Ask whether the contractor will provide a written damage map and whether temporary isolation preserves coverage.
Can a General Electrician Repair a Solar Array?
A general electrician may repair the utility-side wiring or service-panel connection, but a solar array needs a contractor competent in PV DC circuits, inverter commissioning, rapid shutdown, module-level electronics, and the applicable electrical code. The safest choice is a licensed electrician or solar contractor with documented photovoltaic experience.
Ask for the license number, insurance certificate, solar-specific training, manufacturer authorization where relevant, and examples of comparable repairs. NABCEP certification can demonstrate professional photovoltaic knowledge, although licensing requirements remain controlled by the local jurisdiction.
A provider should explain what can be completed today and what cannot. Avoid contractors who promise a guaranteed restoration without seeing the inverter model, system voltage, roof condition, and damage photographs.
What About Batteries and Off-Grid Systems?
Battery-backed and off-grid systems require a broader isolation plan because stored energy can remain available after the PV array is switched off. Same-day battery repair depends heavily on the manufacturer, battery-management system, firmware access, ventilation, temperature, and availability of approved replacement parts.
Do not substitute a generic battery, fuse, inverter, or charger. Battery systems can have high fault current and manufacturer-specific shutdown procedures. An off-grid owner should keep equipment manuals, wiring diagrams, spare approved fuses, connector specifications, and the installer’s commissioning records on site, but should leave energized repairs to qualified personnel.
Remote properties often receive diagnosis first and final repair later. A local electrician can address utility-independent AC wiring, while a solar O&M provider may need to source the exact inverter or battery control board.
Common Mistakes That Extend Downtime
Several avoidable decisions turn a manageable solar failure into a repeat outage or warranty dispute.
- Resetting a repeatedly tripping breaker: One documented reset may be acceptable; repeated trips indicate a fault that needs testing.
- Replacing parts from a photograph alone: Similar-looking inverters and connectors can have incompatible voltage, polarity, or communications specifications.
- Using household wire or generic connectors: PV circuits require sunlight-resistant, wet-location-rated components with compatible terminals.
- Cleaning damaged modules aggressively: Abrasive pads and harsh chemicals can scratch glass coatings and do nothing for internal cracks.
- Ignoring roof leaks during electrical repair: A restored inverter cannot compensate for water entering the roof or equipment enclosure.
- Skipping post-repair baseline data: Without output readings and monitoring confirmation, a system can appear fixed while one MPPT remains offline.
A practical technician rule is to repair the initiating failure and inspect the neighboring components that could have caused it. A melted connector often indicates resistance at the crimp or excessive current, so replacing only the plastic housing leaves the underlying fault unresolved.
How to Choose a Same-Day Repair Provider
Choose a provider that gives a written scope, identifies the person responsible for electrical isolation, and explains whether the visit includes diagnosis, temporary stabilization, or final repair. The provider should request the inverter model, system age, error code, photographs, roof access details, and battery information before dispatch.
Use this selection checklist:
- Verify the required state or local electrical license.
- Confirm general liability and workers’ compensation insurance.
- Ask whether the technician carries PV-rated test equipment.
- Request an emergency fee, labor rate, and after-hours multiplier in writing.
- Confirm whether parts are new, refurbished, or manufacturer-approved.
- Ask who handles permits, utility notification, and inspection.
- Require a report with measurements, photographs, and replaced serial numbers.
- Confirm workmanship and parts warranty periods.
Original installers deserve first contact when they remain active because workmanship records and manufacturer portals can shorten diagnosis. Independent O&M providers are useful for orphaned systems, but they need complete site information before accepting warranty responsibility.
FAQ
Will solar panels still produce electricity when the inverter is off?
Solar modules can continue producing DC voltage in daylight even when the inverter is switched off. The inverter shutdown stops conversion to usable AC power, but it does not make every roof conductor harmless. Only qualified personnel should test, isolate, or disconnect PV wiring.
Can a cracked solar panel be repaired instead of replaced?
A cracked module is usually replaced rather than repaired because moisture can enter the laminate, cell fractures can spread, and field sealing rarely restores the original electrical or safety rating. A temporary isolation may protect the system while the exact replacement module is sourced.
Does zero output always mean the panels are broken?
Zero output does not always mean failed panels. A utility outage, tripped breaker, inverter fault, rapid-shutdown event, snow cover, severe shading, or monitoring error can produce the same symptom. Inverter status, AC availability, and historical monitoring data narrow the cause before roof inspection.
Does home insurance cover solar panel damage?
Home insurance may cover sudden storm, hail, falling-object, or fire damage when the policy includes the array, but exclusions, deductibles, depreciation, installation status, and maintenance conditions vary. Photograph the damage and contact the insurer before authorizing disposal or permanent replacement.
How quickly can a rural property receive solar repair?
A rural property may receive a same-day phone diagnosis but not same-day physical restoration. Travel distance, daylight, road access, roof conditions, weather, and replacement inventory commonly change a planned 2-5-hour visit into a next-day or multi-visit repair.
The Bottom Line
Same day solar panel repair is appropriate for dangerous faults, sudden outages, storm damage, and high-value production losses, but same-day arrival does not guarantee same-day completion. Start with safe ground-level information, protect warranties and insurance evidence, and use a solar-qualified provider who isolates every energy source, diagnoses the actual failure, documents the work, and verifies output before returning the system to service. When the array is old or failures are widespread, compare repair cost with component or system replacement rather than restoring one failing part at a time.