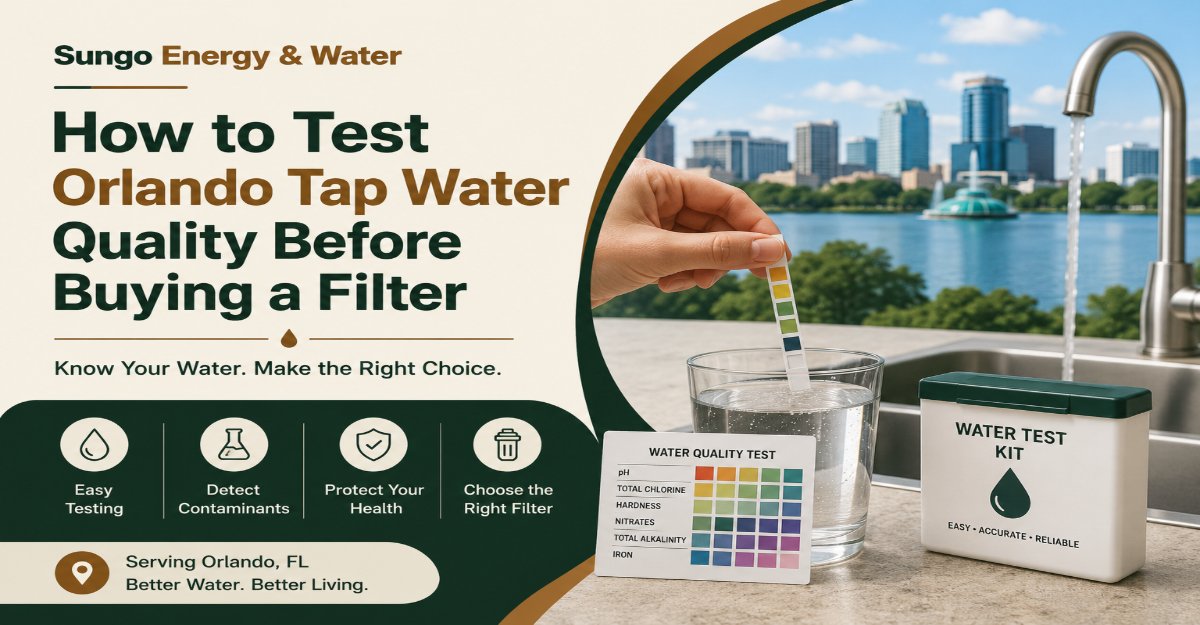
Testing your Orlando tap water properly requires mapping your utility’s baseline, selecting the right lab kit, and pulling an uncontaminated sample. You can complete this six-step process in 15 minutes of active work, though lab results take two weeks. Success depends entirely on strictly following sample collection protocols.
Before You Start
- Time Required: 15 minutes active; 1–2 weeks waiting for lab results.
- Difficulty Level: Easy.
- Cost Range: $10–$30 for DIY Strips; $50–$300 for Mail-in Lab Kits.
- Tools & Materials: Slip-joint pliers, masking tape or a thin rag, recent water bill, certified lab kit (e.g., Tap Score, SimpleLab) or DIY strips (e.g., Varify, Hach).
- Prerequisites: Access to your primary cold water kitchen tap. For lead testing, plumbing must sit entirely unused for 6–8 hours prior.
Phase 1: Preparation and Selection
Step 1: Identify Your Utility Provider’s Baseline
Check your utility bill to confirm whether you are serviced by the Orlando Utilities Commission (OUC) or Orange County Utilities (OCU), then pull their annual Water Quality Report online. OUC uses chlorine for disinfection and (as of July 2025) adds no fluoride, meaning OUC customers do not need fluoride-specific filtration like bone char. OCU and peripheral suburbs sometimes cycle between chlorine and chloramine.
- Specifics: Note the average hardness (historically 129 ppm or 7–8 grains per gallon for OUC) and the levels of Total Trihalomethanes (TTHMs).
- Success Checkpoint: You will know this worked when you have written down your utility’s primary disinfectant (chlorine vs. chloramine) and your neighborhood’s historical TTHM levels.
- Common Mistake: Assuming all Orlando water is the same. Buying a standard chlorine filter when your specific sub-region uses chloramine will result in ammonia breakthrough and terrible-tasting water.
Step 2: Select the Appropriate Testing Kit
Order a testing method that matches your living situation and specific health goals.
- Specifics: If you are a renter confirming hardness for a countertop filter, buy a $15–$30 DIY strip kit (Varify or Hach). If you are a homeowner sizing a whole-house system or concerned about lead/PFAS, purchase an Advanced City Water Test ($150–$300) from a certified mail-in lab. Avoid TDS meters; they only measure conductive minerals, not safety.
- Success Checkpoint: You will know it worked when your kit arrives with clear instructions, sample vials, and a prepaid, expedited shipping label.
- Common Mistake: Relying on a “free” in-home water test from a local water softener company. These tests only check for hardness and TDS; they are sales tools, not comprehensive safety analyses.
Phase 2: Sample Collection
Step 3: Remove the Faucet Aerator
Unscrew the aerator located at the very tip of your kitchen faucet before running any water.
- Specifics: Wrap masking tape or a thin rag around the aerator to prevent scratching, grip it lightly with slip-joint pliers, and turn counter-clockwise. Scrub the exposed faucet threads with a clean paper towel.
- Success Checkpoint: You will know this worked when you have an unrestricted, single stream of water flowing directly from the metal or plastic spout.
- Common Mistake: Skipping this step. Faucet aerators harbor localized bacteria and catch sediment, which will artificially spike your lab results and falsely indicate contaminated city water.
Step 4: Draw the Water Sample
Fill the provided sample vials using only cold water, adjusting your technique based on the contaminant you are testing for.
- Specifics: For a Lead Test, perform a “First Draw”: collect the very first drops of water that exit the faucet after the plumbing has sat unused overnight (6–8 hours). For a Comprehensive/Bacteria Test, flush the cold water line for 3–5 minutes first. Turn the flow down to a pencil-thin stream. Fill the vials exactly to the indicated fill line. Do not touch the inside of the cap or the lip of the vial.
- Success Checkpoint: You will know it worked when all vials are securely capped without overflowing, and no preservatives (powders or liquids pre-loaded in the vials) were flushed out.
- Common Mistake: Testing hot water. Hot water dissolves metals from your water heater and plumbing, completely skewing the baseline quality of your incoming tap water.
Phase 3: Analysis and Action
Step 5: Pack and Ship the Sample Immediately
Seal the vials in the provided shipping materials and drop them off at the carrier on the same day you draw the sample.
- Specifics: Pack any required ice packs (often needed for VOC testing). Drop the package at the shipping facility on a Monday, Tuesday, or Wednesday.
- Success Checkpoint: You will know this worked when you have a tracking receipt showing the package will arrive at the lab within 24 to 48 hours.
- Common Mistake: Taking a sample on a Friday afternoon. The package will sit in a warm transit warehouse over the weekend, invalidating the strict 48-hour testing window for bacteria and volatile organics.
Step 6: Match Results to Filter Certifications
Compare your digital lab report’s results against the legal Maximum Contaminant Level (MCL) and the health-based Maximum Contaminant Level Goal (MCLG), then buy a filter certified to remove your specific triggers.
- Specifics: If your water has 7–8 grains per gallon (gpg) of hardness, you need a water softener, not a standard carbon filter. If TTHMs or HAA5 (common in Orlando’s Floridan Aquifer) exceed the MCLG, look for a filter explicitly certified to NSF/ANSI Standard 53 or Standard 401. For basic chlorine removal, NSF 42 is sufficient.
- Success Checkpoint: You will know this worked when you select a filter housing an NSF certification mark that specifically lists the exact chemical your lab report flagged.
- Common Mistake: Buying a standard pitcher filter (like a basic Brita) to fix a high TTHM problem. Standard activated carbon pitchers do not have the contact time required to remove disinfection byproducts.
Common Mistakes and How to Fix Them
- Result shows high bacteria on city water: This is almost always a sampling error caused by dirty hands or a dirty faucet aerator. How to fix: Request a retest kit. Sanitize the faucet tip with diluted bleach, remove the aerator, wash your hands, and re-draw. If the second test fails, contact OUC/OCU immediately.
- Water smells like “rotten eggs” but the lab report is clean: This is hydrogen sulfide gas, which is very common in Florida water. It often escapes the vial during transit, leading to a false negative. How to fix: Trust your nose. You will need an aeration system or a KDF-85 filter to treat the smell, regardless of the lab report.
- Low TDS reading but high lead: Users test their water with a $15 Amazon TDS meter, see a low number, and assume the water is safe. TDS only measures salts and minerals; lead and pesticides do not register. How to fix: Throw the TDS meter in a drawer. Rely only on a certified lab test for health and safety metrics.
- Flushing the tap before a lead test: You ran the water for a minute to get a “fresh” sample, effectively washing away the lead leached by your older plumbing overnight. How to fix: You must re-test. The plumbing must sit stagnant for at least 6 hours, and you must capture the very first drop of water that exits the tap.
Variations for Different Living Situations
- Renters in Apartments: You cannot install a whole-house softener to treat Orlando’s 129 ppm hardness. Instead of spending $150 on a lab test, use a $20 DIY strip to confirm hardness and chlorine, then invest the savings into a countertop Reverse Osmosis (RO) system or an NSF 53 certified under-sink filter to handle DBPs and scale.
- Older Homes (Pre-1986): Orlando homes built before the 1986 federal lead ban likely have lead solder in the copper pipes. Skip the DIY strips entirely. Order a targeted lead test through a mail-in lab or contact the Orange County Health Department (407-858-1497) for specific local lead testing resources.
- Well Water Users in Outer Orange County: If you are not hooked up to municipal utilities, you are solely responsible for your water safety. You must perform a comprehensive mail-in lab test annually. Ensure the kit specifically covers Coliform bacteria, E. coli, and agricultural Nitrates.
How Long Does It Take / What Does It Cost?
- DIY Strips: Instant results at home. Costs $10–$30. Good for checking basic hardness and chlorine levels.
- Mail-In Lab Kits (Basic to Advanced): Takes 10 to 14 days from the moment you mail the package. Costs range from $50 for a basic profile to $300 for comprehensive screening (VOCs, PFAS, Heavy Metals).
- County Health Department Testing: Typically takes 2 weeks. Costs roughly $50 per specific test type (e.g., $51 for Lead, $49 for Bacteria).
Frequently Asked Questions
Why shouldn’t I use the free water test offered by the local filter company? Free tests provided by equipment vendors are designed to sell water softeners. They use simple chemical drops to dramatically demonstrate hardness and TDS, but they lack the laboratory equipment needed to detect invisible health threats like VOCs, lead, or TTHMs.
Is a TDS meter useful for anything? Yes, but only for maintenance, not initial testing. If you install a Reverse Osmosis (RO) system, you can use a TDS meter to check the output water. When the TDS number starts creeping up over time, it indicates your RO membrane has degraded and requires replacement.
Do I need a filter that removes fluoride in Orlando? As of mid-2025, the Orlando Utilities Commission (OUC) will stop adding fluoride to the municipal water supply. If you receive an OUC bill, you do not need to spend extra money on specialized fluoride-removing media like bone char or activated alumina.
What are TTHMs and why are they high in Orlando? Total Trihalomethanes (TTHMs) are disinfection byproducts. Orlando sources water from the Floridan Aquifer, which contains naturally occurring organic matter. When OUC adds chlorine to kill bacteria, the chlorine reacts with this organic matter to form TTHMs. High-quality carbon block filters are required to remove them.