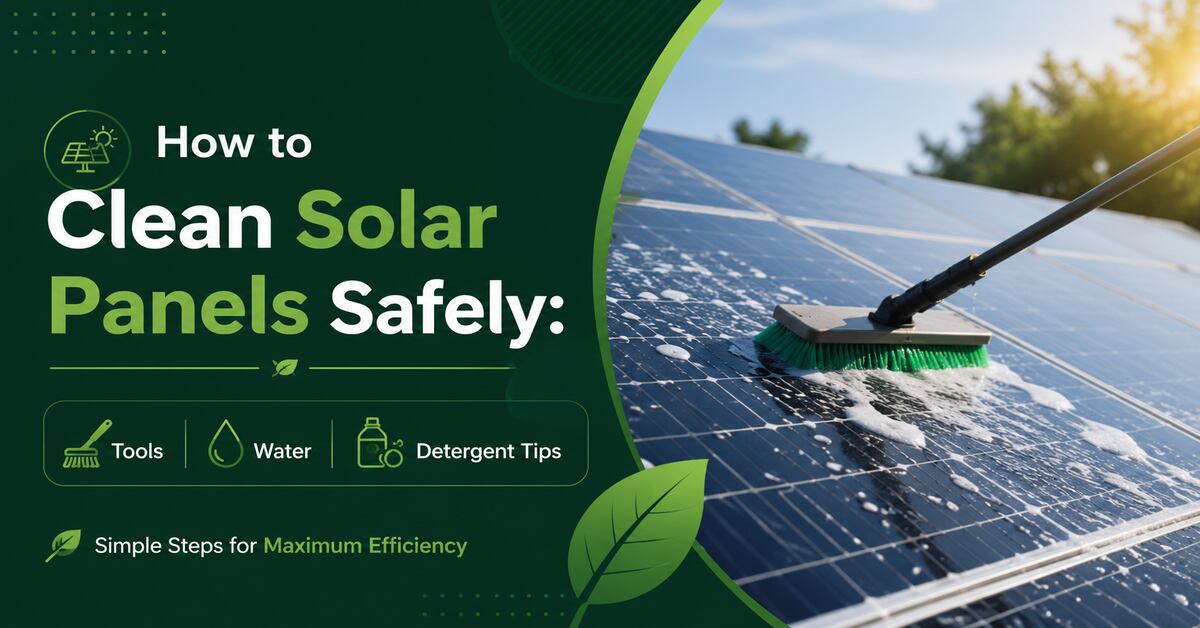
Mastering how to clean solar panels safely: tools, water, and detergent tips included, requires precise timing and technique to avoid damaging your system. By following these seven exact steps—from isolating power to squeegeeing the glass—you will restore 5–15% efficiency in under two hours. The critical success factor is water quality.
Before You Start
- Time Required: 1 to 2 hours (for a standard 10–20 panel residential system).
- Difficulty Level: Intermediate (requires ladder safety and meticulous hardware handling).
- Cost: $20 – $70 USD upfront for basic DIY equipment.
- Tools and Materials Checklist:
- 12-to-18-foot telescopic pole
- Soft-bristled solar brush or microfiber mop attachment
- 10-inch high-quality rubber squeegee
- Garden hose with adjustable nozzle (safe up to 60 PSI)
- TDS (Total Dissolved Solids) meter or inline RV water filter
- 1 tablespoon mild dish soap (optional, for heavy soil)
- 90% Isopropyl Alcohol (optional, for sap)
- Prerequisites: Ability to safely position and navigate an extension ladder; knowing the location of your solar inverter box.
Phase 1: Preparation and Safety
Step 1: Shut Down the Solar System
Switch off the AC and DC isolators located next to your main solar inverter. Flip the AC switch to the “Off” position first, followed immediately by the DC switch to completely cut the electrical current.
- You’ll know it worked when: The digital display and indicator lights on the inverter shut down completely.
- Common Mistake: Leaving the system powered on while washing. If micro-cracks exist in the glass, applying water to a live panel creates an extreme electrocution hazard.
Step 2: Test Water Quality and Set the Time
Schedule your wash before 7:00 AM or after 6:00 PM, and test your tap water using a TDS meter. If your water reads above 100 ppm, attach an inline deionization (DI) filter or an RV water filter to your hose to strip the hard minerals.
- You’ll know it worked when: The panels are cool to the touch and your water supply is verified to leave a spot-free finish.
- Common Mistake: Spraying cold tap water onto panels baking in the midday sun. This causes instantaneous thermal shock, permanently shattering the tempered glass.
Step 3: Inspect the Glass and Hardware
Visually scan the entire solar array from a secure ladder for spider-web cracks, frayed exposed wiring, or loose racking bolts. Do not apply weight to the roof while inspecting.
- You’ll know it worked when: You have visually verified a completely intact glass surface and tight mechanical connections across all modules.
- Common Mistake: Proceeding with a wet wash when a panel is cracked. Water will penetrate the protective barrier, shorting the internal circuitry and permanently destroying the panel.
Phase 2: The Cleaning Process
Step 4: Dry Brush Loose Debris
Sweep the panels from top to bottom using a completely dry, soft-bristled brush or microfiber mop attached to your telescopic pole. Gently push away all dry leaves, thick pollen, and loose dust.
- You’ll know it worked when: The glass is free of loose particulate, leaving behind only the thin layer of bonded dirt.
- Common Mistake: Skipping the dry sweep. Hitting thick dust directly with a hose turns it into a muddy paste that smears across the glass, doubling your scrubbing time.
Step 5: Pre-Soak and Treat Heavy Grime
Spray localized baked-on grime—like bird droppings—with water and let it soak for exactly 5 minutes; for sticky pine sap, dab the spot with a rag soaked in 90% Isopropyl Alcohol.
- You’ll know it worked when: The biological matter softens completely, allowing you to wipe it away with a single gentle pass of a sponge.
- Common Mistake: Scraping stubborn droppings with a fingernail, steel wool, or plastic scraper. This creates microscopic scratches in the anti-reflective coating that permanently scatter incoming sunlight.
Step 6: Wash with Low-Pressure Water
Spray the panels with a garden hose set to 40–60 PSI, and gently scrub the surface using your wet microfiber mop. If the panels are heavily soiled with oily industrial residue, mix 1 tablespoon of mild dish soap per gallon of lukewarm water in a bucket, dip your mop, and agitate the glass.
- You’ll know it worked when: The entire glass surface has been agitated and the uniform layer of bonded dirt lifts into the water.
- Common Mistake: Using a high-pressure power washer (above 1000 PSI). High pressure blows out the watertight silicone seals between the glass and the anodized aluminum frame, pushing moisture into the internal electronics.
Step 7: Rinse and Squeegee Dry
Flush the panels thoroughly with clean water from the top down, then immediately pull your 10-inch rubber squeegee across the glass in overlapping vertical rows. Wipe the squeegee blade with a clean microfiber towel after every single pass.
- You’ll know it worked when: The glass is perfectly clear and glossy, with zero water beads remaining on the surface.
- Common Mistake: Letting hard tap water air-dry on the panels. This leaves white calcium and magnesium spots that reflect sunlight, instantly negating the 5–7% efficiency gain you just worked to achieve.
Common Mistakes and How to Fix Them
- White Streaks or Mineral Spots: If white chalky spots appear after drying, you used hard tap water and let it air-dry. Fix: Re-wet the panels immediately with a hose, pull a clean squeegee across the wet glass, or perform a final rinse using pure distilled/deionized water.
- Soapy Smears: If the glass looks cloudy or rainbow-streaked, you used too much dish soap or laundry detergent. Fix: Flush the panels with pure, low-pressure water for 2–3 minutes per panel to completely wash away the surfactant film.
- Mud Smearing: If your brush is just pushing mud around the glass, you applied water to heavy dust. Fix: Stop applying water, let the panel dry completely, perform a thorough dry-sweep (Step 4), and start the wet wash over.
- Lichen Growth on the Bottom Edge: If fuzzy green or gray lichen is growing where the glass meets the lower aluminum frame lip, debris has trapped moisture there. Fix: Apply a specialized solar-safe biocide with a soft brush, let it dwell for 15 minutes to kill the spores, and gently wipe away.
Variations for Different Solar Arrays
Single-Story vs. Multi-Story Homes
If you live in a single-story home with a low roof pitch, DIY cleaning using a 12-foot telescopic pole from the ground or a secure A-frame ladder is safe and highly cost-effective. For multi-story homes or steep roofs (above a 4/12 pitch), do not attempt a DIY clean. Hire professionals who utilize 30-foot carbon-fiber water-fed poles to clean the array safely from the ground.
Arid and Desert Environments
Panels in arid zones (like the American Southwest or Middle East) suffer from heavy, dry dust rather than sticky sap or pollen. In these variations, wet washing is often unnecessary. You can maintain optimal efficiency simply by performing Step 4 (dry brushing) every month. For large commercial arrays in these zones, automated dry-brush robotic cleaners provide the best ROI.
How Long Does It Take and What Does It Cost?
- DIY Cleaning: Expect to spend $20 to $70 on the initial pole, brush, and squeegee. The process takes 1 to 2 hours for a standard 10–20 panel residential array.
- Professional Cleaning: Hiring a pro costs $150 to $350 per visit (averaging $3 to $7 per panel). Pros use deionized water-fed poles that require zero squeegeeing, dropping the active cleaning time to just 30 to 45 minutes.
Frequently Asked Questions
Can I use Windex or glass cleaner on solar panels?
No. Household glass cleaners like Windex contain ammonia and harsh chemicals that will strip the specialized anti-reflective coating off your solar panels, permanently reducing their ability to absorb light. Stick to pure water or highly diluted mild dish soap.
Will rain adequately clean my solar panels?
Rain only clears light, non-bonded dust. It fails to remove bird droppings, sticky pollen, or oily residues. Furthermore, if your panels are tilted at an angle below 15 degrees, rain cannot achieve the velocity needed to flush debris off the bottom edge, requiring manual cleaning.
How often should I clean my solar panels?
For average residential systems, clean your panels twice a year—once in late spring and once in autumn. If you live in a high-dust area, near an agricultural zone, or directly under trees, increase the frequency to three or four times per year to prevent heavy output losses.
Do I need to climb on my roof to clean them?
No. Walking on a roof introduces severe fall risks and the danger of accidentally stepping on a panel, which will instantly cause micro-cracks. Always clean from the ground or a safely secured ladder using an extendable telescopic pole.