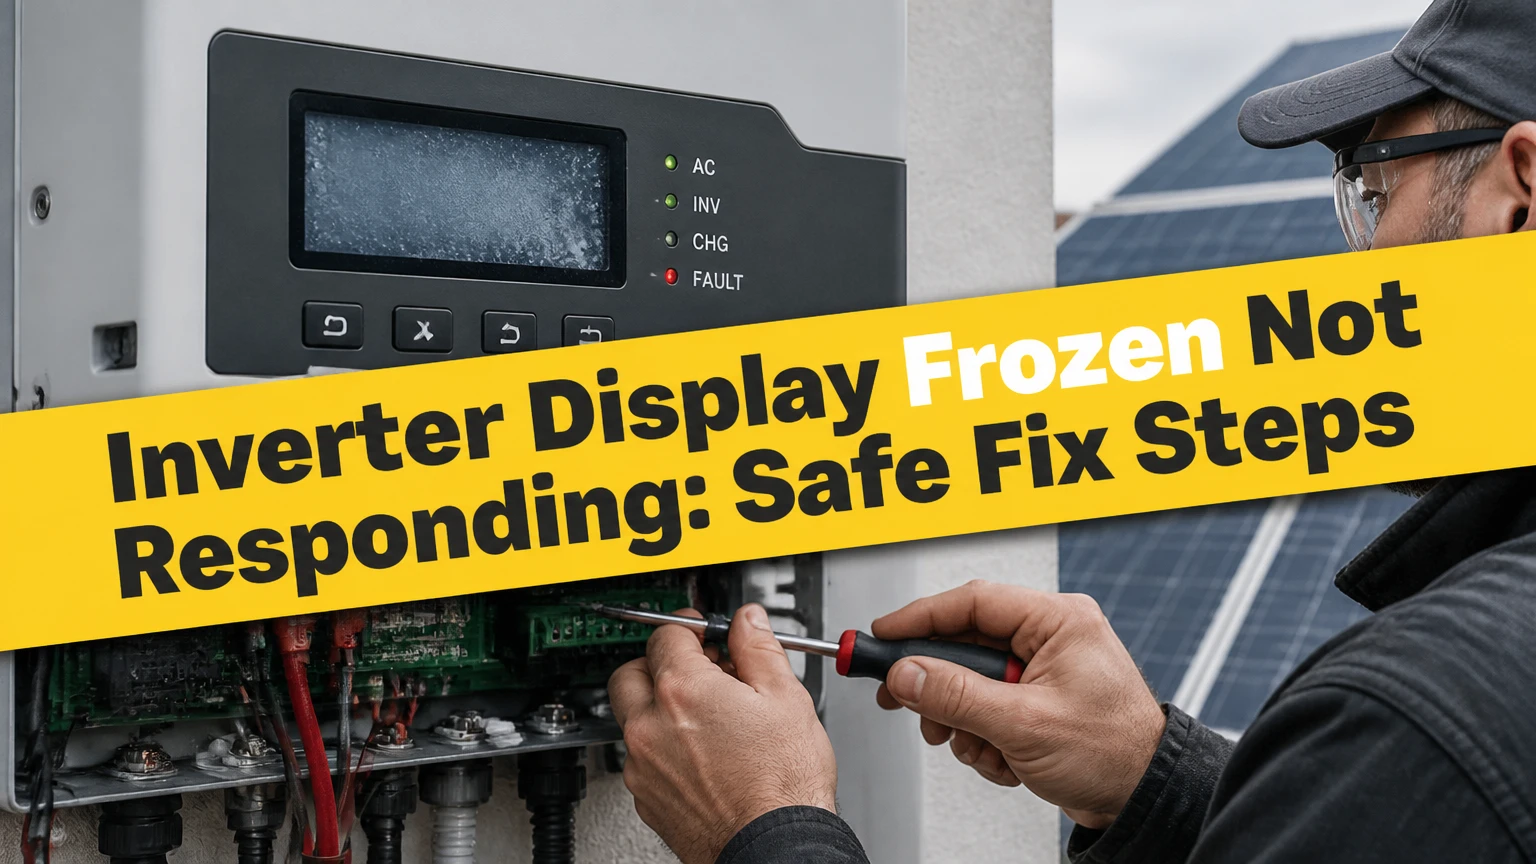
An inverter display frozen and not responding usually indicates a firmware lockup, failed display communication, unstable low-voltage power, or a defective screen assembly. First determine whether the inverter is still producing power or charging batteries, then follow the exact shutdown sequence in the manufacturer’s manual before attempting a reset or arranging service.
Key Facts / At a Glance
A frozen screen does not prove that a solar or battery inverter has stopped operating.
A blank screen with no status LEDs usually indicates a power-supply, shutdown, or control-board problem.
A lit backlight with unchanged text more often indicates a firmware, processor, or display-communication fault.
Inverter capacitors can retain hazardous energy after disconnecting AC, PV, or battery power.
AC and DC shutdown order differs by manufacturer, so a universal sequence is unsafe.
Typical residential display-board repair costs range from $150-$400, while full inverter replacement commonly starts above $1,000.
Before You Start
Most homeowners can perform external checks and a manufacturer-directed reboot in 15-30 minutes, with no tools and no replacement cost. Opening the inverter enclosure, testing internal terminals, reseating a ribbon cable, or replacing capacitors requires a qualified electrician or authorized service technician.
| Item | Typical requirement | Why it matters |
|---|---|---|
| Time for external diagnosis | 10-20 minutes | Confirms display state, LEDs, app data, and breaker status |
| Time for model-directed reset | 15-45 minutes | Includes shutdown, waiting period, and staged restart |
| Basic tools | None initially | Prevents unnecessary enclosure opening |
| Information needed | Brand, model, serial number | Determines the correct isolation procedure |
| Safe access | Dry floor, clear panel area | Reduces shock, slip, and arc-flash exposure |
| Professional service trigger | Internal access or live testing | Protects warranty and personal safety |
Before touching switches, photograph the display, LED pattern, error code, breaker positions, and app status. A photograph can preserve the only visible evidence if the inverter restarts and clears a temporary fault.
Why Is My Inverter Display Frozen Not Responding?
A frozen inverter display most commonly results from a software lockup, a failed connection between the control board and screen, or a low-voltage supply problem inside the unit. Screen behavior helps separate these causes, but only a model-specific service procedure can confirm the failed component.
The display is a user interface, not the entire inverter. A microprocessor controls switching devices, tracks voltage and current, records alarms, and exchanges data with the display through a manufacturer-specific interface. Some products use RS485 or Modbus for external communications, while an internal screen may use a proprietary serial link, a ribbon cable, or another board-level interface.
A voltage dip can interrupt the processor without immediately stopping power conversion. Heat, moisture, dust, electromagnetic interference, corrupted firmware, and aging capacitors can also produce intermittent freezes. A screen that freezes only when high loads start points toward electrical noise, thermal stress, or a power-quality event rather than a permanently dead LCD.
The Google AI Overview correctly identifies firmware, communication, and hardware faults as the main categories. Its claim that every display uses Modbus, RS485, or I2C is too broad, and its fixed 10-15 minute capacitor-discharge rule is not a safe universal instruction.
Can the Inverter Still Produce Power?
A solar inverter can continue producing electricity while its local display is frozen, but homeowners should verify output through an independent source rather than assume normal operation. A monitoring portal, inverter application, utility meter, production meter, or battery state-of-charge reading can provide that evidence.
Check the following without opening the equipment:
- Read the manufacturer app or web portal and compare current power with the time of day and weather.
- Check inverter status LEDs against the manual, not against a generic color chart.
- Review the home energy monitor or utility production meter if one is installed.
- Confirm whether household circuits, backup loads, and battery charging behave normally.
- Look for an active fault, isolation warning, ground-fault alert, or battery protection message.
| Observation | Likely interpretation | Immediate action | Typical urgency |
|---|---|---|---|
| App shows production and green status LED | Display-only fault or user-interface freeze | Record evidence and arrange a controlled reset | Low to medium |
| App shows zero production during strong sunlight | Inverter may be stopped, offline, or shaded | Check external isolators and contact service if unresolved | Medium |
| Battery percentage is falling rapidly | Battery inverter may not be charging or supplying correctly | Reduce nonessential loads and follow battery manual | High |
| Red fault LED with burning smell | Internal electrical failure or overheating | Keep clear, isolate only as instructed, call service | Immediate |
| No LEDs and no app connection | AC, DC, battery, communications, or control-power loss | Check external equipment only | Medium to high |
| Display is frozen while output changes normally | Screen refresh or communication fault | Do not repeatedly press controls | Low to medium |
A utility meter can lag behind inverter data, and an app can display cached values. Compare timestamps and recent power curves before deciding that generation is normal.
What Does Each Display Symptom Suggest?
Backlight, text, touch response, LEDs, and remote data together provide a more useful diagnosis than any single symptom. A lit screen with old text suggests a processing or communication problem, while a completely dark interface requires power and status checks before a display replacement is considered.
| Display or system symptom | More likely causes | Safe check | Service implication |
|---|---|---|---|
| Backlight on, text unchanged | Firmware hang, processor fault, display data link | Check app, LEDs, and event history | Reset first, then diagnose board |
| Backlight off, LEDs normal | LCD backlight, screen board, cable, or interface fault | Compare physical screen with remote data | Display assembly may be faulty |
| Screen fully dark, LEDs off | AC/DC isolation, control-power loss, board failure | Check external switches and breakers | Electrical diagnosis often required |
| Garbled characters or random blocks | Cable damage, moisture, EMI, display memory fault | Photograph pattern and note load conditions | Inspect only under authorized procedure |
| Touch does not respond, image updates | Touch digitizer or buttons failed | Use app or external controls if supported | Screen input repair may be separate |
| Freeze occurs during heavy loads | Heat, EMI, voltage disturbance, firmware weakness | Note load, temperature, and timing | Check installation and power quality |
| Freeze follows an outage | Brownout, restart sequence, grid event | Review event log and utility status | Reset may clear temporary lockup |
| Freeze after rain or condensation | Moisture ingress or corrosion | Do not open or dry with heat | Prompt professional inspection |
A frozen touch layer does not necessarily mean the display image is frozen. If numbers continue changing but taps fail, the inverter may be operating normally with a failed input layer.
How Do You Safely Reset the Inverter?
Reset an inverter only through the shutdown and startup sequence published for its exact brand, model, and system configuration. A typical residential procedure takes 15-45 minutes and may involve AC isolation, PV or battery isolation, a waiting period, and staged re-energization, but the correct order is manufacturer-specific.
Step 1: Record the Current Condition
Write down the displayed value, alarm code, LED colors, app timestamp, battery percentage, and approximate household load. Photograph each item before switching anything off.
Success checkpoint: You have enough evidence to compare the inverter after restarting.
Common mistake: Resetting first and losing a transient error code that would have identified a grid, battery, or insulation problem.
Step 2: Shut Down the Correct Power Sources
Use the manual to identify every relevant source: AC grid supply, PV DC isolator, battery breaker, generator input, and backup-load supply. Operate only external switches labeled for the inverter, and never remove covers to reach a disconnect.
Some solar manufacturers instruct users to open the AC isolator before the PV disconnect; other systems specify a different order. Battery systems can have multiple battery disconnects, precharge circuits, and backup outputs, so copying a solar-only sequence can damage equipment or create a dangerous energized condition.
Success checkpoint: The external switches match the manual’s off-state instructions, and the inverter’s indicators respond as documented.
Common mistake: Treating a nearby breaker as the inverter disconnect when it supplies another circuit or leaves battery power connected.
Step 3: Wait for the Manufacturer’s Discharge Time
Keep the inverter isolated for the period stated in the manual. A 10-15 minute wait is common for some equipment, but it is not an absolute guarantee that internal capacitors are safe or fully discharged.
OSHA’s electrical safety rule, 29 CFR 1910.333(b)(2), requires circuits to be treated as energized until qualified personnel verify that they are deenergized. That principle matters because switch positions and elapsed time do not replace electrical testing.
Success checkpoint: The documented waiting period has elapsed, and no internal access is planned.
Common mistake: Opening the enclosure because the display went dark. A dark screen is not proof that dangerous DC voltage is absent.
Step 4: Restore Power in the Published Order
Restore AC, PV, battery, and backup supplies exactly as the manual directs. Wait for each initialization stage, which may take 30 seconds to several minutes, before changing another switch.
Some inverters need grid power to boot their control electronics; others require battery or PV power first. A generic “DC on first, AC on second” sequence can therefore be wrong for a particular product.
Success checkpoint: The display completes its startup screen, LEDs match the normal pattern, and the app reconnects without a new fault.
Common mistake: Cycling the switches repeatedly within seconds. Rapid brownout cycles can prevent stable initialization and complicate diagnosis.
Step 5: Confirm Operation and Record the Result
Check the display, remote monitoring, output meter, battery charging, and event log. A successful reboot should restore updating values and button response, but it does not prove that an underlying voltage, heat, cable, or firmware problem has disappeared.
Success checkpoint: Values update over at least 5-10 minutes, and production or charging matches the operating conditions.
Common mistake: Declaring success when the screen briefly lights but freezes again under load.
When Is a Hardware Connection Likely?
A hardware connection becomes more likely when the screen shows garbled characters, reacts when the enclosure or cable area is disturbed, loses the backlight intermittently, or freezes during vibration, heat, or moisture exposure. Internal cable inspection should remain within the manufacturer’s service procedure and be performed by qualified personnel.
A ribbon cable can develop oxidation, a partially inserted connector, cracked solder joints, or heat damage. Display boards can also lose their regulated 3.3-volt or 5-volt supply, although the exact voltage depends on the model. A technician normally checks power rails, connector continuity, board communication, and stored fault codes before ordering a replacement screen.
Do not unplug an internal cable while any indicator is illuminated. Do not probe a circuit board with a household multimeter unless the meter, probes, category rating, and test method are appropriate for the measured circuit.
| Diagnostic result | Probable fault area | Recommended next action | DIY limit |
|---|---|---|---|
| Reboot restores screen for hours | Firmware or transient power event | Save logs and check firmware notices | External monitoring only |
| Reboot fails, app works | Display module or cable | Warranty or authorized display diagnosis | Do not open if covered |
| Reboot fails, app and LEDs fail | Control power, board, or isolation fault | Qualified electrical service | No internal testing |
| Freeze returns when inverter heats | Thermal or board-level fault | Check ventilation and service history | Do not bypass thermal protection |
| Characters corrupt near high load | EMI, cable shielding, grounding, or board fault | Record load correlation | No improvised ferrite or rewiring |
| Display works after cable reseat | Connector contamination or mechanical fit | Replace damaged connector or cable | Technician should verify isolation |
Ferrite cores may reduce certain interference problems, but adding one without identifying the frequency path can conceal a grounding or damaged-cable fault. A ferrite accessory is not a substitute for repairing insulation, shielding, or connector damage.
How Does a Battery Inverter Change the Diagnosis?
A battery inverter requires additional checks because the frozen display may accompany battery protection, a low state of charge, a closed battery contactor, or a separate battery-management-system communication fault. Do not disconnect a battery bank unless the battery and inverter manuals explicitly authorize the procedure.
Battery systems may remain energized after the grid breaker is open. Lithium battery cabinets can also contain contactors and control electronics that need a defined shutdown order. A blank inverter screen with a battery warning can therefore represent a system-level startup dependency rather than a failed display.
Check remote battery data, state of charge, battery temperature, BMS alarms, and backup-load behavior. If the battery is hot, swollen, damaged, leaking, or producing an unusual odor, stop troubleshooting and contact the installer or battery manufacturer.
Which Repair Option Fits the Fault?
A model-specific reset is the lowest-risk first option, an authorized display or control-board repair suits an isolated interface failure, and full inverter replacement makes sense when the main power stage, warranty status, or parts availability makes repair uneconomic. The screen alone should not determine replacement.
| Option | Typical cost | Typical time | Best condition | Main limitation |
|---|---|---|---|---|
| Manufacturer-directed reboot | $0 | 15-45 minutes | Temporary firmware lockup | Does not repair hardware |
| Remote monitoring adapter | $0-$150 | 30-120 minutes | Inverter still operates | Network or adapter dependency |
| Display module replacement | $150-$400 part cost | 3-10 business days | Isolated screen failure | Compatibility and labor vary |
| Control-board replacement | $300-$900 installed | 1-3 weeks | Failed interface or logic board | May require commissioning |
| Full inverter replacement | $1,000-$3,500+ installed | 1-3 days after parts arrive | Major failure or obsolete unit | Electrical approvals and configuration |
| Warranty repair or RMA | $0-$500 potential service costs | 1-8 weeks | Covered equipment | Shipping and downtime vary |
These are typical residential estimates, not published universal prices. Labor, travel, access, local electrical rules, inverter capacity, battery integration, and manufacturer parts pricing can change the total substantially.
A replacement inverter must match voltage range, maximum current, phase configuration, grid certification, battery chemistry compatibility, communications hardware, and monitoring platform. An apparently cheaper unit can require rewiring, new rapid-shutdown equipment, a communications gateway, or utility approval.
Can Remote Monitoring Replace the Screen?
Remote monitoring can replace routine screen interaction when the inverter continues producing or charging and the app reports current data, but remote access cannot repair a failed control board or verify every safety condition. App-only operation is a practical workaround for an out-of-warranty display fault, not a complete maintenance strategy.
| Monitoring method | Typical cost | Data available | Weak point |
|---|---|---|---|
| Manufacturer cloud portal | $0-$20 per month | Production, alarms, historical trends | Internet and vendor service dependency |
| Local Wi-Fi or Bluetooth | $0-$150 adapter | Live data near inverter | Limited range or phone compatibility |
| Utility production meter | Existing service or $50-$300 installation | Exported energy totals | Often lacks detailed fault data |
| Home energy monitor | $100-$500 installed | Whole-home load and generation estimates | Measurement placement affects accuracy |
| Physical display | Included with inverter | Local status and settings | Vulnerable to screen or button failure |
Remote monitoring is poor for systems with unreliable internet, critical backup loads, or service requirements that depend on local fault codes. Keep a written record of inverter model, firmware version, installer contact, and shutdown procedure even when the app works.
When Should You Stop Troubleshooting?
Stop troubleshooting immediately when there is smoke, burning odor, abnormal heat, arcing, buzzing, visible water entry, damaged insulation, battery swelling, or a repeated breaker trip. Also stop before opening the enclosure if the system is under warranty or you lack qualified electrical training.
Call the installer, electrician, or manufacturer when:
- The inverter will not restart after one documented reset.
- A red fault remains after the manual’s recovery procedure.
- The app shows no production, charging, or communication.
- A ground-fault, insulation, arc-fault, or battery-protection alarm appears.
- The screen freezes again under load or at high temperature.
- Internal cable, capacitor, board, or terminal inspection is required.
- Replacement commissioning or grid settings may be necessary.
An authorized service route protects configuration data and warranty coverage. Many manufacturers require serial numbers, photographs, event logs, and proof of installation before issuing a replacement board.
What Are the Common Mistakes?
Repeated resets, unsafe enclosure access, and incorrect assumptions about power output create most avoidable complications. The safest troubleshooting process collects evidence once, follows the exact manual, performs one controlled restart, and escalates when the fault returns.
- Using a universal shutdown order: AC-first and DC-first instructions differ. Follow the product manual.
- Assuming a dead display means zero production: Check independent monitoring before making a replacement decision.
- Opening the case after the screen goes dark: Internal capacitors and battery circuits may remain hazardous.
- Installing a generic display board: Connector shape does not prove firmware, voltage, or calibration compatibility.
- Pressing frozen touch controls with metal objects: A sharp tool can damage the digitizer and create a second fault.
- Interrupting firmware installation: A power loss during an update can turn a recoverable interface fault into a control-board failure.
- Ignoring environmental clues: Heat, moisture, insects, dust, and high-load timing can identify the cause faster than another reboot.
One practitioner rule is especially useful: if remote output remains normal and only the local interface fails, preserve the inverter’s operating data before authorizing a full replacement. A screen fault often has a smaller repair scope than a power-conversion fault.
What Should Owners of Older Inverters Consider?
Owners of older inverters should compare display repair, remote monitoring, and replacement against remaining warranty, parts availability, efficiency, and expected service life. A $200 display repair can be sensible on a well-supported unit, while a $700 control board may be poor value for an obsolete inverter with no available parts.
Check the inverter’s age, original warranty term, firmware support, monitoring compatibility, production history, and local service availability. Solar string inverters commonly have five- to ten-year warranty periods, but the exact term depends on the manufacturer, registration, product line, and region.
A screen that is cosmetic while the system operates can remain unresolved if local codes, service plans, and safety inspections do not require the display. That choice is unsuitable when the display is the only way to read critical alarms or control a backup system.
FAQ
Will a power cycle erase inverter settings?
A normal manufacturer-directed restart usually preserves configuration, production history, and grid settings because those values are stored in nonvolatile memory. An installer reset, factory reset, firmware recovery, or control-board replacement can change settings or erase local history, so record configuration details and obtain service approval before using those functions.
Why does my inverter screen freeze only at night?
Nighttime freezing can reflect normal low-light shutdown, a display sleep mode, or loss of PV input rather than a fault. If the screen remains unchanged during daylight, the app reports alarms, or LEDs differ from the manual, investigate further. Battery inverters may remain active at night and require separate battery checks.
Can a frozen solar inverter damage my panels?
A frozen display alone does not normally damage solar panels because the display is a monitoring interface. The risk changes if the inverter reports overheating, insulation failure, arc fault, abnormal DC voltage, or repeated shutdowns. Those conditions require service, and the system should not be forced to operate by bypassing protection.
How long can I run an inverter without a working display?
An inverter can often continue operating indefinitely without a working local display if its control system, protections, and remote monitoring remain functional. The practical limit is maintenance visibility: without reliable alarms and event logs, continued operation becomes unsuitable for critical backup systems or equipment showing abnormal output.
Should I replace the whole inverter for a frozen screen?
Replace the whole inverter only when diagnostics identify a major power-stage or control-board failure, compatible display parts are unavailable, repair costs approach replacement cost, or the unit is obsolete. An isolated interface failure on a supported inverter usually warrants a display repair or monitoring workaround first.
The Bottom Line
An inverter display frozen not responding condition is usually a user-interface, firmware, communication, or low-voltage control problem, but the screen alone cannot show whether power conversion has stopped. Verify solar production or battery operation independently, document the LEDs and alarms, follow the exact model-specific shutdown sequence, and avoid opening the enclosure unless qualified service is available.
One controlled reboot may clear a temporary lockup. A recurring freeze, failed restart, electrical odor, battery alarm, or missing output requires professional diagnosis rather than repeated power cycling.