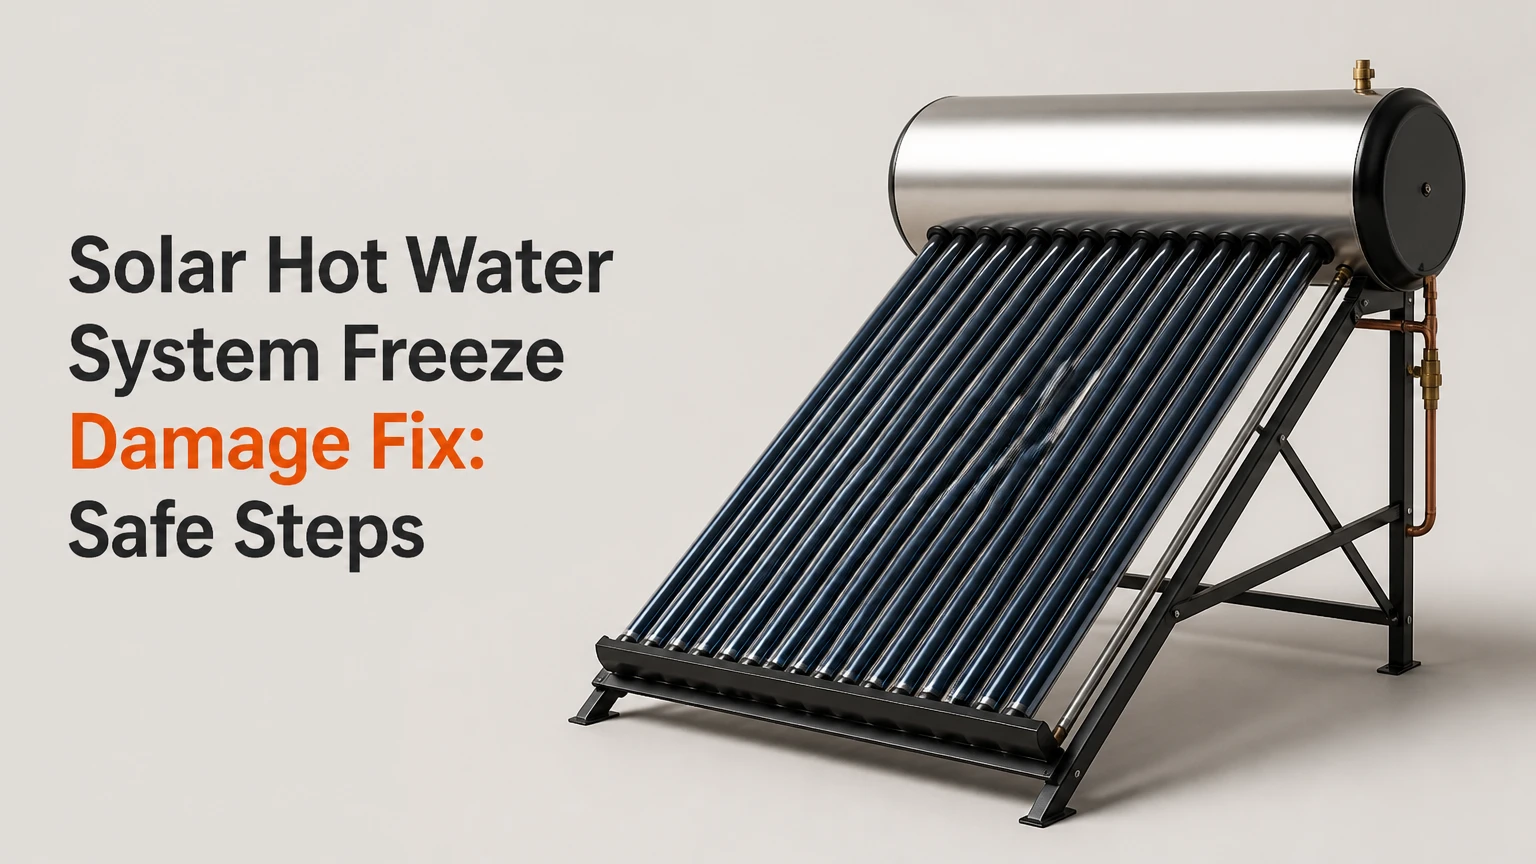
Solar hot water system freeze damage fix begins with isolating the water, electrical supply, and damaged collector loop before opening any valve. A qualified technician should then identify ruptured piping, fittings, glass tubes, or heat exchangers, pressure-test the repaired circuit, and restore the correct propylene glycol concentration or drainage path.
Key Facts at a Glance
- Ice formation can rupture rigid copper risers, headers, brass valves, glass tubes, and heat-exchanger passages.
- Direct open-loop collectors contain potable water and usually suffer damage sooner than properly protected closed-loop systems.
- A broken evacuated tube does not always mean the manifold or heat pipe is damaged.
- Ethylene glycol automotive antifreeze is unsuitable for solar thermal systems connected to domestic hot water.
- Typical professional repair costs range from $250 for a minor valve or pipe repair to more than $3,500 for major collector replacement.
- A successful repair requires leak testing and correct freeze protection, not only replacement of the visibly broken part.
What Does Freeze Damage Look Like?
Freeze damage occurs when water or diluted heat-transfer fluid turns to ice inside a confined solar thermal circuit. Water expands by approximately 9% during freezing, and the resulting pressure can split copper tubing or force apart fittings even when the outside temperature remains below freezing for only several hours.
The first visible sign may be a puddle beneath the collector, a dripping pressure-relief valve, a zero reading on a closed-loop pressure gauge, or a pump that runs without transferring heat. Some ruptures stay hidden inside insulation or collector frames until the system warms and liquid begins leaking.
Which components usually fail?
| Component | Common freeze failure | Typical visible evidence | Usual remedy |
|---|---|---|---|
| Flat-plate riser | Longitudinal copper split | Wet absorber or warped panel | Replace riser section or collector |
| Flat-plate header | End or seam rupture | Water at panel edge | Replace header or collector |
| Evacuated tube | Glass fracture | Clouded, cracked, or collapsed tube | Replace tube and inspect heat pipe |
| Brass valve | Body or port split | Drip at valve or union | Replace valve |
| Exterior pipe | Burst copper or PEX failure | Wet insulation and staining | Replace exposed section |
| Heat exchanger | Internal passage rupture | Glycol loss or potable contamination risk | Isolate and replace exchanger or tank |
Collector damage becomes more likely where water remains trapped in a sagging pipe, check valve, pump housing, or manifold. Insulation slows heat loss but does not make a water-filled pipe freeze-proof; wet insulation can also conceal a split for days.
Which System Type Failed?
Direct open-loop systems are the most freeze-sensitive because domestic water travels through the roof collectors. Indirect glycol systems protect the collector circuit more effectively, while drainback systems can be highly reliable only when every outdoor water section drains completely by gravity.
| System type | Fluid in collector | Freeze vulnerability | Typical protection |
|---|---|---|---|
| Direct open-loop | Potable water | High, especially during outages | Drain valve, recirculation, freeze valve |
| Indirect closed-loop | Propylene glycol mixture | Low to moderate | Glycol concentration and expansion vessel |
| Drainback | Water that drains when pump stops | Low if correctly sloped | Indoor reservoir and gravity drainage |
| Roof thermosyphon | Potable water | High | Passive circulation or regional design measures |
Why did a glycol system still freeze?
A closed-loop solar water heater can freeze when glycol concentration is too low, fluid has degraded, water was added without recalculation, or a dead section contains insufficient circulation. Propylene glycol also loses performance with age and repeated high-temperature exposure, although the exact service interval depends on fluid formulation, stagnation temperature, and manufacturer instructions.
The freeze point and burst point are not identical. A mixture may begin forming ice crystals above its rated burst protection temperature, so technicians should use the manufacturer’s concentration chart rather than assume that “antifreeze present” means the loop is safe.
What does a power outage change?
A power outage can stop circulation pumps, controls, heat-trace cables, and freeze-protection recirculation. Direct systems in cold climates can therefore fail during a short outage, while drainback systems should empty automatically if the piping has the required continuous slope and no trapped water pocket.
Before You Start: Safety and Equipment
Freeze-damaged solar thermal equipment can contain scalding water, pressurized glycol, sharp glass, and energized pump wiring. Do not climb a wet or icy roof, handle shattered evacuated tubes without cut-resistant gloves and eye protection, or open a pressure-relief valve while the collector circuit is hot.
| Requirement | Typical value | Why it matters |
|---|---|---|
| Initial isolation time | 15-30 minutes | Stops flooding and pump operation |
| Diagnostic labor | 1-3 hours | Covers inspection and controlled testing |
| Basic repair tools | 8-12 items | Includes cutters, wrenches, meter, and PPE |
| Pressure gauge range | 0-100 psi | Prevents testing beyond gauge capacity |
| Glycol test tool | 1 refractometer | Measures concentration more reliably than color |
| Roof access | Rated ladder and fall protection | Reduces fall risk during inspection |
Before opening the loop, photograph valve positions, controller wiring, gauge readings, pipe routing, and collector labels. Manufacturer-specific fill pressures, relief-valve settings, and tube seals take priority over generic figures.
How Do You Isolate the Damaged System?
Isolate the domestic water, collector circuit, electrical equipment, and backup-heater connections in that order. The goal is to prevent flooding, pump damage, scalding, and accidental re-pressurization while the broken section remains unidentified.
- Close the solar cold-water isolation valve.
Shut the dedicated inlet feeding the solar storage tank or direct collector circuit. If no dedicated valve exists, close the home’s main water valve and open a nearby hot-water tap carefully to reduce pressure. You will know the supply is isolated when the flow stops and the gauge no longer rises. Do not rely on a failed or dripping relief valve as the isolation point. - Switch off pumps and auxiliary heaters.
Turn off the solar controller, circulation pump breaker, heat-trace circuit, and any electric booster that could energize an exposed component. Verify the circuit with an appropriate electrical tester if wiring has become wet. Do not disconnect roof wiring in rain or while standing on a wet surface. - Use the backup heater safely.
Keep the solar loop isolated while directing domestic hot water through the conventional backup tank, if the plumbing includes serviceable bypass valves. A bypass arrangement varies by installation, so never open an unfamiliar valve sequence that could send mains pressure into a ruptured collector. - Allow hot components to cool.
Collector surfaces can exceed 150°C, or 300°F, during stagnation in strong sun. Shade the collector only if the manufacturer permits it and the work can be performed safely; otherwise schedule inspection after temperatures fall.
A common field error is closing the wrong valve and assuming the collector is isolated. Trace the pipe physically from the tank or pump station to each roof connection before draining.
How Do You Find the Rupture?
Find the rupture with a visual inspection followed by a controlled pressure test, not by opening the supply fully and waiting for a spray. A slow test protects the roof, limits water release, and distinguishes a collector leak from a valve, pump, expansion vessel, or indoor heat-exchanger failure.
Step 3: Inspect and test the loop
Start at the lowest point and work toward the roof. Look for wet insulation, mineral deposits, split solder joints, distorted headers, popped end caps, cracked tube glass, and staining around unions. In a closed glycol circuit, sticky residue or a sweet odor can indicate fluid loss, but do not taste or deliberately smell unknown fluid.
For a potable direct circuit, a licensed plumber can introduce water gradually while a second person observes the roof and mechanical station. For a closed loop, technicians generally use a compatible hand pump and follow the collector manufacturer’s test pressure. A typical working pressure may be 30-50 psi, but the test limit must remain below the lowest-rated component and local code requirement.
You will know the leak location is confirmed when pressure falls consistently at one isolated section or liquid appears at a specific joint. A pressure drop without an external leak can indicate an internal heat exchanger failure, concealed pipe damage, or a gauge problem.
| Symptom | Likely cause | Confirmatory check | Immediate response |
|---|---|---|---|
| Roof puddle | Burst header or riser | Isolate and inspect panel underside | Keep supply closed |
| Zero glycol pressure | Ruptured loop or relief discharge | Check relief outlet and insulation | Recover or contain fluid |
| Pump runs cold | Airlock, empty loop, or failed pump | Compare supply and return temperatures | Stop pump until filled |
| Relief valve drips | Overpressure or failed valve | Check expansion vessel and gauge | Replace defective valve |
| One tube stays cold | Broken heat pipe or seal | Compare adjacent tube temperatures | Remove and inspect tube |
| No leak under pressure | Frozen obstruction or concealed rupture | Test isolated sections | Do not increase pressure sharply |
Can a Flat-Plate Collector Be Repaired?
A flat-plate collector can sometimes be repaired when the rupture is limited to accessible exterior copper or a replaceable header, but a torn internal absorber grid usually justifies collector replacement. Soldering a patch over a split tube is not a durable repair because freeze damage can weaken adjacent copper that looks intact.
Step 4: Repair or replace copper components
A technician should cut out the failed copper section, clean and fit compatible replacement tubing, and use a joining method approved for the collector temperature and fluid. Soldering requires completely dry pipe; residual water absorbs heat and can produce a porous joint. Brazing may be required by the manufacturer or for higher-temperature sections.
Inspect at least one tube or riser on each side of the visible failure. A single freeze event can create multiple cracks, especially near rigid clips, headers, check valves, and pipe supports.
You will know the repair is ready for testing when the replacement section is mechanically supported, joints are clean, insulation is removed from all test areas, and no solder or flux residue can enter the potable circuit. Never bury a repaired joint under insulation before pressure testing.
How Are Evacuated Tubes Replaced?
A broken evacuated tube is usually a modular repair, but the manifold, heat pipe, gasket, and tube socket must all be inspected. Replacing only the glass can leave a bent or split heat pipe inside the header, causing poor heat transfer or a later leak.
Step 5: Replace the damaged tube
Switch off the pump and allow the collector to cool. Remove loose glass with gloves and eye protection, release the lower retaining clip or cap according to the manufacturer’s instructions, and slide out the remaining tube without forcing it against the manifold.
Inspect the copper heat pipe for bulging, cracking, discoloration, or a damaged condenser tip. Replace the heat pipe when it is deformed or cannot seat correctly. Install the specified silicone or EPDM gasket, lubricated only with a manufacturer-approved compound, then insert the replacement tube and restore the retaining hardware.
You will know the replacement is complete when the tube is seated at the same depth as adjacent tubes, the gasket seals without distortion, and the collector controller records a normal temperature rise. A dark or cloudy tube may have lost its vacuum even if the glass is not visibly broken.
How Should You Refill and Commission the System?
Commissioning requires flushing, leak testing, air removal, correct pressure, and freeze-fluid verification. A repaired solar hot water system is not ready for service when the leak stops; it is ready only after the loop maintains pressure and transfers heat without unsafe stagnation or relief discharge.
Step 6: Refill and purge air
Flush a direct system until water runs clear and no soldering debris remains. Closed glycol systems should be filled with the manufacturer-approved premixed fluid or the specified blend of solar-grade propylene glycol and deionized or distilled water, using a charging pump and clean hoses.
Never substitute automotive ethylene glycol. Solar thermal propylene glycol is selected for heat-transfer performance and compatibility, while ethylene glycol is toxic and creates an unacceptable contamination risk if a heat exchanger fails.
Purge air through the designated air separator or high-point vent. Confirm that the pump is not running dry, then set cold pressure and expansion-vessel charge according to the equipment manual. A typical small residential closed loop may operate near 30-50 psi cold, but that range is not a universal setting.
Step 7: Test and document the repair
Pressurize the isolated circuit gradually and inspect every repaired joint, valve, collector connection, and relief outlet. Record cold pressure, glycol concentration, controller sensor readings, pump operation, and the date of service.
The U.S. Department of Energy’s Energy Saver guidance identifies freeze protection as a design requirement for solar water-heating systems in climates where freezing occurs. The practical implication is clear: a replacement collector without a corrected freeze-protection strategy can fail again during the next outage or cold snap.
| Commissioning check | Typical target or action | Failure meaning | Corrective action |
|---|---|---|---|
| Cold loop pressure | 30-50 psi, if specified | Low pressure or rapid loss | Find leak and refill |
| Glycol concentration | Manufacturer chart for local design low | Weak freeze protection | Drain or adjust mixture |
| Air removal | No gurgling or flow interruption | Airlock or poor purge | Purge at separator |
| Relief valve | Dry at operating pressure | Overpressure or failed valve | Check vessel and replace valve |
| Pump differential | Measurable supply-return change | No circulation | Check air, power, pump |
| Controller sensors | Plausible collector and tank values | Sensor fault or bad placement | Test resistance and wiring |
What Does Solar Hot Water Repair Cost?
Typical U.S. repair costs range from $150-$600 for accessible valves, pipe sections, or a small number of evacuated tubes, while a complete flat-plate collector replacement commonly reaches $1,200-$3,500 installed. Roof access, local labor, collector availability, glycol disposal, and hidden damage produce the largest variation.
| Repair option | Typical parts and labor | Typical time | DIY suitability |
|---|---|---|---|
| Exterior copper section | $150-$400 | 2-4 hours | Moderate, plumbing skills required |
| One evacuated tube | $100-$250 | 30-90 minutes | Moderate, manufacturer procedure required |
| Several evacuated tubes | $300-$900 | 1-4 hours | Moderate |
| Glycol flush and recharge | $250-$600 | 2-4 hours | Low to moderate |
| Flat-plate collector | $1,200-$3,500 | 1-2 days | Low |
| Tank or heat exchanger | $2,000-$5,500 | 1-3 days | Low |
Repair economics change when the collector is more than 15-20 years old, replacement parts are unavailable, the absorber grid has several ruptures, or roof labor requires scaffolding. A $300 patch may be rational for a newer system, but repeated failures can make a drainback conversion or full replacement less expensive over five winters.
Which Prevention System Should You Choose?
A properly designed drainback system offers the strongest passive protection against water freezing, while a closed glycol loop suits installations where piping cannot drain continuously. Direct recirculation and freeze valves can work in mild climates, but both depend on power, functioning controls, or reliable water service.
| Protection strategy | Freeze behavior | Maintenance | Best fit |
|---|---|---|---|
| Glycol loop | Fluid remains in collectors | Test concentration every 2-3 years | Cold climates and complex roof routing |
| Drainback | Collector water drains indoors | Verify slope and pump controls | New installations with suitable geometry |
| Recirculation | Warm tank water circulates | Requires power and controls | Mild freezes and direct systems |
| Freeze valve | Discharges cold water | Valve inspection and water supply | Limited mild-climate protection |
| Heat trace | Adds electrical heat | Cable and thermostat testing | Short exposed pipe sections |
| Collector replacement | Corrects physical damage | Does not fix bad design alone | Newer system with isolated failure |
How do you prevent repeat damage?
Use the local design minimum temperature, not the average winter temperature, when selecting glycol concentration or freeze controls. Protect exterior piping with UV-resistant closed-cell insulation, eliminate sags, support valves, and place vulnerable pumps and expansion equipment where they can be serviced without unsafe roof access.
A drainback conversion is not a simple valve upgrade. The roof supply and return lines need continuous slope, an indoor drainback reservoir, suitable pump controls, and enough vertical clearance for reliable gravity drainage. One trapped low point can recreate the original freeze failure.
Common Mistakes and Recovery
- Opening the supply fully: This can flood a split roof collector. Close the valve, drain from the lowest safe point, and pressure-test isolated sections.
- Using automotive antifreeze: Drain contaminated fluid into an approved container and flush the loop according to local disposal rules before installing solar-rated propylene glycol.
- Patching only the visible crack: Inspect adjacent risers, headers, valves, and insulation because ice pressure commonly affects more than one location.
- Testing a hot collector: Allow safe cooling before service. Thermal shock from cold water can damage glass or absorber components.
- Overpressurizing a frozen loop: Do not force fluid through ice. Warm the component naturally or use an approved service procedure.
- Ignoring the expansion vessel: A failed bladder can cause relief discharge after repair. Check pre-charge and replace the vessel if water exits the air valve.
A practical technician rule is to treat every freeze event as a system-design investigation. The broken component is the evidence, not always the root cause.
FAQ
Can I use a solar water heater after one tube breaks?
A single broken evacuated tube may allow limited operation if the manifold is intact and no glycol or water leaks. Isolate the affected tube according to the manufacturer’s instructions, protect the open socket from weather, and arrange replacement before normal operation. A leaking manifold requires full loop isolation.
How often should solar glycol be tested?
Test solar-grade propylene glycol at least every two to three years, and sooner after a leak, overheating event, or top-up with unknown fluid. A refractometer measures freeze protection, while pH and reserve-alkalinity testing can reveal chemical degradation that concentration alone will not identify.
Why does the pressure-relief valve drip after freezing?
A dripping relief valve can indicate freeze expansion, an overcharged loop, failed expansion-vessel capacity, or a relief valve damaged by ice or debris. Check the pressure when cold, inspect the vessel, and replace a valve that will not reseat. Do not cap or obstruct the discharge line.
Is a drainback system better than glycol?
Drainback is usually better where roof piping can maintain continuous downward slope and the indoor reservoir can accommodate the collector volume. Glycol is better where geometry prevents complete drainage or where pumps and controls can be maintained reliably. Neither design compensates for poor installation or blocked piping.
Can a plumber repair solar thermal collectors?
A plumber can repair accessible plumbing, but collector construction, glycol charging, controller setup, roof access, and manufacturer warranties may require a solar-thermal technician. Ask whether the contractor can pressure-test the loop, verify glycol concentration, inspect expansion equipment, and commission the controller.
Should I replace the entire system after freeze damage?
Replace the system when several collector sections failed, the tank or heat exchanger is compromised, parts are discontinued, or the existing freeze protection cannot be corrected economically. Repair a newer system when damage is localized, the collector passes testing, and the underlying protection strategy is suitable for the climate.
The Bottom Line
The safest solar hot water system freeze damage fix is to isolate the system, identify every failed component, repair or replace damaged collectors with compatible parts, and commission the loop using verified pressure and freeze protection. Direct systems often need a design upgrade, while glycol or drainback protection can prevent the same failure from returning.