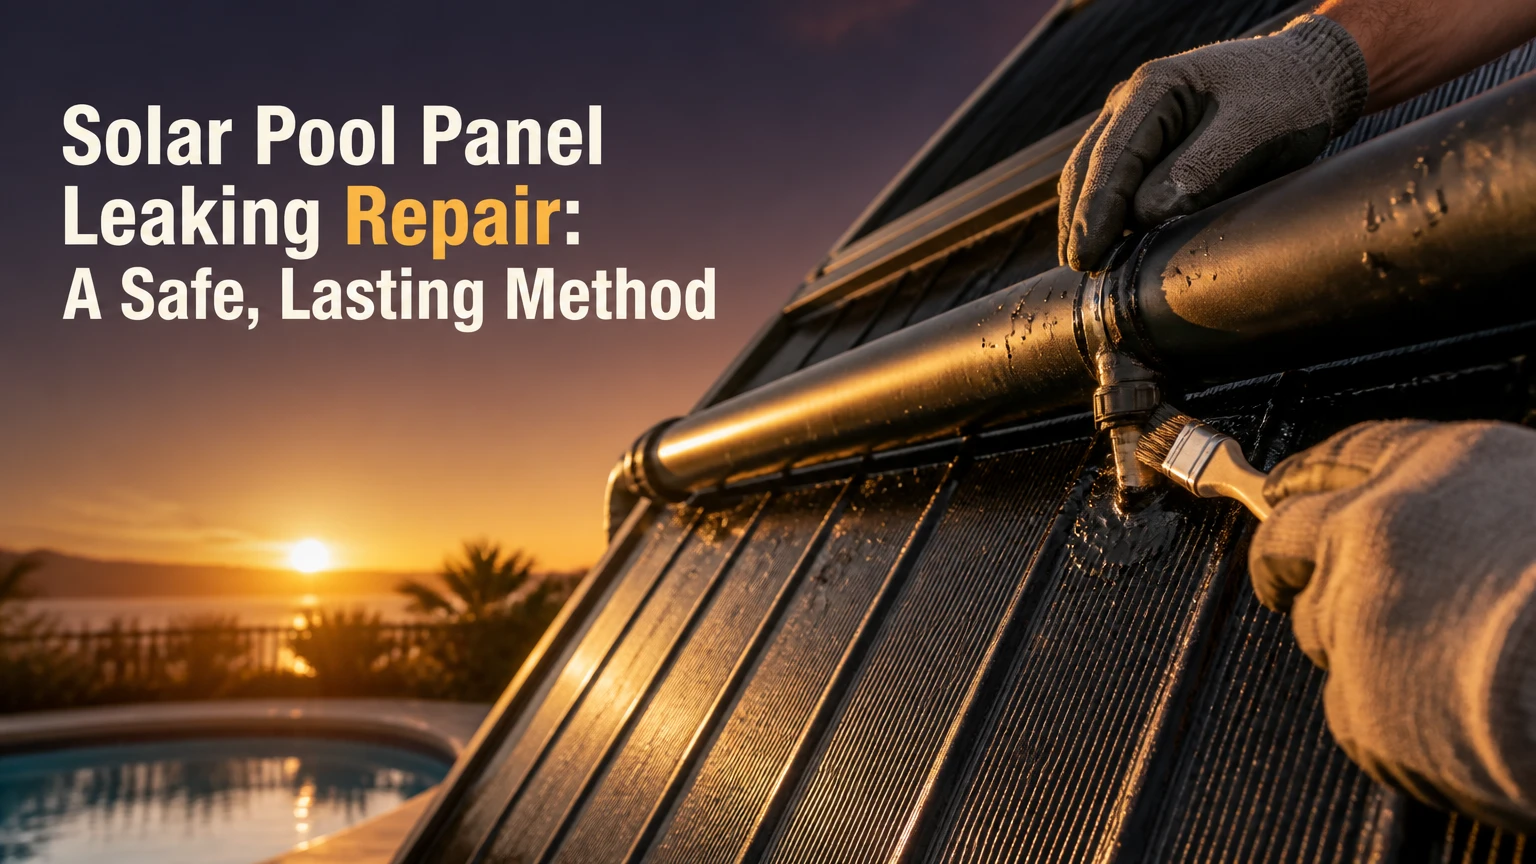
Solar pool panel leaking repair usually means isolating a damaged collector tube, header, coupling, or valve connection, then sealing or replacing the failed component. The safest durable fix depends on the panel material, leak location, system pressure, roof access, and number of damaged tubes. Many single-tube leaks are repairable in 30-90 minutes.
Key Facts
Solar pool collectors commonly use polypropylene plastic or EPDM rubber, and adhesive compatibility differs substantially between them.
A tube plug isolates one damaged passage, while a header crack can compromise the whole collector.
Turn off the pump and solar valve, drain the panels, and verify zero pressure before cutting or loosening a connection.
Typical DIY material cost is $5-$40 for a tube, coupling, or small header repair.
Sealant cure time commonly ranges from 12-24 hours, but the product label controls the restart time.
A recurring leak across several tubes usually indicates aging, freeze damage, ultraviolet exposure, or excessive system stress rather than one isolated puncture.
What Is Solar Pool Panel Leaking Repair?
Solar pool panel leaking repair is the process of restoring water containment in a solar pool heating collector. Pool water travels through narrow tubes or channels, absorbs heat from sunlight, and returns to the pool through a header manifold and plumbing connections.
Solar pool panels do not all use the same construction. Rigid polypropylene collectors often have many parallel molded tubes connected to larger headers, while flexible EPDM systems use rubber channels or mats. The repair method that works on one material can fail on another because polypropylene has low surface energy and resists many common adhesives.
A leak can appear anywhere from the collector to the pool plumbing. The visible water may not identify the failed part, especially when water runs beneath a roof-mounted array before dripping at its lowest edge.
| Leak location | Typical visible symptom | Likely component | First repair direction |
|---|---|---|---|
| Thin tube center | Fine spray with pump running | Punctured collector tube | Manufacturer plug or approved tube isolation |
| Thick header | Continuous split or swollen seam | Polypropylene manifold | Plastic welding or panel replacement |
| Panel-to-panel joint | Drip between adjacent collectors | O-ring, coupler, or clamp | Replace seal and inspect fitting |
| Roof penetration | Water below mounting area | Flashing or roof seal | Roofing inspection before collector repair |
| Supply or return pipe | Leak near valve or elbow | PVC, CPVC, or flexible hose | Plumbing fitting repair |
How Does a Solar Collector Leak?
A solar collector leaks when a tube, manifold, seal, or connection develops an opening that system pressure can exploit. Common causes include bird or branch impact, freeze expansion, ultraviolet embrittlement, manufacturing damage, thermal cycling, and excessive pressure caused by a closed valve or blocked passage.
Pump-on leakage usually indicates a pressure-side failure. A leak that appears only after the pump stops can involve drain-down behavior, a vacuum relief valve, or a connection that admits air as water leaves the array.
Pool chemistry also affects service life. The U.S. Environmental Protection Agency identifies pH control and disinfectant management as core pool-maintenance requirements; abnormal chemistry can accelerate deterioration of elastomers, metals, and some plastics, although chemistry alone does not explain every collector failure.
Which Panel Materials Change the Repair?
Polypropylene collectors generally require mechanical isolation, compatible plastic repair methods, or replacement because many household adhesives bond poorly to their slick surface. EPDM rubber mats can accept some rubber-compatible adhesives, but movement and heat cycling still make surface patches less reliable than replacing a damaged connector or section.
Check the collector label, installation manual, or manufacturer repair kit before cutting a tube. A Fafco panel, Heliocol collector, and generic rubber mat may use different tube dimensions, plugs, couplers, and allowable isolation procedures.
Before You Start: Tools, Cost, and Risk
A single tube repair typically takes 30-90 minutes of work, plus 12-24 hours of curing. Typical DIY material cost is $5-$40, excluding a roof-access ladder, replacement panel, or specialist tool.
Do not work on a roof when the surface is wet, hot enough to soften footwear grip, or inaccessible without fall protection. A leaking roof-mounted array can create a roofing problem, and a collector repair does not restore damaged flashing or membrane.
| Item | Typical quantity | Typical cost | Purpose |
|---|---|---|---|
| Manufacturer tube plugs | 2-4 plugs | $5-$20 | Isolate one damaged passage |
| Stainless screws, if approved | 2-4 screws | $2-$6 | Emergency mechanical closure |
| Outdoor silicone or polymer sealant | 1 cartridge | $8-$18 | Secondary water barrier |
| 120-180 grit abrasive pad | 1 sheet | $2-$5 | Surface preparation |
| Grease pencil and inspection mirror | 1 each | $3-$12 | Mark and inspect leak |
| Replacement O-ring or coupler | 1-2 units | $10-$30 | Repair panel connections |
Manufacturers often specify their own plugs and insertion tools. A generic screw is an emergency measure, not a universal factory-approved repair, because screw length, thread profile, plastic thickness, and thermal expansion vary.
How Do You Repair a Solar Pool Panel Leak?
Repair a single accessible tube leak by shutting down and draining the solar circuit, confirming the damaged passage, isolating the tube with a compatible plug, allowing the sealant to cure, and testing gradually. The highest success factor is accurate leak identification combined with a completely dry, mechanically sound repair surface.
Step 1: Isolate the Solar Circuit
Turn off the pool pump and place the solar diverter or isolation valve in the bypass position. If the system has an automatic controller, disable its solar call so the valve cannot reopen during work.
Wait until the panels drain through the system’s designed drain path. Open only the drain or service point identified by the installation instructions. Never loosen a pressurized union or cut a collector tube while water remains trapped.
Success checkpoint: A pressure gauge, if installed, reads zero, and no water continues draining from the work area.
Common mistake: Closing a valve on only one side of the array and assuming the panel is depressurized.
Step 2: Locate and Mark the Leak
Restore pump pressure briefly only if the system can be operated safely from ground level. Watch the collector, headers, couplings, and nearby plumbing for a spray, bead, or moving wet trail. Mark the exact source with a grease pencil, not a permanent marker that can damage some surfaces.
Use cardboard behind the collector to make a fine spray visible. A dry paper towel can identify a slow seep at a coupling, although it should not be left in direct sunlight.
Success checkpoint: You can identify the originating tube or fitting rather than the lowest point where water accumulates.
Common mistake: Repairing the first drip seen at the bottom edge while the actual puncture is higher on the panel.
Step 3: Drain, Clean, and Dry the Repair Area
Shut the pump down again and drain the solar loop. Wipe the area with a clean, compatible solvent recommended by the sealant or panel manufacturer. Do not use gasoline, aggressive paint thinner, or an unknown solvent on EPDM rubber.
Lightly abrade the surrounding surface with approximately 120-180 grit material when the repair instructions permit it. Polypropylene remains difficult to bond even after scuffing, so mechanical plugs or plastic welding generally outperform a surface-only adhesive patch.
Success checkpoint: The surface is dry, free of algae and sunscreen residue, and visibly dull rather than glossy where abrasion is allowed.
Common mistake: Applying sealant to damp plastic. Trapped water creates channels under the seal and prevents reliable adhesion.
Step 4: Confirm the Repair Method
Use a manufacturer-specific plug when the damaged part is a narrow tube and the collector design supports tube isolation. Some repair kits require cutting a short section of tube and inserting plugs into both open ends, but the exact cut length and plug shape are model-specific.
Do not automatically follow a generic 1/4-inch to 1/2-inch cut instruction. Tube wall thickness and plug geometry differ, and cutting without the correct tool can create a larger, irreparable opening.
For a very small puncture, an approved mechanical plug may be sufficient. A stainless screw coated with compatible sealant can provide a temporary emergency closure, but it should not be treated as equivalent to a matched repair plug.
Success checkpoint: The repair kit instructions identify the collector model or tube dimensions you have.
Common mistake: Using a wood screw, drywall screw, or oversized fastener that splits the tube.
Step 5: Install the Tube Plug or Mechanical Closure
If the manufacturer permits tube isolation, cut only the specified section with a sharp blade or tube cutter. Keep the cut square, remove loose plastic, and insert the correct plug fully into the tube opening. Some systems use one plug at each end of the isolated segment.
Apply only the sealant specified for the plug and panel material. A thick external blob does not compensate for an incorrectly sized plug, and excess sealant can obstruct adjacent channels or collect debris.
Success checkpoint: The plug sits fully, remains aligned, and does not rotate or back out with light hand pressure.
Common mistake: Driving a screw too deeply. The tip can obstruct the channel or puncture the opposite wall.
Step 6: Repair a Header or Manifold Crack Differently
A split in a thick header is not the same repair as a pinhole in a thin tube. Header damage carries more flow and stress, so a surface patch, tape wrap, or small screw often fails when the pump restarts.
For compatible polypropylene, a trained technician may use controlled plastic welding with matching material. A cracked header near a molded tube junction often justifies collector replacement because heat can distort neighboring passages and create additional leaks.
Success checkpoint: The repair has no visible voids, the header remains straight, and adjacent tube entries show no whitening or distortion.
Common mistake: Heating thin collector material with a household heat gun. Uncontrolled heat can enlarge the crack and warp the manifold.
Step 7: Replace a Coupler, O-Ring, or Clamp
A drip between panels usually originates at the connection rather than in a collector tube. Remove the fitting only after the circuit is drained, inspect the mating surfaces, replace the O-ring with the correct size and material, and position the clamp behind the fitting bead rather than on the unsupported tube end.
Tighten a hose clamp enough to compress the seal evenly. Over-tightening can deform a rubber coupling or crack a plastic header, particularly after years of sun exposure.
Success checkpoint: The coupling seats squarely, the clamp remains behind the bead, and the hose cannot slide off with moderate hand force.
Common mistake: Reusing a flattened O-ring because it appears intact.
Step 8: Cure and Test at Low Risk
Allow the sealant to cure for the full label time, commonly 12-24 hours at the stated temperature and humidity. Do not assume a surface that feels firm is pressure-cured internally.
Restart the pump with the solar circuit bypassed, inspect the ordinary pool plumbing, and then open the solar circuit gradually. Watch the repaired area for at least 10 minutes, then inspect again after the system reaches normal operating temperature.
Success checkpoint: The repair remains dry during startup, steady flow, and a warm operating cycle.
Common mistake: Testing immediately because the pool is losing water. Premature pressure can lift uncured sealant or force a plug out.
Which Repair Method Holds Best?
A matched tube plug is generally the best choice for one punctured collector tube, while plastic welding or panel replacement is better for a cracked header. Epoxy, tape, and household silicone are surface treatments with limited reliability on pressurized, sun-heated polypropylene.
| Method | Typical material cost | Expected use | Main limitation | Best decision |
|---|---|---|---|---|
| Matched tube plug | $5-$20 | One or several approved tube isolations | Requires model compatibility | Preferred single-tube repair |
| Stainless screw and sealant | $4-$15 | Emergency pinhole closure | Can loosen during thermal cycling | Temporary or accessible repair |
| Plastic welding | $15-$40 DIY materials | Compatible header crack | Requires heat control and skill | Technician-led manifold repair |
| Epoxy putty | $8-$20 | Low-pressure temporary patch | UV and movement can cause failure | Short-term leak control |
| Waterproof tape | $6-$15 | Emergency drip reduction | Poor long-term roof exposure | Temporary only |
| Full collector replacement | $250-$600 panel | Widespread cracking or aging | Higher labor and access cost | Multiple or recurring failures |
A counterintuitive field rule is that a visually tiny header crack can be more serious than several isolated tube pinholes. The header carries the combined flow of many channels, so pressure and thermal movement concentrate at the manifold.
What Does Solar Pool Panel Repair Cost?
Typical DIY solar collector repairs cost $5-$40 in parts, while professional service commonly costs $100-$400 for localized work and $500-$1,200 for a panel replacement. Roof access, travel, panel brand, mounting method, and whether plumbing must be rebuilt can move the final price substantially.
These are typical U.S. service ranges, not fixed prices. A contractor may charge a minimum visit fee before labor, and a roof-mounted system may require a second trade when flashing or roof membrane damage is present.
| Repair scope | DIY time | DIY materials | Typical professional price | Replacement trigger |
|---|---|---|---|---|
| One tube isolation | 30-90 minutes | $5-$20 | $150-$300 | Second leak in same area |
| Coupler or O-ring | 15-45 minutes | $10-$30 | $100-$200 | Crushed header or brittle hose |
| Header repair | 1-3 hours | $15-$40 | $200-$400 | Split reaches tube junction |
| One collector replacement | 2-4 hours | $250-$600 | $500-$1,200 | Several cracked passages |
| Array plumbing repair | 1-4 hours | $20-$150 | $200-$700 | Valve, pipe, or roof access failure |
How Many Tubes Can You Plug?
There is no universal safe percentage, including a guaranteed ten-percent limit, for every solar collector. The acceptable number depends on tube count, manufacturer hydraulics, panel arrangement, pump pressure, and whether isolated tubes are distributed across the collector.
Plugging one or two tubes in a large panel may have little measurable effect, while repeated isolation can increase flow through the remaining passages and reduce heat transfer. Follow the collector manufacturer’s limit rather than applying a generic percentage.
Record every isolated tube on a service diagram. If leaks continue after several repairs, replacement is usually more rational than progressively reducing the collector’s active area.
Why Does a Solar Collector Leak Again?
A solar collector often leaks again because the original damage is part of wider material aging, the adhesive never bonded, the tube was cut incorrectly, or system pressure and thermal cycling remain unchanged. Repeated failures across the same panel are evidence against another cosmetic patch.
| Repeat-failure pattern | Likely cause | Diagnostic action | Corrective response |
|---|---|---|---|
| Same plug leaks within 24 hours | Wrong plug or wet surface | Inspect fit and cure | Reinstall matched plug |
| New pinholes nearby | UV-aged plastic | Flex-test only when cool | Replace collector |
| Coupling drips after clamp tightening | Flattened O-ring | Remove and inspect seal | Install correct O-ring |
| Leak appears after freeze | Trapped water expansion | Review winterization | Drain or replace damaged panel |
| Spray increases with pump speed | Excess pressure or restriction | Check valves and filter | Restore design flow |
| Roof remains wet after panel fix | Flashing or membrane damage | Hose-test roof separately | Hire a roofing professional |
The Pool Water Treatment Advisory Group and regional health departments consistently emphasize maintaining balanced pool water, but balanced chemistry cannot repair sun-brittle plastic. Chemical maintenance reduces avoidable material stress; it does not reverse ultraviolet aging.
Common Mistakes and How to Fix Them
- Using duct tape or general-purpose repair tape: Remove it, clean the residue, and use a compatible mechanical repair. Roof heat and ultraviolet exposure quickly undermine household tape adhesives.
- Applying regular silicone to polypropylene: Silicone may seal around a correctly installed plug, but it often peels from bare polypropylene. Use a mechanical plug, compatible primer system, or plastic welding method specified for the collector.
- Restarting the pump before cure completion: Drain the circuit again, inspect for plug movement, and repeat the repair if the seal lifted. Extending cure time is safer than adding more sealant over a failed layer.
- Over-tightening clamps: Replace the clamp and inspect the header for deformation. A clamp should compress the coupling evenly, not cut into the rubber or flatten the plastic.
- Cutting a tube without the repair kit: Stop before enlarging the opening. Obtain the correct plug and dimensions from the panel manufacturer.
- Ignoring the vacuum relief valve: Air bubbles or water loss after shutdown may involve the vacuum relief valve at the highest point. Inspect its seal and mounting before cutting into collectors.
Can You Repair a Flexible Rubber Solar Mat?
A flexible rubber solar mat can often be repaired at a coupling or replaceable section, but a split in the heated rubber channel is less predictable than a rigid collector tube repair. Rubber-compatible adhesive, patch material, and surface preparation must match EPDM or the specific elastomer.
Clean and dry the rubber fully, round sharp patch corners, and follow the adhesive manufacturer’s pressure and temperature limits. A patch that feels secure at room temperature may peel when the mat expands on a hot roof.
Replace the mat when cracking appears in several channels, the rubber feels chalky or stiff, or connectors no longer grip. Flexible systems move more than rigid panels, so repeated surface patches often have poor service life.
When Is Panel Replacement Sensible?
Panel replacement is sensible when several tubes leak, a header is split, the collector material is brittle, or repair attempts fail in different locations. A single panel replacement typically costs $250-$600 for materials and $500-$1,200 installed, with roof access and plumbing changes affecting the total.
Replacement also makes sense when the array is approximately 10-15 years old and multiple components show ultraviolet damage. Age alone does not prove failure, because collector life varies by climate, installation quality, water chemistry, and material.
When Should You Hire a Technician?
Hire a solar thermal technician for roof work without safe access, pressurized header damage, multiple leaks, unknown plumbing configuration, or suspected freeze damage. Hire a roofing professional separately when water enters below flashing, penetrations, shingles, membrane seams, or roof decking.
A technician should verify pump flow, valve position, pressure behavior, vacuum relief operation, and collector compatibility. Repairing a tube while leaving a closed valve or blocked filter can cause a repeat failure.
FAQ
Can I use epoxy on a solar pool panel?
Epoxy can provide a short-term patch on some rigid plastics, but it is not a dependable universal repair for polypropylene collector tubes. Thermal expansion, ultraviolet exposure, wet surfaces, and pressure cycling can separate the epoxy. Use a manufacturer-approved plug or welding method for a lasting repair.
Should solar panels be drained in winter?
Solar pool panels should be drained when freezing conditions threaten the collector and the installation instructions require seasonal drainage. Water trapped in tubes or headers can expand during freezing and split the plastic. Follow the system’s drain path rather than forcing compressed air into an array not designed for it.
Why does my pool lose water only when solar heating runs?
Water loss only during solar operation usually indicates a pressure-side leak in the collector, header, valve, or connecting pipe. Bypass the solar circuit and compare the pool water level over the same period. A continuing loss with solar bypassed points toward ordinary pool plumbing, evaporation, or the pool shell.
Can a leaking solar panel lower pool pressure?
A leaking solar panel can reduce return flow and may prevent the system from holding normal pressure, but pool pressure readings vary with filter condition, valve position, pump speed, and plumbing layout. Check the filter and valves before treating a low reading as proof of a collector leak.
How long does a solar pool panel repair last?
A matched plug in sound collector material can last for the remaining service life of the panel, while a screw, tape, or surface epoxy patch may last days to seasons. Localized repairs last longest when the plastic is not brittle and the system operates within manufacturer pressure limits.
Is solar pool panel repair worth doing?
Solar pool panel repair is worth doing when one accessible tube, O-ring, or coupler has failed in an otherwise sound array. Replacement is usually the better financial decision when several areas leak, the header is cracked, the collector is brittle, or roof access makes repeated service expensive.
The Bottom Line
Solar pool panel leaking repair should begin with diagnosis, complete drainage, and material identification, not with tape or a random adhesive. Use a matched plug for an approved single-tube isolation, replace failed couplers and O-rings, and reserve plastic welding or full panel replacement for header damage and widespread aging. A careful repair restores heating without creating excess restriction or a roof leak.