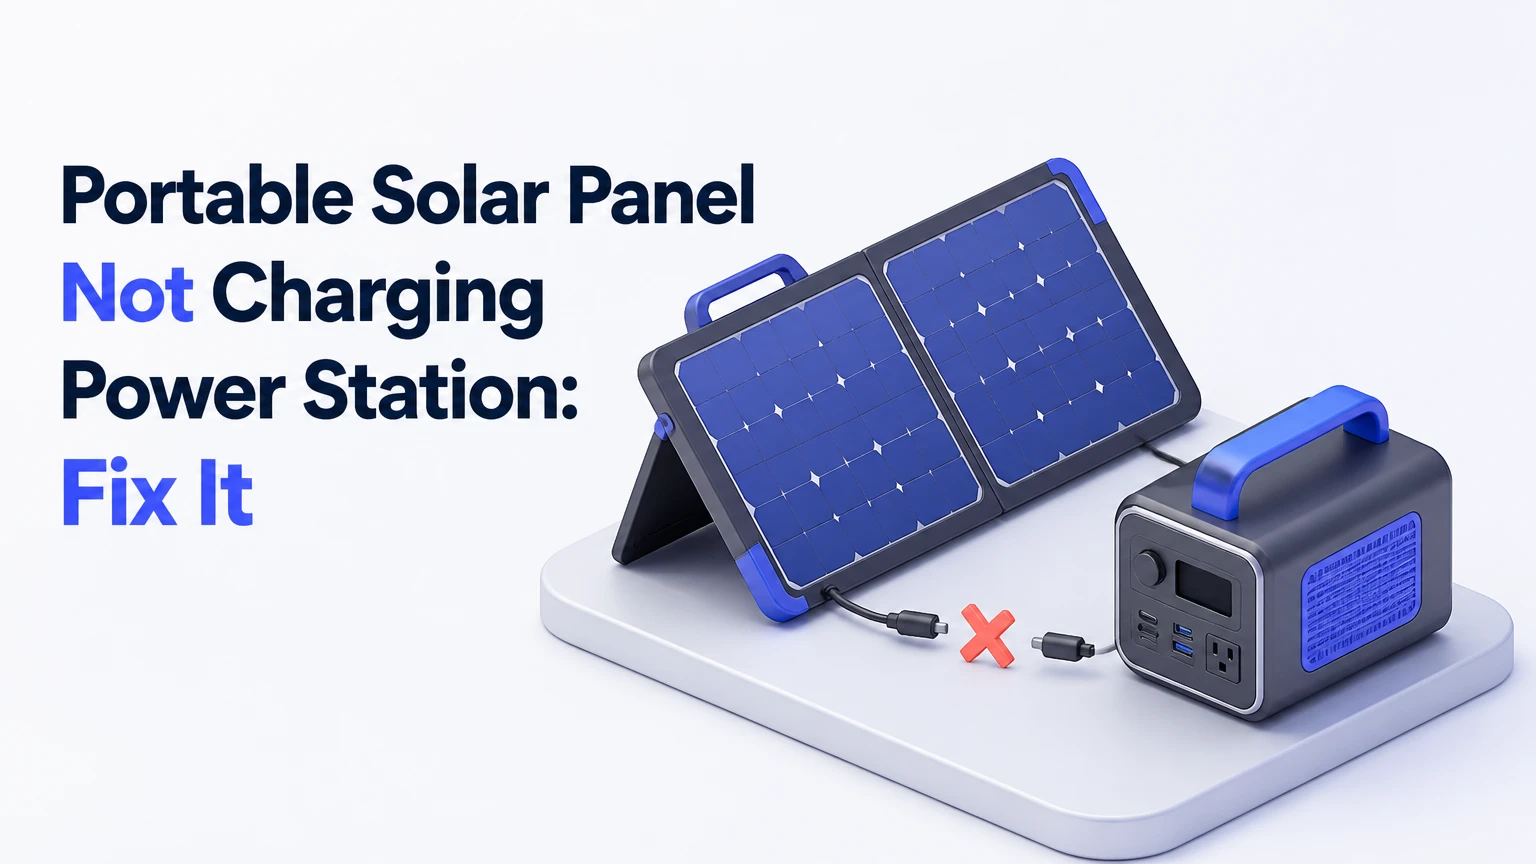
A portable solar panel not charging a power station usually indicates an incompatible voltage range, incorrect cable polarity, insufficient sunlight, a protected battery, or a damaged connection. Check the station’s solar-input limits first, then test panel voltage, inspect adapters, remove shade, and retry with the battery within its permitted temperature range.
Key Facts at a Glance
A solar panel’s Voc must remain below the power station’s maximum solar-input voltage, including the higher Voc produced in cold weather.
A station may show 0 W when panel voltage is below its MPPT startup threshold, even if a multimeter detects voltage.
A 100 W portable panel typically delivers 50-85 W in real outdoor conditions, depending on temperature, angle, clouds, and shading.
MC4, XT60, and DC barrel plugs describe connector shapes, not guaranteed polarity or electrical compatibility.
A power station can reject solar input when its battery is full, too cold, too hot, or already drawing an internal protection fault.
Never connect a panel array that exceeds the station’s voltage, current, or wattage limits.
What Does 0 W Actually Mean?
A power station showing 0 W does not always mean the solar panel produces no electricity. The station may be rejecting a voltage outside its operating window, waiting for sufficient startup voltage, detecting reversed polarity, or limiting input because the battery-management system has interrupted charging.
Portable power stations use an MPPT or PWM controller between the panel and battery. An MPPT controller searches for a voltage and current combination that produces the most usable power. If the panel voltage falls below the controller’s startup threshold, the display can remain at 0 W even when the panel has measurable open-circuit voltage.
A second possibility is normal battery behavior. A full battery, a battery below its cold-temperature limit, or an active fault code can stop charging without indicating a panel failure. Turn off AC appliances during testing, because some displays show net battery input rather than raw solar production.
| Station behavior | Likely meaning | First check |
|---|---|---|
| 0 W immediately | Voltage, polarity, or connector problem | Solar-input specification and cable |
| 1-10 W in strong sun | Partial shade, poor angle, or weak connection | Panel position and plug contacts |
| Input starts then stops | Thermal, battery, or protection limit | Battery temperature and error code |
| Input works only after restart | Controller software or protection latch | Disconnect, reboot, reconnect |
| Input works through AC but not solar | Solar path fault or incompatibility | Panel voltage and adapter continuity |
Which Electrical Ratings Must Match?
The power station and portable solar panel must match across four ratings: operating voltage, maximum voltage, current, and input wattage. Voc alone does not predict charging performance because Voc is measured with no load, while Vmp is the panel voltage at its rated operating point.
Find the station’s solar-input label or manual. A specification such as “11-60 V, 15 A, 500 W maximum” means the connected array must stay between 11 and 60 V, cannot exceed 15 A, and cannot supply more than 500 W under the station’s input rules. A panel with Voc of 22 V and Vmp of 18 V is normally suitable for that example.
Cold conditions require extra caution. Silicon panel Voc rises as temperature falls, so a panel array that measures 58 V in mild weather could exceed a 60 V station limit on a freezing morning. Use the manufacturer’s temperature coefficient when designing a series array.
| Rating | What it means | Failure consequence |
|---|---|---|
| Voc | Maximum unloaded panel voltage | Over-voltage risk if above station limit |
| Vmp | Typical voltage under load | Too low can prevent MPPT startup |
| Imp | Panel current at maximum power | May exceed station current limit |
| Isc | Short-circuit current | Useful for sizing, unsafe as a normal connection |
| Maximum solar watts | Station’s accepted input power | Extra panel wattage is clipped or rejected |
| MPPT range | Controller’s working voltage window | Outside range means weak or zero charging |
Are third-party panels compatible?
Third-party panels are compatible when their electrical ratings, connector wiring, and charging protocol match the station. Brand names do not determine compatibility, and a physically fitting XT60 or DC barrel connector can still have reversed polarity or an incorrect voltage.
A folding “100 W USB solar panel” is a common exception. USB solar panels generally output regulated 5 V, 9 V, or 12 V through USB electronics, while many power stations expect unregulated panel voltage through an XT60, MC4, or DC input. A USB output cannot substitute for a panel input unless the station specifically supports USB charging.
Read the manual for both products. Do not infer compatibility from another owner’s setup because different revisions of the same product can use different input limits.
How Should You Inspect Cables and Polarity?
Inspect the complete charging path, including the panel junction box, MC4 leads, extension cable, adapter, and power-station port. A connector can appear fully seated while its terminal is recessed, corroded, bent, or wired with the wrong polarity.
MC4, XT60, and DC7909 identify connector formats, not electrical standards. Many DC barrel inputs are center-positive, but that convention is not universal. An adapter designed for one brand may connect mechanically while reversing positive and negative leads.
Use a digital multimeter set to DC volts. In bright sunlight, measure the panel’s positive and negative output without shorting the leads. A positive reading indicates the red probe is on the positive conductor; a negative reading indicates reversed probe placement or reversed wiring. Do not use resistance mode on a live panel.
| Test result | Interpretation | Action |
|---|---|---|
| Positive voltage near rated Voc | Panel and polarity probably normal | Compare voltage with station range |
| Negative voltage near rated Voc | Leads or adapter polarity reversed | Stop and correct wiring |
| 0 V in direct sun | Open cable, failed junction, or diode | Test panel and cable separately |
| Voltage below expected Voc | Shade, heat, damage, or load issue | Isolate panel from station |
| Correct voltage but 0 W | Startup, current, or controller issue | Check Vmp, minimum voltage, and fault code |
How can you test the panel safely?
Disconnect the panel from the power station before testing Voc, keep the panel in direct sun, and place the meter probes on the correct positive and negative conductors. Compare the measured voltage with the label, allowing for temperature and irradiance.
A 100 W “12 V” panel often measures about 20-24 V Voc because its nominal battery-system label is not its actual operating voltage. A “24 V” panel may measure 40-48 V Voc. Treat nominal labels as marketing categories and use Voc, Vmp, Imp, and Isc for compatibility decisions.
A panel with normal Voc but no useful current can have a cracked cell, failed bypass diode, broken internal conductor, or damaged junction box. A clamp meter is not normally suitable for low-current DC solar diagnosis unless it is designed for that range.
What Environmental Conditions Stop Charging?
Direct shade, poor orientation, heavy dirt, snow, and indoor glass can reduce panel output below the station’s charging threshold. Portable panels should face the sun outdoors, remain unfolded, and avoid shadows crossing even a small portion of a cell string.
Partial shade can produce a disproportionate loss because cells are electrically connected in groups. A narrow shadow from a railing or cable may reduce the current of an entire group, while bypass diodes can redirect current around shaded sections and reduce total voltage.
Window glass is a poor test environment. It can reduce light transmission, introduce reflection, and prevent the panel from receiving the intensity required for MPPT startup. A panel may produce a few volts indoors but still fail to charge.
| Condition | Typical effect on a 100 W panel | Practical response |
|---|---|---|
| Clear sun, correct angle | 60-95 W | Keep panel cool and aimed at sun |
| Thin cloud | 20-70 W | Wait for brighter intervals |
| Dense cloud | 5-30 W | Expect slow or no charging |
| Partial shadow | 0-60 W | Move every panel section into sun |
| Behind window glass | 0-50 W | Test outdoors instead |
| Dust or pollen coating | 5-20% loss | Clean with water and soft cloth |
Does panel angle matter?
Panel angle affects daily energy more than many users expect. A portable panel produces its strongest output when its surface faces the sun as directly as possible, while a flat panel loses power when sunlight strikes at a shallow angle.
For a stationary setup, begin around 30-45 degrees and adjust toward the sun’s position. True south is a useful starting direction in the Northern Hemisphere, while true north is generally better in the Southern Hemisphere. Magnetic compass readings require local declination correction, especially away from the central United States.
A fixed angle is acceptable for short tests. For a full day, repositioning the panel every two to three hours can improve total collection, although the gain depends on season, latitude, and obstruction.
Can Temperature Prevent Solar Charging?
Power-station battery temperature protection can stop solar charging even when the panel and cable are correct. Many lithium iron phosphate stations restrict charging near 0°C, while the upper cutoff commonly falls around 45°C, although each manufacturer sets its own limits.
Panel heat has a different effect. Photovoltaic voltage generally falls as cell temperature rises, so a panel operating on a hot roof can deliver less voltage and power than its laboratory rating. Place the station in shade with ventilation, but do not cover its cooling openings.
Cold weather can improve panel voltage while preventing battery charging. Warm the power station gradually indoors, disconnect the panel, and reconnect only when the display indicates a permitted battery temperature. Do not heat a frozen battery with a heater or sealed heating pack.
What Is the Correct Six-Step Diagnostic Process?
The fastest safe diagnostic process takes 10-20 minutes and isolates the system one component at a time. Start with the station specification, then verify panel voltage, cable polarity, sunlight, battery temperature, and input behavior.
Step 1: Read the station’s solar-input label
Record the minimum and maximum input voltage, maximum current, maximum watts, connector type, and charging temperature range. Photograph the label before connecting unfamiliar adapters.
Success checkpoint: The panel’s Voc is below the station maximum, its Vmp is above the station minimum, and its current and wattage remain within limits.
Common mistake: Comparing the panel’s nominal “12 V” label with the station’s input range instead of using actual Voc and Vmp.
Step 2: Remove every load
Turn off the inverter, USB devices, DC appliances, and AC chargers. A large load can make a station appear to accept little solar power, while some displays report net rather than gross input.
Success checkpoint: The station is awake, the battery is below full, and no overload or temperature warning appears.
Common mistake: Diagnosing solar input while a refrigerator, heater, or inverter is consuming most incoming power.
Step 3: Put the panel in unobstructed sun
Unfold the entire panel outdoors, wipe the surface, eliminate shadows, and aim the surface toward the sun. Keep the power station shaded and ventilated.
Success checkpoint: The panel voltage approaches its expected range and the station displays solar input within several seconds to a few minutes.
Common mistake: Testing through a window or under a vehicle awning.
Step 4: Test Voc and polarity
Disconnect the panel from the station and measure DC voltage with a multimeter. Check both the sign of the reading and its approximate value against the panel label.
Success checkpoint: A 100 W panel labeled around 22 V Voc produces a similar reading in strong sunlight.
Common mistake: Measuring current by placing the meter directly across the panel, which can short the output and damage the meter.
Step 5: Test the cable chain
Reconnect one cable section at a time. Examine MC4 locks, barrel pins, XT60 housings, fuse holders, and extension joints for corrosion, looseness, heat discoloration, or bent contacts.
Success checkpoint: The panel works with the shortest known-good cable and adapter.
Common mistake: Adding another adapter before proving that the original cable works.
Step 6: Reset and reconnect correctly
Disconnect the panel, turn the station off, wait 60 seconds, restart it, connect the adapter to the station, and then connect the panel. Follow the manufacturer’s instructions if they specify another sequence.
Success checkpoint: The display shows voltage and wattage without a fault code.
Common mistake: Repeatedly plugging and unplugging an over-voltage array, which can stress connectors and controller protection circuits.
How Do Series and Parallel Connections Change Results?
Series wiring adds panel voltage while keeping current near the current of the weakest panel. Parallel wiring adds current while keeping voltage near the panel voltage, so the correct choice depends on the station’s MPPT range and current limit.
For example, two panels rated at 20 Vmp and 5 A Imp produce approximately 40 Vmp and 5 A in series, or 20 Vmp and 10 A in parallel. Series wiring may help a long cable run because higher voltage reduces current-related cable loss, but cold-weather Voc must remain below the station’s maximum.
Parallel arrays need matching voltage and ideally similar panel orientation and specifications. Use proper MC4 branch connectors, fusing where required, and never combine panels casually because one shaded or mismatched panel can limit array output.
| Configuration | Example Vmp | Example Imp | Main risk |
|---|---|---|---|
| One 100 W panel | 20 V | 5 A | Voltage below station minimum |
| Two in series | 40 V | 5 A | Cold-weather over-voltage |
| Two in parallel | 20 V | 10 A | Station current limit exceeded |
| 100 W plus 200 W in parallel | 20 V | Unequal | Mismatch and uneven output |
What If Solar Charging Stops After It Starts?
Charging that starts and stops usually indicates thermal protection, unstable voltage, a loose connector, a full battery, or an array exceeding the controller’s operating limit. The display pattern matters more than the single 0 W reading.
Watch whether the station reports input voltage before the wattage falls. If voltage collapses when current begins, suspect a weak panel, high-resistance cable, poor adapter, or panel voltage that falls below the MPPT range under load. If voltage remains stable but charging stops, inspect battery temperature, state of charge, and fault messages.
A long thin cable can work during a brief test yet fail under load. Solar extension cables should be sized for their length and current. As a practical rule, 10 AWG cable is preferable for higher-current arrays or runs approaching 25-50 feet, while shorter 12 AWG runs may suit modest panels.
How Long Should Solar Charging Take?
Solar charging time equals usable battery watt-hours divided by actual solar watts, with an allowance for controller and battery losses. A 500 Wh station receiving a sustained 100 W input typically needs about 5.5-7 hours from empty, not five hours exactly.
Rated panel wattage is a laboratory maximum. A 100 W panel commonly averages 50-85 W during strong outdoor charging, while clouds, heat, angle, shading, and cable loss can reduce that figure further. The station’s maximum input can also clip a larger array.
Use this estimate:
Charging time = battery capacity in Wh ÷ average solar input in W ÷ system efficiency
For a 500 Wh battery, 80 W average input, and 85% effective charging efficiency, the estimate is about 7.4 hours. Manufacturers may quote shorter times because they use peak sun, partial battery state, or a higher input figure.
| Station capacity | Panel rating | Typical sustained input | Typical empty-to-full time |
|---|---|---|---|
| 250 Wh | 100 W | 50-85 W | 4-6 hours |
| 500 Wh | 200 W | 100-170 W | 4-6 hours |
| 1,024 Wh | 200 W | 100-170 W | 7-11 hours |
| 2,000 Wh | 400 W | 220-340 W | 7-10 hours |
Which Repair or Replacement Option Makes Sense?
The lowest-cost fix is usually a correctly wired cable or adapter, not a new panel. Replace the panel only after a direct-sun Voc test, cable bypass, and compatibility check show that the panel itself cannot provide stable voltage or current.
Typical US consumer costs vary by brand and season. A replacement MC4-to-XT60 cable may cost $15-$35, a multimeter $15-$40, a 100 W folding panel $100-$250, and a 200 W panel $220-$500. A replacement power station can cost several hundred dollars, so controller-port diagnosis is worthwhile before purchase.
| Remedy | Typical cost | Typical time | Best use |
|---|---|---|---|
| Clean and reseat connectors | $0 | 5-10 minutes | Dirt or loose contact |
| Replace adapter cable | $15-$35 | 10-20 minutes | Polarity or broken lead |
| Replace extension cable | $25-$90 | 15-30 minutes | Voltage drop or heat |
| Replace 100 W panel | $100-$250 | 20-45 minutes | Damaged panel |
| Use AC charger temporarily | $0-$60 | 2-8 hours | Solar diagnosis or bad weather |
Portable solar is not always the best emergency charging method. AC charging is faster when grid power exists, and a vehicle DC charger may be more predictable during travel. A solar panel is valuable when fuel, grid access, and sunlight are available, but it cannot provide reliable high-power recovery at night or in deep shade.
What Are the Most Common Expert-Level Mistakes?
Three mistakes repeatedly cause unnecessary replacements. First, users choose a panel by wattage alone and ignore the station’s MPPT voltage window. Second, they test a panel in weak indoor light and label it defective. Third, they assume a familiar connector proves correct polarity.
A counterintuitive rule is that a higher-wattage panel may charge more slowly than a lower-wattage panel if its Vmp falls outside the station’s accepted range. Another is that a panel can show normal Voc while having almost no load current because a bypass diode or internal conductor has failed.
Use these practitioner rules:
- Design from the station backward. Start with maximum and minimum input voltage, then select the panel array.
- Test with one known-good path. Remove extensions, splitters, and third-party adapters before condemning hardware.
- Separate voltage faults from power faults. Normal Voc with falling loaded voltage points toward resistance, damage, or insufficient irradiance.
- Protect the controller from cold-weather series voltage. Calculate the array’s worst-case Voc, not its warm-afternoon measurement.
- Do not exceed a station limit to “force” faster charging. MPPT clipping may be harmless within specifications, but over-voltage can trigger protection or damage equipment.
FAQ
Can a 12 V solar panel charge a portable power station?
A panel sold as “12 V” can charge a portable power station only when its actual Voc, Vmp, current, connector, and polarity fit the station’s solar-input requirements. Many 12 V battery panels produce about 18-24 V Voc, while some stations require 28 V or more before MPPT charging begins.
Will a solar panel charge through a car windshield?
A solar panel may produce electricity through a windshield, but the reduced and reflected sunlight often lowers output below the power station’s startup threshold. Windshield tint, glass angle, dashboard shade, and cabin heat make the test unreliable. Place the panel outdoors in direct sun before diagnosing a hardware failure.
Can I leave a portable power station connected overnight?
Do not leave a portable power station connected overnight unless the panel, cable, connectors, and station are approved for that arrangement and protected from moisture. Solar production normally stops in darkness, but reverse-current behavior varies. Disconnect the array when storms, condensation, or unattended outdoor exposure could affect connectors.
Why does my panel charge my battery but not my power station?
A panel can charge a battery through one controller and fail with a power station because the two inputs use different voltage windows, connector polarity, startup thresholds, or maximum-current limits. The separate battery charger may also include an external MPPT controller that accepts a wider range than the station’s built-in controller.
Is a foldable solar panel less reliable than a rigid panel?
A foldable solar panel is easier to transport but has more hinge wiring, fabric stress points, and connector exposure than a rigid framed panel. Rigid panels usually provide better long-term mechanical durability, while foldable panels suit car camping and temporary use. Neither type is automatically compatible with a given station.
When should I replace the power station?
Replace or service the power station when a known-good compatible panel produces correct voltage, a known-good cable has correct polarity, the battery is within its temperature range, and the solar port still shows 0 W after a documented reset. Stop testing immediately if the port smells burnt, becomes hot, sparks, or displays repeated over-voltage faults.
The Bottom Line
A portable solar panel not charging a power station is most often a compatibility or connection fault, not a failed battery. Verify Voc, Vmp, current, wattage, connector polarity, and MPPT range before changing equipment; then test one panel, one short cable, and direct sunlight with all station loads turned off. That sequence isolates the fault safely and usually identifies the repair within 20 minutes.