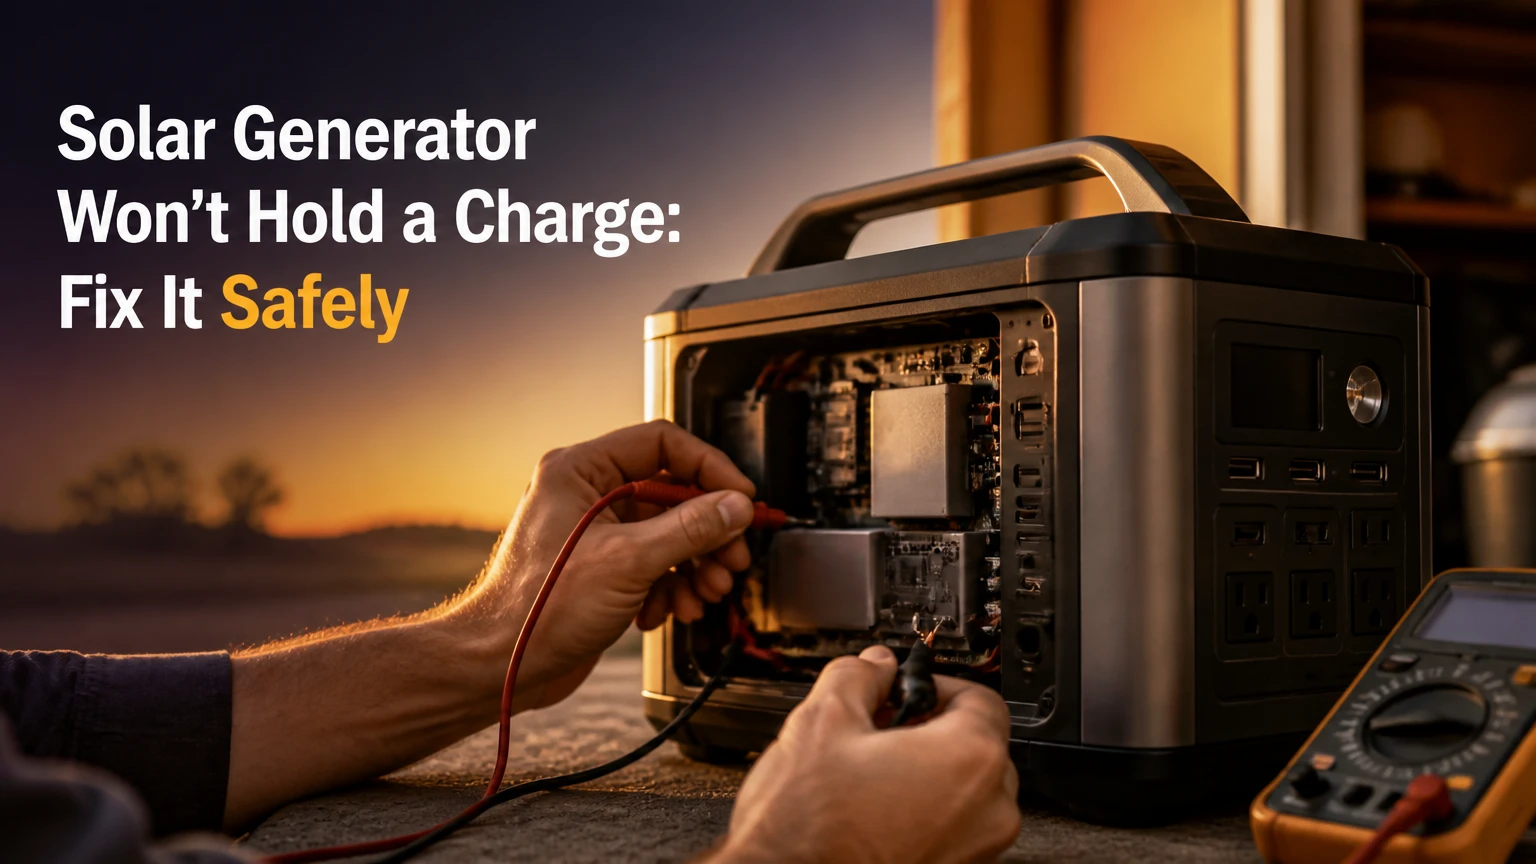
A solar generator that will not hold a charge usually has a worn battery, inaccurate state-of-charge reading, parasitic load, charging-input fault, or BMS protection event. Isolate the charging source first, turn off every output, inspect temperature and cables, then test runtime under a known load before opening the unit or replacing its battery.
Key Facts at a Glance
- A portable power station stores energy in a battery bank and does not create electricity without an external charging source.
- A percentage that falls rapidly can indicate voltage sag, calibration error, excessive load, or reduced battery capacity.
- Charging a lithium battery below 0°C can cause lithium plating and permanent cell damage.
- AC, USB, and 12V outputs can consume energy while no appliance is connected, especially when the inverter remains enabled.
- A battery that reaches 100% but runs for only a small fraction of its former runtime is usually degraded, not merely miscalibrated.
- A solar-only charging failure does not prove that the battery is defective, because panels, cables, connectors, and MPPT inputs can fail independently.
How Does a Solar Generator Lose Stored Energy?
A solar generator loses stored energy through its battery cells, inverter, DC outputs, display electronics, or protection circuitry. The system flow is solar panel or AC charger, charge controller, BMS, battery cells, inverter, and appliance load. A fault anywhere before the battery can prevent charging, while a fault after the battery can create abnormal drain.
The charge controller converts variable solar input into a controlled battery-charging profile. MPPT controllers generally extract more energy than PWM controllers when panel voltage exceeds battery voltage, but an MPPT label does not overcome insufficient sunlight, a damaged cable, or an input voltage outside the generator’s permitted range.
The BMS monitors cell voltage, temperature, current, and balancing. It can stop charging or discharging when a cell reaches an unsafe limit. The inverter then converts battery direct current into household alternating current, and that conversion consumes energy even when the connected appliance uses little power.
What Does the Symptom Usually Mean?
| Observed symptom | Most likely causes | First test | Typical interpretation |
|---|---|---|---|
| Percentage falls from 100% to 70% within minutes | Voltage sag, calibration error, aging cells | Run a 50-100W load | Large drop under light load suggests battery weakness |
| Unit charges by AC but not solar | Panel, cable, connector, shading, DC input fault | Use AC, then measure solar Voc | Battery and AC charger may still be healthy |
| Unit stops charging at 80% | Charge limit, cold or hot battery, cell imbalance | Check app settings and temperature | Often normal protection or configured battery reserve |
| Screen is dead after storage | Over-discharge, BMS sleep state, charger fault | Use the approved charger for 30-60 minutes | No response may require authorized service |
| Battery drains overnight with outputs off | Bluetooth, display, USB standby, inverter fault | Disable every output and record percentage | Persistent loss indicates internal consumption or battery leakage |
| Generator shuts down under a refrigerator | Inverter overload, motor surge, weak battery | Test with a resistive 100W load | Appliance startup watts may exceed inverter capability |
A displayed percentage is an estimate, not a direct measurement of watt-hours remaining. Lithium batteries maintain a relatively flat voltage curve, so voltage alone cannot accurately determine state of charge across the entire range. The BMS combines current integration, voltage, temperature, and learned limits, which explains why a screen can show 100% even when usable capacity has declined.
What Should You Check Before Troubleshooting?
Before troubleshooting a solar generator, gather the manufacturer-approved charger, a known-good wall outlet, the original charging cable, a small resistive load, a phone with the manufacturer’s app, and a digital watt meter if available. Do not open a lithium power station while its battery is connected.
| Preparation item | Typical specification | Purpose | Safety limit |
|---|---|---|---|
| AC charger | Manufacturer-rated voltage and wattage | Establish a known charging source | Do not substitute an unknown adapter |
| Test load | 50-100W lamp or heater | Measure stable runtime behavior | Avoid motors during initial testing |
| Multimeter | DC voltage, CAT II or better | Check panel and cable output | Never probe internal battery terminals |
| Thermometer | 0-50°C range | Check ambient and case conditions | Do not charge frozen cells |
| Timer | 30 minutes to 8 hours | Record charge and discharge rates | Stop if the case heats abnormally |
| Phone app | Current firmware version | View temperature, limits, and errors | Install updates only from the maker |
Time: 45 minutes for basic isolation, or 4-8 hours for a meaningful runtime test.
Difficulty: Basic for external checks; advanced for electrical diagnosis.
Cost: $0 if the original accessories work, $15-$40 for a watt meter, and typically $50-$150 for authorized diagnosis.
Prerequisites: A safe indoor temperature, a compatible charger, and no swelling, smoke, hissing, or chemical odor.
How Do You Diagnose a Solar Generator That Won’t Hold a Charge?
Diagnose the power station in a fixed sequence: isolate the source, remove every load, verify temperature, inspect external protection, charge with the approved AC adapter, and perform a controlled runtime test. The result that matters is watt-hours delivered under a known load, not the percentage shown immediately after charging.
Step 1: Isolate the Charging Source
Disconnect the solar panels, car cable, and all appliances. Connect the original AC charger directly to a known-good wall outlet, then record the displayed input watts and battery percentage after 15 minutes.
You will know the test worked when the screen shows stable input power and the percentage rises. If AC charging works while solar charging does not, focus on panel voltage, shading, connectors, polarity, cable continuity, and the generator’s solar-input limits.
Common mistake: Testing solar charging through a partially shaded panel or a loose MC4 connector. A panel may show its rated open-circuit voltage without delivering useful current under load.
Step 2: Turn Off Phantom Loads
Switch off the AC inverter, USB outputs, 12V output, display, wireless functions, and any expansion-battery ports. Disconnect appliances even when they appear switched off, because some adapters draw standby power.
Typical inverter idle consumption is 5-45W, depending on model and operating mode. At 20W, a 1,000Wh battery can lose roughly 480Wh in 24 hours before conversion losses and battery reserve limits are considered.
You will know the test worked when the battery loses little or no displayed capacity during a two-hour idle test. A loss greater than roughly 2-5% in two hours with every output disabled deserves manufacturer service.
Common mistake: Leaving a refrigerator, CPAP power brick, USB hub, or Wi-Fi accessory connected during the idle test.
Step 3: Check Temperature and Charge Settings
Move the unit indoors and let it reach the temperature specified in the manual. Many lithium power stations prevent charging near or below 0°C, while high-temperature protection commonly activates somewhere around 45-60°C, depending on the cell and BMS design.
Battery University explains the mechanism directly: “Charging lithium-ion batteries at low temperatures can cause permanent damage.” The same principle applies to LiFePO4 cells, although models with low-temperature charging protection may use internal heaters or simply refuse input.
You will know the test worked when the error code clears and the input meter shows charging within the permitted temperature range.
Common mistake: Placing a frozen power station beside a heater or in direct sunlight. Warm it gradually at room temperature instead.
Step 4: Verify Charger, Cable, and Input Port
Compare the charger’s output voltage and connector with the specification printed on the unit or in the manual. Inspect cables for crushed insulation, bent contacts, corrosion, looseness, and heat discoloration.
For solar input, compare panel open-circuit voltage, or Voc, with the generator’s maximum input voltage. A typical 100W panel may produce around 20-24V Voc, while two panels in series can exceed 40V. Exceeding the power station’s maximum DC input voltage can damage the MPPT controller.
You will know the test worked when the generator reports input watts close to the source’s available output under full sun. A 200W panel rarely delivers 200W continuously because temperature, angle, haze, and cable losses reduce production.
Common mistake: Using a panel with the correct connector but the wrong voltage. Connector compatibility does not guarantee electrical compatibility.
Step 5: Inspect External Breakers and Fuses
Check only user-accessible circuit breakers, reset buttons, and external fuse holders described in the manual. Remove charging sources before resetting a breaker, and replace a fuse only with the same type and rating.
A blown input fuse can interrupt charging while leaving the display and inverter operational. A fuse that blows again indicates an unresolved short, surge, water ingress, or component failure.
You will know the test worked when the unit accepts the approved charger without repeatedly tripping protection.
Common mistake: Installing a higher-rated fuse to prevent another failure. That can remove the protection designed to prevent wire or circuit-board damage.
Step 6: Perform a Controlled State-of-Charge Check
Charge the generator to its manufacturer-defined full state, let it rest for 30-60 minutes, and connect a stable resistive load. Record starting watt-hours, output watts, runtime, and shutdown percentage.
Do not intentionally drain a lithium power station to zero as a general “BMS reset.” EcoFlow, BLUETTI, Jackery, and other manufacturers publish model-specific procedures, and a deep discharge can push an already weak cell below its recovery threshold.
You will know the test worked when the unit supplies a predictable fraction of its rated energy. A 1,000Wh unit may deliver approximately 800-900Wh through AC after inverter losses when new, depending on load and operating conditions.
Common mistake: Testing with a refrigerator, pump, or compressor. Motor startup surges make battery capacity and inverter capability difficult to separate.
Step 7: Compare Capacity With the Original Baseline
Calculate delivered energy by multiplying watts by hours for a stable load, or read watt-hours from a reliable inline meter. Compare the result with the original specification while allowing for inverter efficiency, reserve capacity, temperature, and battery age.
| Test result under a stable load | Likely condition | Recommended action | Replacement urgency |
|---|---|---|---|
| 80-95% of rated battery energy | Normal variation for AC output | Continue use and monitor | Low |
| 60-79% of rated energy | Moderate aging or calibration issue | Repeat once using manual procedure | Medium |
| 30-59% of rated energy | Significant degradation or imbalance | Request warranty or battery service | High |
| Under 30% of rated energy | Failed cells, BMS issue, or severe aging | Stop relying on it for backup | Very high |
| Immediate shutdown below 50% display | Severe voltage sag or weak cell group | Stop high-power testing | High |
The battery’s usable output is not identical to its nameplate capacity. A 1,000Wh battery feeding a 100W AC appliance may deliver less than 1,000Wh because the inverter consumes power, the BMS preserves a reserve, and conversion efficiency changes with load.
Step 8: Check for Firmware and BMS Errors
Record every error code before resetting the unit. Check the manufacturer’s support page for firmware notes, because updates can correct display estimates, charging logic, or communication faults, but firmware cannot restore chemically degraded cells.
A BMS reset may clear a temporary protection state, but it cannot repair a swollen cell, broken weld, failed MOSFET, or permanently imbalanced battery pack. If the screen reports cell, temperature, isolation, or overcurrent errors, use authorized service rather than repeatedly cycling the unit.
Which Battery Type Holds a Charge Longest?
LiFePO4 batteries generally retain usable capacity for more charge cycles than NMC lithium-ion batteries, while sealed lead-acid batteries tolerate different applications but weigh more and provide fewer deep cycles. Actual life depends on temperature, charge rate, storage state, depth of discharge, and time spent at full charge.
| Battery chemistry | Typical cycles to 80% capacity | Practical depth of discharge | Common service life | Main failure pattern |
|---|---|---|---|---|
| LiFePO4 | 3,000-6,500 cycles | 90-100% | 8-15 years | Cold charging, heat, cell imbalance |
| NMC lithium-ion | 500-1,000 cycles | 80-90% | 3-7 years | Heat, aging, deep cycling |
| AGM lead-acid | 200-500 cycles | 30-50% preferred | 2-5 years | Sulfation and prolonged low charge |
| Gel lead-acid | 300-700 cycles | 30-50% preferred | 3-6 years | Overcharging and sulfation |
Cycle figures are typical industry ranges, not guarantees for every power station. Battery University’s published technical guidance distinguishes cycle life by depth of discharge and operating conditions, so a shallow 30% cycle can produce far more total service than repeatedly using the full battery range.
LiFePO4 is often the better choice for frequent emergency use, but it is heavier than NMC for the same watt-hour rating. NMC can be more compact, while AGM remains appropriate in some low-cost stationary systems where weight and deep-cycle efficiency matter less.
Why Does the Percentage Drop Instantly?
An instant percentage drop usually results from voltage sag, a poor state-of-charge estimate, a high load, or a cell group that has lost capacity. Voltage sag occurs when internal resistance rises, causing the BMS to detect a low voltage under load even though the resting display previously showed a high percentage.
A 1,500W kettle can cause a much sharper voltage response than a 100W lamp. For that reason, test capacity with a stable resistive load before blaming the battery. If the display recovers after the load is removed, the battery may be aging or the estimate may need recalibration; if the unit shuts down, protection has detected a limit.
What Is the Difference Between Capacity Loss and Calibration Error?
Capacity loss reduces the energy physically available from the cells. Calibration error mainly affects the percentage estimate. A calibration procedure may improve the display, but it cannot make a degraded battery run longer.
Use the manufacturer’s stated calibration process, which may involve charging to a documented full state and allowing a rest period. Avoid generic advice to drain every lithium battery until automatic shutdown, because repeated deep discharge adds stress and may worsen an already weak pack.
Why Does Solar Charging Fail When AC Charging Works?
Solar charging fails independently when the panel voltage, current, connector, cable, or MPPT controller does not meet the generator’s input requirements. AC charging bypasses the solar panel and MPPT path, so successful wall charging proves only that the battery, BMS, and AC charging circuit accept energy.
Check these conditions in order:
- Confirm direct sunlight and remove partial shading from even one panel.
- Inspect MC4 or proprietary connectors for incomplete insertion.
- Measure panel Voc without exceeding the generator’s maximum input voltage.
- Check whether the panel’s operating voltage falls within the MPPT range.
- Test a known-good cable and, if available, a second compatible panel.
- Confirm that the app has not enabled a scheduled charge limit.
A panel rated at 200W may deliver 120-170W in typical outdoor conditions. Panel nameplate power is measured under standardized laboratory conditions, not under every roof, campsite, season, or angle.
How Much Does Repair or Replacement Cost?
Solar generator repair typically costs $50-$150 for diagnosis, $150-$600 for a battery module in smaller units, and $300-$1,200 or more for large replacement packs when parts and labor are available. A new 300-500Wh unit commonly costs $200-$500, while a 2,000-4,000Wh LiFePO4 system often costs $1,200-$4,000.
| Fault or decision | Typical cost range | Typical time | Serviceability | Sensible choice |
|---|---|---|---|---|
| Cable or connector replacement | $15-$80 | 10-30 minutes | User-serviceable | Replace externally |
| External fuse replacement | $5-$25 | 10-20 minutes | Model-dependent | Match exact rating |
| Authorized diagnosis | $50-$150 | 3-14 days | Service center | Use before opening unit |
| Small battery module | $150-$600 | 1-4 weeks | Warranty-dependent | Repair if unit is under 5 years |
| Large battery module | $300-$1,200 | 1-6 weeks | Often restricted | Compare with replacement price |
| New 300-500Wh station | $200-$500 | Same day | Widely available | Replace old NMC units |
| New 2,000-4,000Wh station | $1,200-$4,000 | Same day | Widely available | Replace failed large units |
Repair makes financial sense when the unit is under warranty, the battery is replaceable, and the repair quote is below roughly 50% of an equivalent replacement. Replacement is more defensible when the unit has a swollen battery, repeated BMS faults, water damage, obsolete charging ports, or a repair quote near current retail pricing.
How Should You Store a Solar Generator?
Store a lithium solar generator indoors at approximately 20-80% charge, away from moisture and direct heat, and inspect it every three to six months. Avoid storing lithium units at 0% for months, but also avoid keeping them continuously at 100% when the manufacturer gives a lower long-term storage target.
| Storage situation | Recommended charge target | Inspection interval | Required action |
|---|---|---|---|
| One-month storage | 40-80% | Monthly | Check display and case temperature |
| Three-month storage | 40-70% | Every 2 months | Top up if below 30% |
| Six-month storage | 50-80% | Every 3 months | Charge with approved adapter |
| Winter storage below 0°C | 40-60% | Before use | Warm indoors before charging |
| Emergency-ready storage | 80-100% if manual permits | Monthly | Test outputs and recharge after use |
LiFePO4 and NMC batteries should not be charged while frozen. High heat also accelerates aging, especially when the pack remains fully charged. A shaded, dry room is safer than a vehicle, attic, unheated shed, or sealed outdoor box.
When Should You Stop Troubleshooting?
Stop troubleshooting immediately if the power station swells, emits smoke, smells sweet or solvent-like, becomes unusually hot, hisses, leaks, or shows melted plastic. Disconnect external charging only if doing so is safe, move people away, and contact the manufacturer or local emergency services for a serious thermal event.
Do not puncture, compress, freeze, immerse, or place a damaged lithium battery in household waste. Do not bypass a BMS, bridge a fuse, connect a bench power supply directly to cells, or open a sealed pack unless you are qualified to work on high-energy battery systems.
UL 2743 covers portable power packs and similar household equipment, but certification does not make a damaged unit safe to repair casually. The enclosure can contain high current even when the screen is dark.
Can You Fix a Solar Generator That Won’t Hold a Charge?
You can often fix a solar generator when the cause is a loose external cable, wrong charger, disabled output setting, tripped breaker, temperature lockout, or inaccurate display estimate. A worn battery, failed BMS component, blown internal fuse, damaged MPPT controller, or shorted cell normally requires warranty service or replacement.
Use this decision rule:
- AC and solar both fail, but the display works: check charger compatibility, temperature, external protection, and BMS errors.
- AC works and solar fails: troubleshoot the panel, cable, connectors, MPPT voltage, and solar input port.
- The unit charges normally but dies quickly: measure delivered watt-hours under a stable load.
- The unit shuts down at high wattage only: compare appliance startup watts with continuous and surge inverter ratings.
- The case is swollen or hot: stop testing and seek professional handling.
- Capacity is below 60% after a repeat test: pursue warranty support or replacement.
FAQ
Can I leave a solar generator plugged in all the time?
A solar generator can remain connected to its approved charger only when the manufacturer permits continuous charging and the unit has functioning charge termination. For long storage, follow the model’s storage percentage instead of assuming permanent 100% charging is harmless. Heat and full-charge time accelerate lithium aging.
Why does my power station charge to 100% so quickly?
A power station that reaches 100% unusually quickly may have a configured charging limit, a low-input charger, an inaccurate BMS estimate, or reduced battery capacity. Check displayed input watts first, then perform a controlled watt-hour test. Fast charging alone does not prove that the battery is healthy.
Can a solar generator recover from zero percent?
A solar generator may recover from a displayed zero percent if the BMS entered sleep mode rather than suffering cell damage. Use only the approved charger and follow the model’s wake-up procedure. If the screen stays dead after the specified recovery period, do not connect an improvised power source.
Does a solar panel keep charging at night?
A solar panel does not provide useful charging energy at night because irradiance is too low. A power station can still lose stored energy overnight through the inverter, USB electronics, display, wireless features, or a connected appliance. Turn every output off before measuring overnight drain.
Is a bigger solar panel better for a weak battery?
A bigger solar panel is not automatically better for a weak battery. The panel must remain within the power station’s maximum Voc, input current, and wattage ratings. Excess voltage can damage the MPPT controller, while excess available wattage may simply be limited by the charger.
How long should a portable power station hold its charge?
A healthy portable power station can retain most of its stored charge for several months when switched off and stored at the manufacturer’s recommended level. A rapid loss of more than a few percent over two hours with every output disabled indicates abnormal drain, measurement error, or battery degradation.
The Bottom Line
A solar generator that will not hold a charge should be tested by source isolation, output shutdown, temperature verification, cable inspection, controlled AC charging, and measured runtime. The exact keyword, solar generator won’t hold a charge, describes several different faults, so replacing the battery before testing solar input, phantom loads, and BMS protection can waste hundreds of dollars. Stop immediately for swelling, heat, odor, smoke, or physical damage, and use authorized service for sealed battery packs.