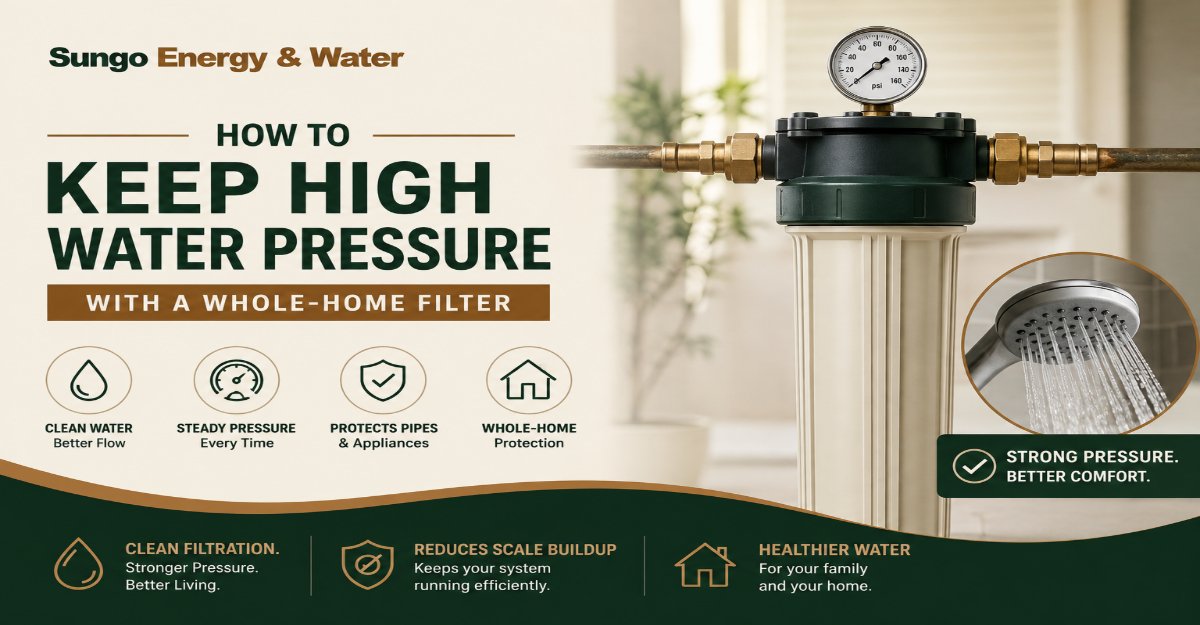
Learning how to keep high water pressure with a whole-home filter requires perfectly balancing your home’s peak Gallons Per Minute (GPM) demand with the filter system’s maximum flow capacity. By calculating your peak usage, up-sizing to 4.5-inch filter housings, utilizing radial-flow cartridges, and plumbing a three-valve bypass loop, you can achieve pristine water in three to five hours of installation time without sacrificing shower performance. The single most critical factor for success is sizing your filter housing to 1.5 times your peak GPM demand.
Before You Start
- Time Required: 1 hour for planning/math; 3–5 hours for plumbing installation.
- Difficulty Level: Intermediate to Advanced (requires pipe-fitting skills).
- Cost: $250 to $800 (for standard cartridge systems) up to $3,000 (for tank systems).
- Tools & Materials:
- Hose bib pressure gauge.
- Two inline liquid-filled pressure gauges (0-100 PSI).
- 4.5″ x 20″ filter housings (with 1″ or 1.25″ ports).
- Three heavy-duty ball valves (matching your pipe diameter).
- Pipe cutter, deburring tool, and connection materials (PEX crimper + rings, or copper soldering kit).
- PTFE pipe tape and liquid pipe thread sealant (pipe dope).
- Prerequisites: Knowing how to shut off your main water line and safely cut into your existing plumbing.
Step 1: Calculate Your Peak Household GPM Demand
Count every water fixture in your home that might realistically run at the exact same time and sum their standard flow rates.
To do this, assign 2.5 GPM to every shower, 1.6 GPM to every toilet, 3.0 GPM to the washing machine, and 1.5 GPM to the kitchen sink. Add the highest combination of fixtures your family might use simultaneously on a busy morning. For example, two showers running (5.0 GPM) while a toilet flushes (1.6 GPM) and the washer fills (3.0 GPM) equals a peak demand of 9.6 GPM.
- Success Checkpoint: You will know you have the correct number when your final calculation falls between 10 and 15 GPM for a standard 3-to-4-bedroom home.
- Common Mistake: Guessing your usage instead of calculating it. If you assume a 5 GPM system is “good enough,” your dynamic pressure will plummet the second two showers are turned on.
Step 2: Size the Filter Housing and Inlet Ports
Select a filter housing engineered to support a flow rate exactly 1.5 times greater than the peak GPM you just calculated, with port sizes that match or exceed your main pipe diameter.
If your peak demand is 10 GPM, purchase a housing rated for at least 15 GPM. Always buy a “Big Blue” style housing measuring 4.5 inches wide by 20 inches tall. Inspect your main incoming water line (usually 3/4-inch or 1-inch). Ensure the threaded inlet and outlet ports on the filter housing are either identical to your pipe size or one step larger (e.g., using a 1-inch port for a 3/4-inch pipe).
- Success Checkpoint: You know you bought the right hardware when the housing requires no reducing fittings to connect to your incoming main water line.
- Common Mistake: Buying 2.5-inch by 10-inch “slim” housings. These are meant for under-sink, point-of-use filtration and will immediately choke your whole-home water pressure.
Step 3: Select High-Flow Filter Cartridges
Install cartridges specifically designed for high flow rates, utilizing 20-micron pleated sediment filters and radial-flow carbon blocks.
Insert a 20-micron pleated filter in the first stage. Pleated filters offer dramatically more surface area than smooth spun-polypropylene filters, allowing water to pass with minimal restriction. If using carbon to remove chlorine, place a “radial-flow” carbon block in the second stage. Radial flow means water travels from the outside of the filter to the hollow core, rather than traveling lengthwise down the entire block (axial flow).
- Success Checkpoint: You will know you have the correct carbon filter if the label explicitly says “Radial Flow” and lists a flow rate of 10 GPM or higher.
- Common Mistake: Using a tight 1-micron or 5-micron nominal carbon block as your only defense. This causes a steep drop in dynamic pressure within weeks as fine sediment blinds the microscopic pores.
Step 4: Plumb the Three-Valve Bypass Loop and Gauges
Plumb a parallel bypass pipe around the filter housing utilizing three ball valves and two pressure gauges to allow for maintenance without halting home water pressure.
Cut your main line and install a T-fitting. The pipe going straight becomes your bypass line (install Valve 1 here, keeping it closed during normal operation). The pipe branching off goes to your filter. Install Valve 2 before the filter housing and Valve 3 after it. Drill and tap inline liquid-filled pressure gauges immediately after Valve 2 (Filter Inlet) and immediately before Valve 3 (Filter Outlet). Apply 3 to 4 wraps of PTFE tape followed by a thin smear of pipe dope on all threaded gauge and port connections before tightening.
- Success Checkpoint: It works when you can close Valves 2 and 3, open Valve 1, and still have full water pressure inside the house while the filter housing is completely isolated and depressurized.
- Common Mistake: Plumbing the filter backwards. Reversing the “Inlet” and “Outlet” ports will crush the filter cartridge inward under pressure, instantly destroying it and stopping water flow.
Step 5: Purge Air and Verify Pressure Differentials
Bleed trapped air from the system and establish your baseline clean-filter pressure drop to set your maintenance schedule.
Turn on the main water supply slowly with Valve 2 open and Valve 3 slightly closed. Press and hold the red pressure-relief button on top of the filter housing cap. Keep it depressed until all hissing stops and a solid, steady stream of water squirts out. Fully open Valve 3. Go to a bathtub and run the cold water on full blast for 5 minutes to flush out loose carbon fines. While the tub is running, walk back to the filter and read the two gauges. Subtract the Outlet gauge PSI from the Inlet gauge PSI to find your baseline differential pressure (usually 2 to 4 PSI).
- Success Checkpoint: You’ll know the system is perfectly commissioned when the water runs crystal clear in the tub, and the PSI variance between the two gauges is under 5 PSI while the water is flowing.
- Common Mistake: Skipping the air purge. Trapped air compresses and creates “water hammer” shocks when valves open, which can shatter plastic filter housings.
Common Mistakes and How to Fix Them
- Fouled Media Causing Pressure Drops: If the variance between your inlet and outlet gauges exceeds 10 to 15 PSI while water is running, the media is blinded. Fix: Isolate the system using the bypass loop, depressurize the housing via the red button, and swap in a fresh cartridge or trigger a manual backwash cycle.
- Micro-Leaks at the Port Threads: A slow drip from the 1-inch threaded ports indicates improper sealing, which bleeds system pressure. Fix: Shut off the water, unthread the fittings, clean the threads entirely, apply 4 wraps of high-density PTFE tape, coat lightly with liquid pipe dope, and re-torque to the manufacturer’s spec.
- Stacking Too Many Stages: Running 4 to 5 distinct cartridge filters in a series will naturally degrade flow due to cumulative restriction. Fix: Remove redundant stages, or if all are necessary (e.g., sediment, iron, carbon, UV, post-filter), install an inline booster pump before the filtration array.
- Iron Algae Slime Clogging Spin-Downs: A 50-micron spin down filter clogging every 48 hours means you have bacterial iron. Fix: Standard mesh cannot handle iron bacteria. Bypass the spin-down and install an automated oxidizing backwash tank (like a Katalox Light system).
Variations Based on Water Source
Large Families on Municipal Water
High demand requires high throughput. Skip multi-stage complex layouts and install a dual-stage 4.5-inch x 20-inch Big Blue system. Use a 20-micron pleated sediment pre-filter followed directly by a high-flow radial-flow carbon block. This handles high GPM loads and chlorine removal without dropping shower pressure for multi-bathroom homes.
Private Well Owners with High Sediment
Well water clogs standard cartridges too quickly, destroying pressure. Deploy an automated backwashing tank system equipped with Turbidex or NextSand media, preceded by a 100-micron spin-down filter for coarse rocks. The automatic self-cleaning cycle ensures zero ongoing cartridge restriction.
Urban Condos with Space Constraints
If you lack the wall space for 20-inch housings, opt for a single-stage 4.5-inch x 10-inch Big Blue housing. Use a high-flow, surface-grooved dual-purpose cartridge (sediment exterior, carbon interior) to maintain pressure within a strict footprint.
How Long Does It Take / What Does It Cost
- Standard Cartridge System (Big Blue): Takes 3–5 hours to plumb. The housings and bypass valves cost $150 to $400. Ongoing maintenance runs $50–$100 every 3 to 6 months for replacement filters.
- Automated Backwashing Tank System: Takes 4–6 hours (requires plumbing a drain line and plugging into a 120V outlet). Initial cost is $1,200 to $3,000. Ongoing maintenance is extremely low; the media bed typically lasts 5 to 10 years before requiring a $200 re-bedding.
Frequently Asked Questions
Does a water filter reduce static or dynamic pressure? Filters rarely reduce static pressure (when faucets are off). They reduce dynamic flow rate (GPM) and dynamic pressure (PSI) by acting as a physical bottleneck while water is actively moving through the pipes.
Why did my water pressure drop suddenly after weeks of working fine? A sudden drop indicates the filter has reached its dirt-holding capacity. Once sediment completely coats the outer surface of the cartridge, water cannot physically pass through, resulting in a severe pressure differential.
Can I increase water pressure by just turning up my well pump switch? Turning up the well pump pressure switch (e.g., from 40/60 to 50/70 PSI) increases static pressure, but it will not fix a restricted flow rate caused by a choked, undersized filter cartridge.
How often should I change my whole-home filter to maintain pressure? Change standard cartridges every 3 to 6 months, or whenever the pressure differential across the filter gauges reaches 10 to 15 PSI while a heavy flow (like a bathtub) is running.
Knowing how to keep high water pressure with a whole-home filter ultimately comes down to treating your plumbing like a highway. By sizing the lanes wide enough (using 4.5-inch x 20-inch housings), choosing high-speed lanes (radial-flow cartridges), and building a detour (the bypass loop), you ensure your household water never encounters a traffic jam.