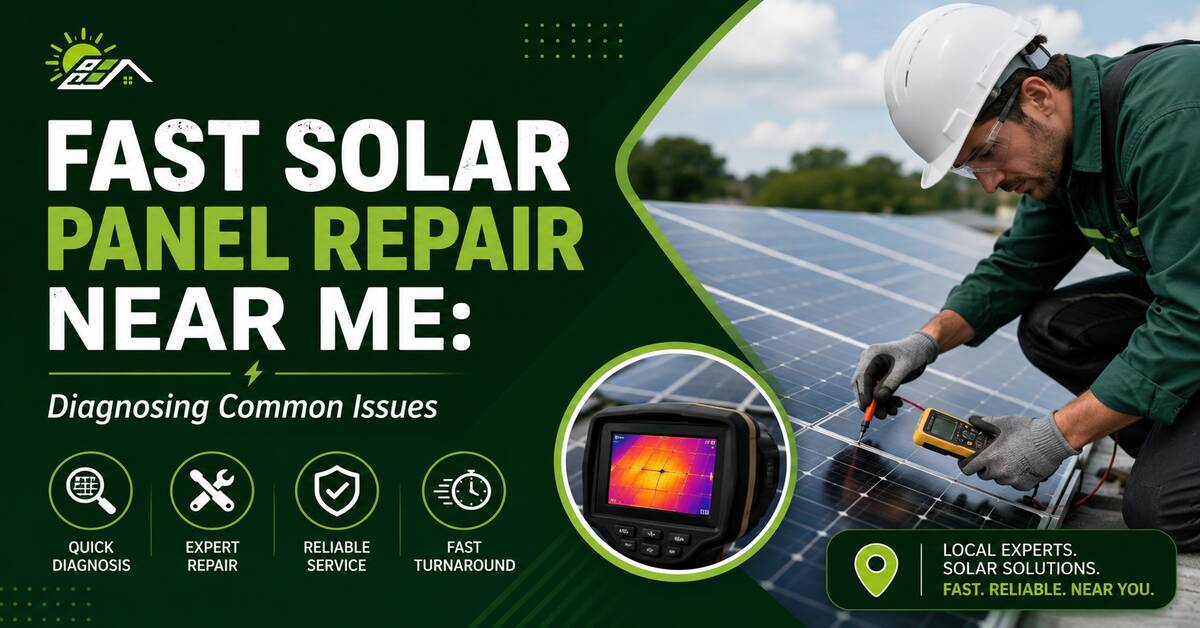
Fast solar panel repair is a same-day or next-day diagnostic and restoration service that resolves sudden power loss, physical damage, and electrical faults in residential and commercial photovoltaic (PV) systems. A certified technician uses thermal imaging and electrical testing to isolate the fault a failed inverter, cracked module, burnt diode, or damaged wiring and restore full energy production, usually within one to three hours for common issues.
Key Facts at a Glance
- Most fast solar repairs are completed in 1–3 hours once the technician is on site with the correct part.
- Typical repair costs range from $150 for a diode swap to $3,500 for a string inverter replacement; a standard service-call fee runs $150–$300.
- A production drop greater than the normal 0.5%–0.8% annual degradation rate signals a fault, not aging.
- String inverters last 10–15 years; panels carry a 25-year performance warranty, so an inverter usually fails first.
- Only a NABCEP-certified technician should perform DC-side repairs — a general handyman can void your manufacturer and racking warranties.
- A ground fault or isolation error is a safety hazard: leaving it active can scorch electronics and, in rare cases, cause a roof fire.
How Does Fast Solar Panel Repair Work?
Fast solar repair works by tracing the path of electricity from the panels to the grid and finding the exact point where current stops flowing or resistance appears. A PV system generates DC electricity in the cells, routes it through junction boxes and NEC 690.12 rapid-shutdown devices, and sends it to an inverter that converts DC to usable AC. When one component fails, the circuit either opens (zero output) or develops resistance (a partial drop), and the inverter logs an error code.
The technician’s job is diagnostic, not guesswork. Module-level data from an Enphase or SolarEdge monitoring platform often pinpoints the failing panel before anyone climbs the roof. On systems without module-level monitoring, the technician works string by string, comparing live electrical readings against the manufacturer’s baseline. “Fast” repair is fast because the diagnosis is systematic the tools tell the technician where to look instead of forcing a full-array teardown.
How Do You Diagnose Common Solar Panel Problems?
You diagnose solar problems by matching the symptom to its likely cause, then confirming with electrical measurement. Below is the exact sequence a field technician follows and the ground-level checks a homeowner can safely do first.
Homeowner checks you can do safely from the ground
Before you call anyone, rule out the simple causes. These checks are safe because they touch only labeled AC-side switches, never DC wiring.
- Zero output: Confirm the solar breaker in your main service panel has not tripped, and that the exterior AC disconnect is switched to ON.
- Sudden 20%–40% drop: Look for leaf litter, bird droppings, snow, or new tree shade on the array; check your monitoring app for a “string fault” or offline-microinverter alert.
- Blinking red inverter light: Photograph the alphanumeric error code on the display. Give it to your technician so they arrive with the right part.
Never open a combiner box, DC disconnect, or panel junction box yourself. Photovoltaic strings carry 300–600 volts of direct current even when the AC side is off, and DC arc flash does not self-extinguish the way AC does.
The technician’s five-step diagnostic process
- Step 1 : Visual inspection. The technician scans for shattered glass, delamination, frame corrosion, scorched junction boxes, chewed wiring, and “snail trails” (dark discoloration lines that reveal microcracks).
- Step 2 : Thermal imaging. A handheld or drone-mounted IR camera locates hot spots. A cell running 10–20°C hotter than its neighbors indicates an internal short, a failed bypass diode, or a shaded cell forcing reverse current.
- Step 3 : Electrical testing. At the combiner box or DC disconnect, the technician measures open-circuit voltage (V_oc) and short-circuit current (I_sc) and compares them to the module’s datasheet. Low V_oc points to a bad panel or connection; low I_sc points to soiling, shading, or degradation.
- Step 4 : Component isolation. If a string reads low, the technician tests individual modules and module-level power electronics (MLPEs) microinverters and optimizers one by one to find the culprit.
- Step 5 : Insulation-resistance test. For any ground-fault or isolation code, the technician runs a megohmmeter test. Per IEC 62446-1, insulation resistance is measured in megohms (MΩ) not the “50 ohms” figure sometimes cited online with a typical minimum around 1 MΩ for systems above 120 V. A reading below threshold means moisture ingress or damaged insulation.
Symptom-to-cause quick reference
| Symptom | Most likely cause | Who fixes it | Typical urgency |
|---|---|---|---|
| Zero output, no inverter lights | Tripped breaker, dead inverter, grid outage | Homeowner check, then technician | Same day |
| Steady red light + error code | Isolation, ground, or arc fault | Certified technician only | Urgent, shut down if instructed |
| One panel dark in the app | Failed microinverter/optimizer or module | Technician | 1–2 weeks (not hazardous) |
| Gradual 15%+ decline over months | Soiling, PID, or aging modules | Cleaning or technician | Low |
| Burning smell / visible scorch | Failed junction box or connector | Technician, de-energize now | Emergency |
What Are the Most Common Solar Panel Issues?
The most common solar failures, in real-world order of frequency, are inverter faults, MLPE failures, physical module damage, wiring damage, and burnt bypass diodes. Inverters and microinverters cause the majority of service calls because they contain the only actively switching electronics in the system.
| Repair type | Technical detail | Typical price | Time to fix |
|---|---|---|---|
| String inverter failure | Firmware fault, capacitor failure, or full replacement | $500 – $3,500 | 1 – 3 hrs (part on hand) |
| Microinverter / optimizer swap | Single MLPE unit under the rack | $300 – $700 | 1 – 2 hrs |
| Physical panel damage | Cracked glass or shattered sub-module from hail/branches | $300 – $900 per panel | 1 – 2 hrs per panel |
| Wiring & conduit repair | Re-splice rodent, UV, or crimp damage | $200 – $600 | 1 – 3 hrs |
| Junction box / diode repair | Swap burnt bypass diode in rear J-box | $150 – $350 | 45 – 90 min |
| Roof leak & re-flashing | Unmount, replace flashing, remount | $1,500 – $5,000 | 1 – 2 days |
Beyond these, technicians regularly find failure modes the monitoring app never names: potential-induced degradation (PID), where system voltage leaks current to the frame and silently shaves output; light-induced degradation (LID) in the first weeks of life; EVA delamination, where the encapsulant clouds and lets moisture in; and hot-spot damage, where a shaded or cracked cell overheats and cooks its own backsheet. These are the issues an infrared scan catches early and a spreadsheet of monthly kWh totals never will.
How Much Does Solar Panel Repair Cost Near You?
Expect $150–$300 for the diagnostic service call plus parts and labor, with total common repairs landing between $150 and $900. An inverter replacement is the outlier at $500–$3,500, driven almost entirely by the price of the unit itself. Emergency or after-hours dispatch typically adds a 25%–50% premium, and remote or rural addresses add travel time.
Two variables move the price more than anything on the parts list. The first is whether your equipment is still manufactured: replacing a discontinued optimizer can mean re-engineering a section of the array. The second is roof access a steep-pitch or three-story roof requires fall-protection setup that can add an hour of billable labor before any repair begins. Always ask whether the quote is flat-rate or time-and-materials before the technician arrives.
How Long Does Fast Solar Repair Take?
Most fast solar repairs take 1 to 3 hours on site once the technician has the correct replacement part. Diode swaps and single microinverter replacements are often finished in under 90 minutes; a string inverter swap runs 2 to 3 hours including commissioning and re-registering the unit with the monitoring platform.
The delay in “fast” repair is rarely the labor it is parts availability. If your inverter is in stock locally, same-day service is realistic. If it is backordered, you may wait one to three weeks for shipping, during which the system stays offline. This is exactly why module-level monitoring pays off: catching a failure early lets the part ship before your production season peaks.
Should You Repair or Replace Your Solar Equipment?
Repair the specific failed component if the system is under 12 years old and the part is still available; replace the whole inverter or module if the equipment is discontinued, out of warranty, and the repair cost exceeds roughly half the replacement price. There is no universal answer the decision turns on age, warranty status, and part availability.
| Option | Best for | Upfront cost | Warranty impact |
|---|---|---|---|
| Component-level repair (diode, wire, connector) | Newer systems, isolated faults | Low ($150–$600) | May void module seal warranty if J-box is opened |
| MLPE / inverter replacement | Failed electronics, still-supported models | Medium ($300–$3,500) | Fresh manufacturer warranty on the new unit |
| Full re-and-re (remove & reinstall) | Roof leaks, structural faults | High ($1,500–$5,000+) | Solves root cause; days without production |
Quick verdict by situation. A homeowner with a five-year-old Enphase system and one dead microinverter should replace that single unit under warranty. A homeowner with a 13-year-old string inverter that has failed twice should replace the inverter outright rather than repair it a third time. A commercial site with a roof leak under the array needs the full re-and-re-patching around panels never lasts.
How Do You Find a Reliable Solar Repair Service Near You?
Find a reliable local solar repair service by prioritizing NABCEP certification, an active electrical or C-46 solar contractor license, and willingness to work on equipment they did not install. The single most important filter is whether the company touches other installers’ systems many will not, which is why homeowners of bankrupt installers struggle to find help.
Ask these questions before you book:
- “Are your technicians NABCEP-certified?” The North American Board of Certified Energy Practitioners is the field’s benchmark credential; uncertified work can void warranties.
- “Do you service my inverter brand?” SolarEdge, Enphase, SMA, Fronius, Tesla, and Generac each require brand familiarity and, sometimes, manufacturer authorization for warranty parts.
- “Is the diagnostic fee credited toward the repair?” Reputable shops roll the service call into the final bill; be wary of anyone quoting a firm repair price before diagnosis.
- “Will this repair affect my existing warranties?” Opening a panel’s junction box or using non-OEM parts can void module and racking warranties get the answer in writing.
If your original installer is out of business, search for “third-party solar O&M” (operations and maintenance) providers rather than installers; O&M firms specialize in orphaned systems.
Who Pays Warranty or Insurance?
Whether you pay out of pocket depends on the failure type. Manufacturer warranties cover component defects a panel producing below its guaranteed curve, or an inverter that dies inside its 10-to-25-year term. Workmanship warranties from the installer cover bad wiring, leaks, and mounting errors, typically for 5–10 years. Homeowners insurance generally covers sudden physical damage from hail, wind, or falling branches, subject to your deductible.
The trap is the gap between them. Normal wear, rodent damage, and lightning are frequently excluded from all three. Before paying, file the claim that fits: a hail-cracked panel is an insurance claim, a dead-on-arrival microinverter is a warranty claim, and a squirrel-chewed wire is usually a maintenance expense you eat yourself.
Common Mistakes to Avoid
- DIY high-voltage repair. PV strings carry lethal DC voltage even in daylight with the AC off. Amateur DC work risks arc flash, electrocution, and fire this is the one repair category where “just watch a video” gets people killed.
- Ignoring a ground-fault or isolation error. Leaving the system energized in this state can scorch electronics and degrade neighboring panels. Shut the system down at the AC disconnect and call a technician.
- Hiring an uncertified handyman. A general contractor’s DC work can instantly void manufacturer and racking warranties turning a $300 repair into an uninsurable system.
- Pressure-washing the panels. High-pressure water and harsh chemicals cause thermal shock that shatters tempered glass and delaminates the anti-reflective coating. Rinse with a hose and deionized water on a cool morning instead.
When Fast Solar Repair Isn’t Worth It
Fast repair is the wrong call in three honest cases. First, on a system past 20 years old, where modules are already near end-of-life and any single fix buys only marginal time a full re-power often makes more financial sense. Second, when the inverter is discontinued and unsupported, forcing an expensive workaround that a modern replacement would eliminate. Third, on badly under-designed original installs, where chronic faults trace back to undersized wiring or poor layout that no component swap can cure.
I have seen homeowners spend $1,200 nursing a decade-old inverter through three service calls that a single $1,800 replacement would have ended. Fast repair excels at discrete, sudden failures. It is not a substitute for replacing equipment that has structurally reached the end of its service life.
Frequently Asked Questions
How do I know if my solar panels need repair or just cleaning? If output recovers after a rain or a gentle hose-down, it was soiling. If the drop persists, appears in your monitoring app as a specific panel or string fault, or comes with an inverter error code, it is a fault requiring a technician not a cleaning.
What does a solid red light on my inverter mean? A solid or blinking red light indicates a fault the inverter has stopped working around most often a grid, ground, isolation, or arc fault. Photograph the exact error code shown on screen and give it to your technician; the code determines which part they bring.
Can I replace a solar panel myself? No. Even one panel sits in a live DC string carrying hundreds of volts, and mismatched replacement modules can damage the whole string. Self-repair also voids manufacturer and racking warranties. This is licensed, certified work.
How often should solar panels be serviced? Residential arrays need professional inspection roughly every 3–5 years, or immediately after hail, high wind, or a production alert. Commercial arrays benefit from annual thermal drone scans to catch microcracks and hot spots before they cascade into string failures.
Is same-day solar repair actually possible? Yes, when the fault is diagnosed remotely from monitoring data and the part is stocked locally common for diodes, connectors, and mainstream microinverters. Same-day service is unlikely when a backordered string inverter must ship, which can take one to three weeks.
Does a repair reset my 25-year panel warranty? No. A component repair does not restart the panel’s performance warranty, and opening a module’s junction box can actually void it. Only installing a brand-new module or inverter starts a fresh manufacturer warranty on that specific unit.
This article covers general diagnostic and repair information. It is not electrical-safety or licensed-contractor advice; always have DC-side work performed by a NABCEP-certified technician.