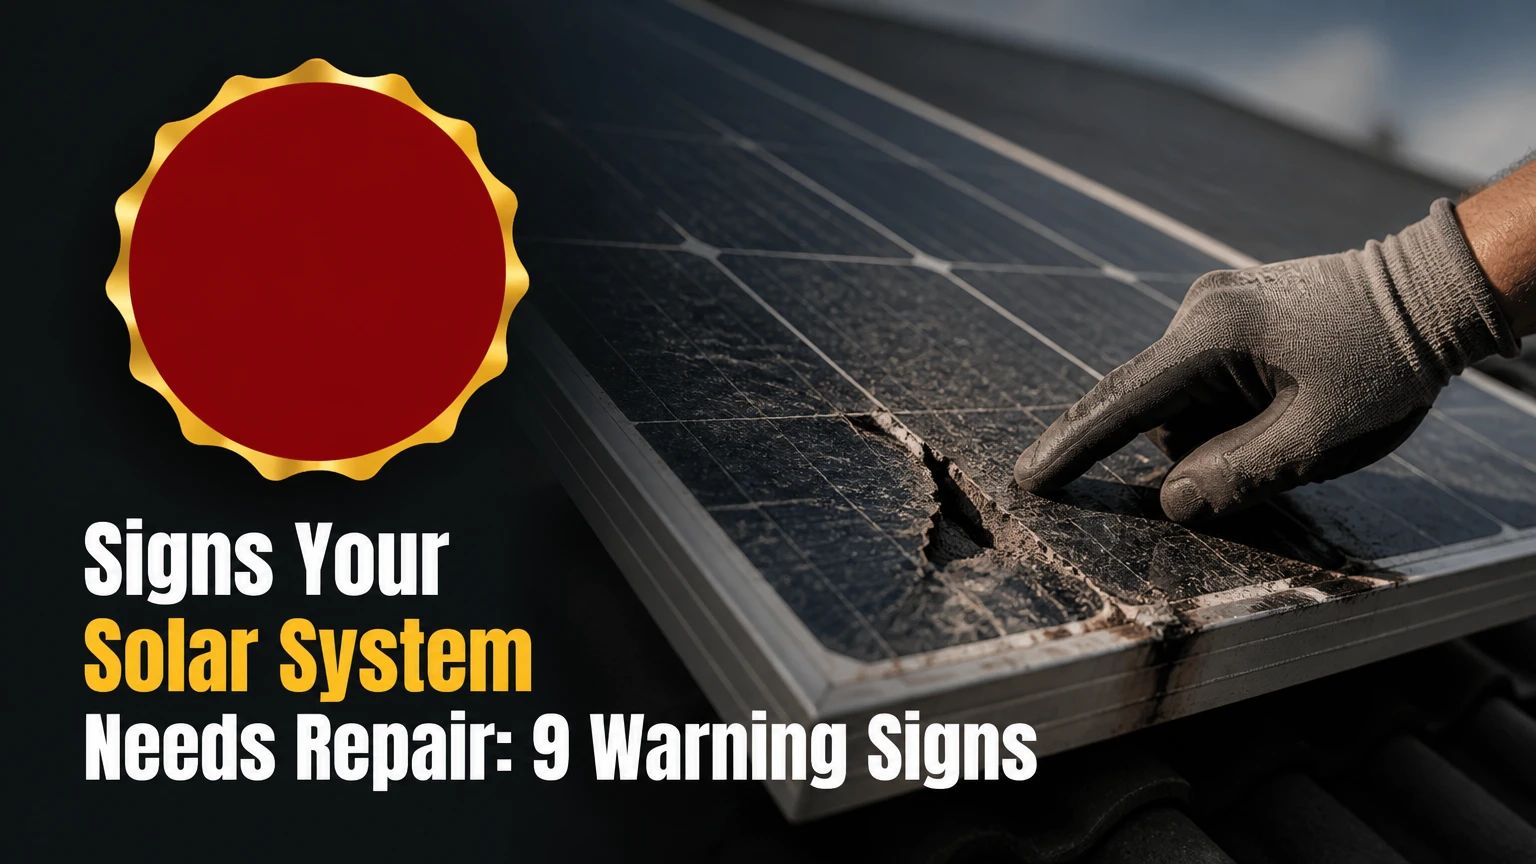
Signs your solar system needs repair include a sudden production drop, repeated inverter faults, a tripped solar breaker, visible panel damage, burning odors, abnormal heat, roof leaks, and monitoring data that no longer matches sunlight conditions. A gradual annual output decline is normal, but an abrupt or localized change usually indicates a component, wiring, structural, or communications problem.
Key Facts at a Glance
A well-performing photovoltaic system commonly loses about 0.5% of output per year, according to NREL’s published degradation research.
A production drop greater than 15%-20% under comparable weather conditions deserves investigation, especially when it begins suddenly.
A burning smell, smoke, visible arcing, melted plastic, or water entering electrical equipment requires immediate professional help.
A string inverter failure can stop the entire array, while one failed microinverter usually affects one panel.
Repeatedly resetting a tripped solar breaker can increase fire and equipment damage risk.
Solar monitoring data, inverter fault codes, utility bills, and a ground-level visual inspection provide the safest first diagnosis.
Which Signs Show a Solar System Needs Repair?
The clearest repair signs are a sudden loss of kilowatt-hours, an inverter that reports a fault, repeated breaker trips, damaged panel surfaces, loose racking, or unexplained roof leaks. Solar systems can remain physically quiet while producing little energy, so production monitoring often detects failure before a homeowner sees damage.
| Warning sign | Likely fault area | Recommended response |
|---|---|---|
| Production falls 20% in similar weather | Soiling, shading, inverter, string, wiring | Compare data, then schedule diagnosis |
| Inverter shows isolation or arc fault | DC wiring, grounding, moisture, inverter | Stop repeated resets and call a qualified technician |
| Brown cell marks or melted backing | Hotspot, bypass diode, cell damage | Keep clear of the roof and request panel testing |
| One panel reports zero output | Microinverter, optimizer, connector, panel | Use monitoring data and arrange panel-level service |
| Array rattles or shifts in wind | Clamps, rails, roof attachments | Avoid roof access and request structural inspection |
| Water appears below the array | Roof penetration or flashing | Document the leak and contact the installer promptly |
A single low-production day does not prove hardware failure. Clouds, snow, wildfire smoke, utility curtailment, temporary grid outages, internet loss, and inverter startup delays can all distort the signal. A repeated pattern across several clear days carries more diagnostic weight.
How Much Panel Degradation Is Normal?
Normal photovoltaic panel degradation is gradual, usually around 0.3%-0.8% of rated output per year, while a sudden 15%-20% decline is more consistent with soiling, shading, equipment failure, or data error. NREL researchers Dirk Jordan and Sarah Kurtz reported, “The median degradation rate was 0.5%/year” in their analysis of photovoltaic degradation.
Panel age alone does not justify a repair call. A 10-year-old 8-kilowatt array might produce somewhat less energy than it did when new, but output also changes with temperature, sun angle, snow, shade, and inverter clipping. Compare the same month in prior years, then adjust for weather and any new obstruction.
| Output pattern | Typical interpretation | Action |
|---|---|---|
| 0.3%-0.8% lower each year | Normal module aging range | Continue monitoring |
| 5%-10% lower after dry weather | Dirt, pollen, bird deposits, or smoke | Inspect from the ground and clean safely |
| 15%-20% lower for one clear week | Hardware, shade, or communications issue | Check inverter and arrange testing |
| 30%-50% lower with one dead string | String fuse, connector, wiring, or inverter channel | Request electrical diagnosis |
| 100% lower across the array | Grid outage, inverter shutdown, breaker, or main fault | Verify status and obtain professional help |
Comparisons should use energy, measured in kilowatt-hours, rather than instantaneous power alone. A hot afternoon can reduce panel voltage, and a system may intentionally clip output when the inverter reaches its maximum AC rating.
How Does a Solar System Fail?
A grid-tied solar system fails when a fault interrupts one link in the path from photovoltaic cells to the utility connection. The normal sequence is panel-generated DC electricity, roof-level conductors, inverter conversion to AC, the solar breaker and main panel, the utility meter, and monitoring communications.
A string inverter combines several panels electrically, so shading, connector resistance, or one damaged module can reduce an entire string. Microinverters convert power at each panel, which limits the effect of a single roof-level failure but increases the number of components exposed to heat and moisture.
| System part | Converts or carries | Common failure symptom | Typical diagnostic clue |
|---|---|---|---|
| PV module | Sunlight into DC power | Cracks, hotspots, low panel output | Visual inspection, IV curve, EL imaging |
| MC4-compatible connector | DC current between modules | Intermittent output, heat, arcing | Thermal scan, connector inspection |
| DC conduit and cable | DC power to inverter | String dropout or isolation fault | Insulation resistance test |
| Inverter | DC electricity into AC electricity | Blackout, error code, zero AC output | Error log, AC and DC voltage tests |
| Solar breaker and panel | AC connection to home | Repeated trips or no production | Breaker position, voltage testing |
| Monitoring gateway | Data transmission | Missing or stale readings | Network and gateway status |
| Rails, clamps, roof mounts | Mechanical support and weather seal | Movement, corrosion, leaks | Torque, attachment, and roof inspection |
A communications failure can look like a power failure. If the monitoring app is offline but the inverter shows normal operation and the utility bill is unchanged, the likely repair may involve internet, gateway, or cellular service rather than panels.
What Do Electrical and Monitoring Symptoms Mean?
Electrical and monitoring symptoms usually reveal whether the problem affects the whole array, one string, one panel, or only the data connection. Whole-system zeros point toward the inverter, breaker, grid, or gateway, while one-panel gaps more often indicate a microinverter, optimizer, connector, or module fault.
Record the exact error text and the time it appeared. “No grid,” “isolation fault,” “ground fault,” “arc fault,” and “grid voltage out of range” do not identify one universal component, because manufacturers use different detection thresholds and code definitions.
| Symptom | More likely causes | Useful evidence |
|---|---|---|
| Entire system shows zero production | Inverter, breaker, utility outage, shutdown | Inverter display and AC status |
| One string drops repeatedly | Shade, fuse, connector, cable, module | String current comparison |
| One panel reads zero | Microinverter, optimizer, module, connector | Panel-level monitoring |
| App data stops but inverter runs | Gateway, router, cellular signal | Local inverter status and timestamps |
| Output spikes and falls | Loose connector, thermal fault, clipping, shade | Power curve and thermal inspection |
| Breaker trips after startup | Ground fault, short, damaged cable, breaker issue | Fault log and electrical testing |
Monitoring portals such as Enphase Enlighten and SolarEdge Monitoring can narrow the fault location, but software cannot confirm insulation integrity, torque, roof attachment condition, or fire risk. A dashboard is a diagnostic clue, not a substitute for electrical testing.
What Do Brown Marks, Hotspots, and Snail Trails Mean?
Brown or black cell discoloration, localized melted areas, and thermal hotspots indicate abnormal heating or material damage that warrants panel-level inspection. Dark linear “snail trails” can indicate metallization or cell-crack-related defects, although their appearance alone cannot prove that a panel has lost a specific percentage of output.
A hotspot forms when a damaged, shaded, or electrically mismatched cell dissipates energy as heat instead of contributing normal power. Infrared imaging can identify a localized temperature difference, but a technician must interpret the scan because reflections, wind, sun angle, and camera settings affect readings.
| Visible or thermal condition | Probable mechanism | Usual remedy |
|---|---|---|
| Localized cell area over 20°C hotter | Hotspot or bypass-diode issue | Replace module after testing |
| Moisture fog under glass | Seal or delamination failure | Warranty evaluation or replacement |
| Dark branching lines | Cell cracks or metallization damage | EL test and output verification |
| Yellowed encapsulant | Material aging or UV exposure | Monitor or replace if output falls |
| Melted connector housing | High-resistance connection | De-energized connector replacement |
| Hail dimples or shattered glass | Impact damage and moisture risk | Photograph, isolate risk, inspect warranty |
Do not walk on modules or touch a damaged panel. Sunlight can produce DC voltage even when the home breaker is off, and roof-level connectors can remain energized.
How Can You Diagnose a Solar System Safely?
Homeowners can perform a safe first diagnosis in 10-20 minutes by checking monitoring data, inverter status, weather, ground-level obstructions, and breaker position without opening equipment or climbing onto the roof. The most useful result is a documented symptom pattern that lets a technician test the correct circuit quickly.
Step 1: Check the monitoring app and inverter
Confirm the last successful data timestamp, today’s production, and any fault code. Photograph the inverter display or save a screenshot before an automatic reset clears the message.
Success checkpoint: The system status, error wording, and time are recorded.
Common mistake: Treating an offline app as proof that the array is electrically dead.
Step 2: Compare comparable production
Compare the current day or week with the same period in the prior year, then account for cloud cover, snow, smoke, new shade, and system curtailment. A 15%-20% unexplained reduction under similar conditions merits service.
Success checkpoint: The decline appears repeatedly, not during one cloudy afternoon.
Common mistake: Comparing winter output with summer output without considering sun angle.
Step 3: Inspect from ground level
Look for new tree shade, bird nesting, debris, standing water, shifted modules, broken glass, loose conduit, and visible corrosion. Do not climb onto the roof or remove covers.
Success checkpoint: Photos show the array perimeter, inverter, conduit, and any obstruction.
Common mistake: Using binoculars to dismiss a roof leak that needs an attic inspection.
Step 4: Check the dedicated solar breaker once
If the solar breaker is visibly in the middle or OFF position, follow the installer’s documented restart procedure and reset it only once. Stop if it trips again, makes noise, smells hot, or shows heat damage.
Success checkpoint: The breaker remains on and the inverter completes its normal startup sequence.
Common mistake: Repeated resets during an active ground fault.
Step 5: Contact the correct party
Owned systems usually require the installer, a certified solar contractor, or a licensed electrician. Leased systems and PPAs usually place equipment maintenance on the project owner, subject to contract terms.
Success checkpoint: The service request includes system size, inverter model, error code, screenshots, dates, and roof or storm observations.
Common mistake: Hiring a roofer to test DC circuits or an electrician unfamiliar with photovoltaic systems.
Which Signs Mean Immediate Professional Help?
Smoke, burning odor, visible arcing, melted electrical parts, repeated breaker trips, exposed conductors, or water entering an inverter require immediate professional help. Move away from the equipment, avoid touching the array, and call emergency services for active fire or smoke while following the system’s labeled emergency shutdown instructions if they can be reached safely.
| Condition | Urgency | Homeowner response |
|---|---|---|
| Smoke or active flame | Emergency | Leave the area and call emergency services |
| Burning smell or crackling | Same day | Keep clear and call a qualified technician |
| Repeated breaker trip | Same day | Do not reset again |
| Roof leak near inverter | Prompt appointment | Protect interior property without touching wiring |
| One missing monitoring day | Low | Check network and continue observing |
| Gradual annual decline | Routine | Review warranty and schedule maintenance |
Solar panels cannot be switched off from sunlight alone. Even when an inverter stops converting power, portions of the DC circuit may remain energized during daylight.
How Much Does Solar Repair Cost?
Typical residential solar repair costs range from about $150 for a minor wiring correction to more than $3,500 for a central inverter replacement, excluding unusual roof reconstruction, permitting, crane access, or battery work. Location, warranty status, diagnostic labor, component availability, and roof access create larger price differences than the visible symptom alone.
| Repair or service | Typical cost range | Typical on-site time | Main price variable |
|---|---|---|---|
| Diagnostic visit and electrical testing | $150-$400 | 1-3 hours | Travel and testing depth |
| Basic connector or conduit repair | $150-$600 | 1-4 hours | Roof access and cable length |
| Single damaged panel replacement | $300-$900 | 1-3 hours | Module model and labor |
| Microinverter replacement | $300-$800 | 1-3 hours | Roof access and compatibility |
| String inverter replacement | $1,500-$3,500 | 2-6 hours | Inverter size, permits, wiring |
| Roof flashing or attachment repair | $500-$2,000 | 4-8 hours | Roof substrate and water damage |
| Battery diagnostic or service call | $200-$600 | 1-4 hours | Manufacturer and warranty |
These are typical planning ranges, not universal quotations. A failed inverter under a five-year workmanship warranty may cost the owner little, while a discontinued model can require rewiring, a new mounting method, and permit work.
Which Solar Architecture Changes the Repair?
String inverters create the greatest whole-system impact from one central failure, microinverters localize many failures to individual panels, and DC optimizers provide panel-level tracking while still depending on a central inverter. Architecture changes both the symptom pattern and the labor required to reach the failed part.
| Architecture | Monitoring detail | Single-failure impact | Typical service complexity |
|---|---|---|---|
| String inverter | String or array level | One inverter can stop 100% of output | Lower roof labor, central equipment access |
| Microinverters | Individual panel level | One failure usually affects 1 panel | Higher roof labor and module access |
| DC optimizers | Panel plus string data | Optimizer affects 1 panel, inverter affects array | Mixed roof and central service |
| Hybrid inverter | Solar, battery, and grid functions | One fault can affect solar and storage | Higher commissioning and code complexity |
A dead panel on a microinverter system does not mean the complete array has failed. Conversely, a central inverter can report normal-looking DC conditions while producing no AC power, so the utility meter and breaker status still require evaluation.
When Should You Repair or Replace a Component?
Repair a solar component when the fault is localized, the remaining equipment is compatible, and the repair cost is materially lower than replacement; replace it when the component is unsafe, obsolete, repeatedly failing, or near the end of its expected service life. Lost production should be included in the decision, not treated as a separate issue.
| Decision factor | Repair usually fits | Replacement usually fits |
|---|---|---|
| Equipment age | Under 8 years | Over 12-15 years |
| Warranty | Covered labor or parts | Warranty expired |
| Fault pattern | One connector or fuse | Repeated inverter shutdowns |
| Compatibility | Current parts available | Discontinued model |
| Production impact | Under 10% of array | 30%-100% of array |
| Roof condition | More than 10 years remaining | Roof replacement is imminent |
For example, a $2,200 inverter repair that restores 40% of an 8-kilowatt system can be financially sensible when local electricity costs $0.16 per kilowatt-hour and the array would otherwise lose roughly 3,000-4,000 kilowatt-hours annually. Actual savings depend on irradiance, self-consumption, export credits, and utility tariffs.
Who Pays for Solar System Repairs?
The equipment owner, installer, manufacturer, utility, insurer, or PPA provider may pay for solar repairs, depending on the contract and the cause of failure. A purchased system typically involves separate equipment, workmanship, roof, and production warranties, while a lease or power purchase agreement often assigns operational responsibility to the provider.
| System arrangement | First contact | Potential coverage |
|---|---|---|
| Owned, within workmanship warranty | Installer | Labor and installation defects |
| Owned, equipment warranty active | Manufacturer through installer | Panel or inverter replacement |
| Owned, storm damage | Home insurer and installer | Covered hail, wind, or falling objects |
| Lease | Leasing company | Contract-defined maintenance |
| PPA | PPA provider | Equipment and production guarantee |
| DIY or expired warranty | Solar contractor | Owner-funded diagnosis and repair |
Read the exclusions. Many warranties exclude rodents, unauthorized modifications, roof defects, storm damage, and labor outside the original service territory. A production guarantee may compensate for underperformance without covering every physical repair cost.
What Changes After a Storm or Roof Problem?
Hail, wind, snow, salt air, rodents, and roof replacement can create failures that are invisible from the ground. After severe weather, compare monitoring data with pre-storm production, photograph the array and roof from safe locations, and arrange an inspection before cleaning, insurance repair, or roof work begins.
A roof leak below panels does not automatically mean a panel is defective. Flashing, lag bolts, cracked roofing material, blocked drainage, and wind-driven rain can all cause water entry. Roof repairs may require solar removal and reinstallation, which can cost more than the original electrical diagnosis.
Battery systems add separate warning signs. A battery that refuses to charge, reports high temperature, disconnects repeatedly, or causes backup circuits to drop needs manufacturer-specific service rather than a generic panel inspection.
What Can a Homeowner Safely Do?
A homeowner can review monitoring data, photograph error codes, remove loose ground-level debris, verify visible breaker position, and check whether new shade or snow explains lower output. A homeowner should not open an inverter, disconnect MC4 connectors, probe DC wiring, walk on panels, or pressure-wash the array.
| Safe homeowner task | Limit | Stop condition |
|---|---|---|
| Review app data | Record dates and kWh | Fault code or repeated zero output |
| Photograph equipment | Stay on the ground | Smoke, heat, or exposed conductors |
| Check breaker position | Reset once only | Breaker trips again |
| Inspect roof from ground | Use photos or binoculars | Leak, movement, cracked glass |
| Rinse cool panels if approved | Use low-pressure clean water | Roof access or electrical damage |
Pressure washing can damage seals, coatings, and fragile glass. Cleaning is also a poor substitute for diagnosis when output has fallen sharply, because a dirty panel does not explain a new isolation fault or burning connector.
How Can You Prevent Solar Repair Problems?
Monthly monitoring review, annual ground-level inspection, prompt vegetation control, and post-storm checks prevent small solar faults from becoming expensive failures. A professional electrical and thermal inspection every three to five years can identify loose connections, hotspots, insulation decline, and racking problems that ordinary visual checks miss.
A sensible maintenance record includes monthly kilowatt-hours, inverter alerts, cleaning dates, storm dates, roof work, and service invoices. Owners of older systems can reserve roughly $200-$300 per year for diagnostic visits and non-warranty repairs, although local labor and equipment complexity may require more.
An important practitioner rule is to inspect the monitoring curve before cleaning panels. Cleaning may improve output by a few percent, but it will not restore a missing string, repair a failed inverter, or correct a communications timestamp.
Frequently Asked Questions
Can shade cause a solar system to look broken?
New shade can reduce production without any equipment failure, especially on string-inverter systems where one shaded panel can affect other modules in the same string. Compare shade patterns across seasons, inspect for tree growth or construction, and use panel-level monitoring before ordering replacement equipment.
How long can a solar inverter operate with a warning light?
An inverter with a noncritical informational warning may continue operating, but a red fault light, isolation fault, arc-fault message, overheating alert, or repeated shutdown should receive prompt professional evaluation. The manufacturer’s manual defines the code, and the same light color can represent different conditions across brands.
Do solar panels need annual servicing?
Solar panels do not always require annual electrical servicing, but annual ground-level inspection is sensible for homes exposed to hail, salt air, rodents, heavy pollen, or high winds. A professional inspection every three to five years is more useful when the system has older equipment, unexplained output changes, or a complex battery configuration.
Will homeowners insurance cover a damaged solar panel?
Homeowners insurance may cover panel damage caused by listed events such as hail, wind, fire, or falling objects, but policies vary and often exclude wear, manufacturing defects, poor installation, and neglected maintenance. Photograph the damage, prevent further property loss, and contact the insurer and installer before authorizing removal.
Can a failed panel damage the other solar panels?
A failed panel usually reduces the output of its own circuit, but a damaged connector, bypass diode, insulation fault, or hotspot can create heat and safety risks. String systems may lose the output of several connected modules, while microinverter systems usually isolate the effect to one panel.
Should I turn off solar power during a blackout?
A standard grid-tied solar system normally shuts down during a utility outage to prevent electricity from feeding an unsafe power line. Battery backup systems may continue supplying designated circuits when installed with approved transfer equipment, so follow the inverter and battery manufacturer’s shutdown instructions rather than improvising.
The Bottom Line
The most reliable signs your solar system needs repair are a persistent production decline, a specific inverter fault, repeated breaker trips, panel or connector damage, abnormal heat, structural movement, or water intrusion. Start with monitoring data and a ground-level inspection, then provide the recorded evidence to a qualified solar technician instead of repeatedly resetting equipment or climbing onto the roof.