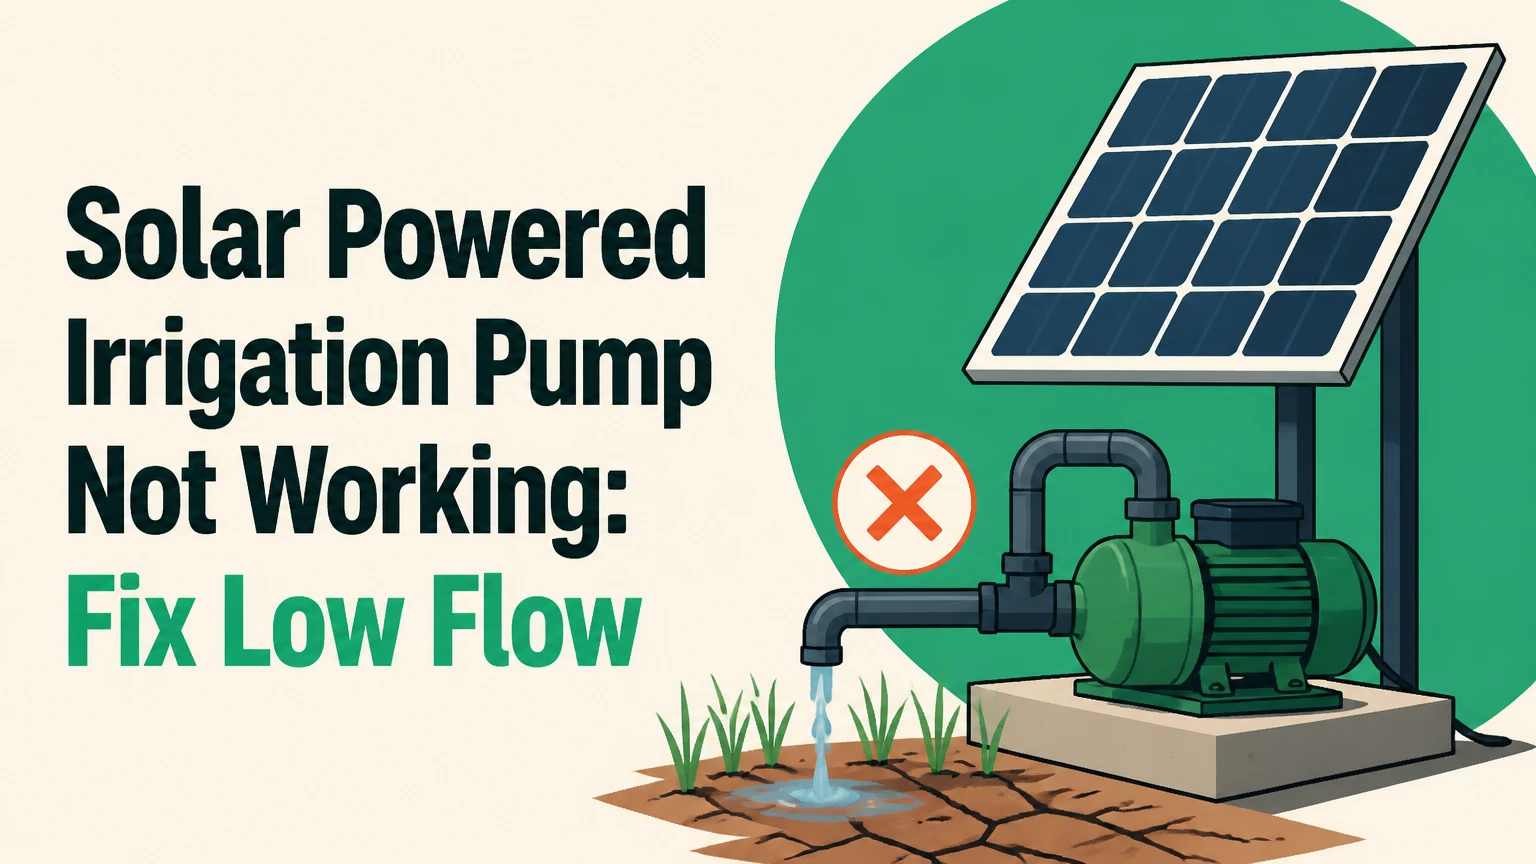
A solar powered irrigation pump not working usually has a fault in solar input, wiring, the pump controller, water level, or the hydraulic path. Diagnose the system in that order: observe the symptom, isolate power safely, measure array and motor conditions, then inspect priming, blockage, head, and dry-run protection.
Key Facts at a Glance
A solar pump controller can show a low-voltage fault even when the array’s open-circuit voltage looks normal under no load.
A surface pump cannot reliably lift water from the same practical depth as a submersible pump; suction performance usually deteriorates well before the theoretical limit of about 8 meters.
A dry-run alarm means the controller may be protecting the motor, not reporting a failed pump.
Three-phase motor resistance values are model-specific; balance between phases matters more than a universal ohm number.
A pump that runs at full speed with weak discharge may have a blocked filter, excessive total head, air leakage, worn hydraulics, or insufficient sunlight.
Never bypass a low-water sensor or open a VFD enclosure without qualified electrical training and the manufacturer’s procedure.
What a Solar Irrigation Pump Needs to Run
A solar irrigation pump needs adequate irradiance, a correctly configured PV array, intact DC and motor wiring, a compatible controller, sufficient water, and a hydraulic route that stays within the pump curve. Removing any one condition can stop the motor or produce low flow.
The energy path is straightforward:
- Solar modules produce direct-current electricity.
- A solar pump controller uses MPPT to seek a useful voltage-current operating point.
- The controller sends DC power to a BLDC motor or converts DC to variable-frequency AC for an induction motor.
- The motor turns an impeller, helical rotor, or another pumping element.
- The pump creates pressure that moves water through the rising main, filters, valves, and irrigation lines.
A controller therefore cannot create water flow from weak sunlight, excessive pipe head, or an empty well. The controller also may deliberately reduce speed to prevent overcurrent, dry running, overheating, or unstable input voltage.
Which system type is installed?
| System characteristic | Surface centrifugal | Submersible BLDC | Submersible AC with VFD |
|---|---|---|---|
| Typical source | Pond or shallow well | Borehole or deep well | Borehole or high-demand well |
| Practical suction constraint | Usually under 6-7 m | No suction lift | No suction lift |
| Typical access time | 10-30 minutes | 1-6 hours | 1-6 hours |
| Controller requirement | DC controller or small inverter | BLDC controller | Three-phase solar VFD |
| Main failure clue | Lost prime or air leak | Dry-run or low water | VFD fault or phase imbalance |
A surface centrifugal pump must remain primed and airtight on the suction side. A submersible pump pushes water upward, so it avoids suction cavitation, but its cable, motor, sensor, and borehole pump assembly are harder to inspect.
Why Is the Solar Pump Not Starting?
A solar pump that is completely silent most often has no acceptable controller input, an open circuit between components, an active protection fault, or a failed controller. A humming pump points more strongly toward inadequate starting power, a mechanical obstruction, incorrect motor wiring, or a damaged motor.
Use the symptom before using the meter. A blank display, a flashing alarm, a motor hum, and normal motor operation with no water represent different fault branches.
| Observed symptom | Most likely fault group | First check | Immediate decision |
|---|---|---|---|
| Controller completely blank | PV isolator, fuse, breaker, cable, controller | DC input and isolators | Stop if voltage is absent or excessive |
| Display shows low voltage | Cloud, shading, dirty modules, voltage drop | Array voltage under operating load | Inspect array and cable size |
| Display shows DRY or WELL | Low water, failed sensor, sensor wiring | Water level and sensor circuit | Allow recovery; do not bypass |
| Motor hums or trips overload | Jammed pump, phase fault, low voltage | Fault history and motor cable | Isolate before mechanical inspection |
| Motor runs, no water | Lost prime, closed valve, blockage, wrong rotation | Discharge pressure and prime | Check plumbing before pulling pump |
| Motor runs, weak water | Low irradiance, high head, wear, restriction | Flow at peak sun | Compare flow with pump curve |
Record the fault code, time, weather, water level, controller input voltage, output current, and whether the pump was recently serviced. This record distinguishes a repeatable electrical fault from a weather-dependent power shortage.
How Should You Check the Solar Array?
Check the PV array first during strong sunlight, because a controller cannot operate correctly when array power is below the motor’s demand. Inspect shading and connectors before measuring, then compare the measured voltage with the module-string design and the controller’s documented input range.
Step 1: Make the system safe
Turn off the pump command, isolate the PV array with the DC disconnect, and disconnect the motor output only according to the controller manual. Wait at least five minutes, or the manufacturer’s stated discharge period, before accessing terminals, then verify absence of voltage with a correctly rated meter.
PV modules remain energized in daylight even when an isolator is open. A DC arc can persist longer than an AC arc, particularly when a connector is opened under load. Do not unplug MC4 connectors while current is flowing.
A qualified technician should perform live DC measurements, insulation-resistance testing, VFD enclosure work, and three-phase motor testing. Wear voltage-rated gloves and eye protection where local electrical rules require them.
Step 2: Inspect and measure the array
Look for mud, bird deposits, cracked glass, loose mounting, corroded connectors, rodent damage, and shadows from poles, crops, or branches. A small shadow across a cell row can reduce the output of a module disproportionately because bypass diodes alter the electrical path.
Clean cool panels with clean water and a soft brush when necessary. Avoid spraying cold water onto panels heated by intense midday sun, because thermal shock can worsen existing glass or cell damage.
Measure open-circuit voltage only when the array is safely isolated and the measurement method matches the equipment. Voc confirms that a string is electrically present; it does not prove that the array can deliver rated current under load. A controller with a low-voltage fault requires an operating-voltage and current assessment, not Voc alone.
| Array observation | Typical interpretation | Confirmation test | Repair direction |
|---|---|---|---|
| Voc near zero | Open fuse, connector, cable, or string | String-by-string voltage test | Repair open circuit |
| Voc normal, controller trips low voltage | Voltage collapses under load | Measure operating voltage and current | Check shading, weak module, cable drop |
| One string differs by over 5-10% | Mismatch or damaged module | Compare same-size strings | Test module and connectors |
| Voltage too high for controller | Excessive series modules | Compare cold-weather maximum voltage | Do not energize controller |
| Voltage stable, current low | Shade, soiling, failed module, poor irradiance | Clamp or controller current reading | Restore irradiance or replace faulted part |
Controller input voltage must remain within the model’s specified startup, operating, and maximum limits. The often-repeated ±10% rule is not universal: some controllers accept a broad MPPT range, while others need a narrow startup threshold.
What Do Solar Pump Fault Codes Mean?
Solar pump fault codes are manufacturer-specific, but DRY, WELL, LOW VOLTAGE, OVERLOAD, OVERCURRENT, OVERVOLTAGE, OVERHEAT, and PHASE LOSS have widely understood diagnostic meanings. Read the manual for the exact reset delay and sensor logic before changing settings.
| Display or indicator | Common cause | Safe user check | What requires service |
|---|---|---|---|
| DRY, WELL, LL | Water below sensor, air entering intake, dry-run probe fault | Check water level, probe cable, and recovery time | Sensor replacement or borehole investigation |
| PL, UV, LOW V | Weak sunlight, array voltage drop, long undersized cable | Check shade, connectors, and voltage during startup | Cable redesign or controller testing |
| OC, OL, OVERLOAD | Jammed pump, high head, wrong settings, motor fault | Check valves, filters, and recent plumbing changes | Motor-current and insulation testing |
| OV, HIGH V | Array voltage above controller limit or regeneration event | Verify series-panel count and polarity | Array redesign or controller replacement |
| OH, TEMP | Hot enclosure, blocked ventilation, overloaded drive | Check ambient temperature and airflow | Thermal sensor or drive repair |
| PH, PHASE LOSS | Broken motor lead, loose terminal, winding imbalance | Isolate and inspect accessible cable ends | Three-phase motor and insulation test |
| No code, no display | Fuse, isolator, cable, surge damage, controller failure | Check external protection devices | Enclosure diagnosis by qualified technician |
Reset a fault once after correcting the suspected cause. Repeated resets can turn a temporary protection event into a burned controller, damaged winding, or dry-running pump.
How Do You Test the Pump Cable and Motor?
Test a pump cable and motor only after disconnecting them from the controller and proving zero voltage. For a three-phase AC motor, compare phase-to-phase resistance and test insulation to ground; for a BLDC pump, follow the manufacturer’s pinout because electronic commutation makes generic phase tests unreliable.
Step 3: Check cable continuity
Label conductors before removal. Measure phase-to-phase resistance at the controller end, then compare the results with the motor manufacturer’s service data. Three readings should be reasonably balanced, but the acceptable value depends on motor power, cable length, winding temperature, and measurement resolution.
An infinite reading suggests an open conductor or winding. A near-zero reading can indicate a short, although ordinary handheld meters may not resolve low-resistance winding faults accurately. Resistance balance cannot detect every insulation failure.
An insulation-resistance tester, commonly called a megohmmeter, is more informative for submerged motors and long drop cables, but its test voltage must be appropriate for the motor electronics. Never apply a megger to a BLDC controller or connected electronic components.
Step 4: Separate motor, cable, and controller faults
If the cable and motor test correctly but the controller output is absent, the controller may have a failed output stage, incorrect configuration, or an active protection interlock. If the controller output is present but current rises immediately, stop the test and investigate mechanical binding or winding damage.
Never apply utility AC directly to a motor designed for a solar pump controller. Never connect a BLDC motor to an AC VFD unless the manufacturer explicitly documents compatibility.
Why Does the Pump Run but Deliver Little or No Water?
A running solar pump with little or no discharge usually has a hydraulic problem, insufficient operating power, excessive total dynamic head, wrong rotation, or internal wear. A full-speed motor does not prove that the pump is producing its rated flow because flow depends on pressure, pipe losses, water level, and pump condition.
Step 5: Inspect the hydraulic route
For a surface pump, restore prime before extended operation. Check the suction hose for collapsed sections, pinholes, loose clamps, and air leaks, then inspect the foot valve and intake screen. A suction-side air leak can prevent discharge while the pump appears mechanically normal.
For a submersible pump, check the delivery valve, filter, non-return valve, rising main, and irrigation manifold. A blocked filter or closed valve can produce high pressure and low flow, while a split pipe can produce low pressure and water loss.
Compare measured flow and pressure with the manufacturer’s pump curve at the actual head. Total dynamic head includes vertical lift plus pipe friction, filters, valves, emitters, and pressure requirements. A design that worked with a full reservoir can fail after the water level drops several meters.
Step 6: Check rotation and internal condition
A three-phase AC pump that rotates backward can deliver very little water. A qualified technician can isolate power and swap any two motor phases at the controller output, then confirm rotation according to the pump instructions. This procedure does not apply to a two-wire DC pump or every BLDC design.
Sand, silt, and algae can block an intake or abrade impellers. Helical-rotor pumps can suffer stator damage after dry running, while centrifugal pumps can lose performance when impellers wear or clearances increase.
| Water-flow symptom | Hydraulic cause | Electrical cause | Best confirmation |
|---|---|---|---|
| Zero flow immediately after installation | No prime, closed valve, wrong rotation | Incorrect phase sequence | Prime and verify rotation |
| Flow declines after several minutes | Low water, thermal trip, intake vortex | Current protection | Monitor water level and fault log |
| Flow weak only on cloudy days | Pump speed follows available power | Low PV voltage or current | Compare flow at peak sun |
| Pressure high, flow low | Blocked filter or valve | Overload from excessive head | Read pressure before and after filter |
| Pressure low, flow low | Leak, worn impeller, air ingress | Low motor speed | Pressure, current, and visual plumbing check |
Which Pump Architecture Is Easier to Repair?
A surface centrifugal system is usually easiest to inspect and cheapest to repair, while a submersible system is better for deep water because it avoids suction lift. BLDC systems reduce inverter complexity, whereas AC VFD systems provide broader motor availability and scalable commercial capacity.
| Architecture | Typical capacity | Repair access | Efficiency and control | Main limitation |
|---|---|---|---|---|
| 24-48 V DC surface kit | 0.25-2 hp | Pump accessible in 10-30 minutes | Simple low-voltage control | Priming and shallow suction |
| BLDC submersible | 0.5-4 hp | Pump retrieval in 1-6 hours | Efficient variable-speed operation | Proprietary controller or cable |
| AC VFD submersible | 2-20+ hp | Pump retrieval in 1-6 hours | Industrial motor and diagnostics | Complex configuration and wiring |
| Hybrid AC system | 2-20+ hp | Grid or generator bypass available | Continues during poor sun | Higher installation cost |
The best architecture depends on source depth, required flow, total head, daily water volume, service access, and backup-power needs. Direct solar pumping is not ideal where irrigation must continue at night unless the system includes storage, batteries, a generator, or grid input.
How Much Does Repair Usually Cost?
Typical field repair costs range from $50-$250 for cleaning, connectors, priming, or sensor work, $150-$700 for cable or controller service, and $700-$4,500 for pump replacement, depending on depth, capacity, labor rates, and retrieval difficulty. These are planning ranges, not fixed quotations.
| Repair or replacement | Typical parts cost | Typical labor time | Typical total planning range |
|---|---|---|---|
| Panel cleaning and inspection | $0-$75 | 1-2 hours | $50-$200 |
| MC4 connector, fuse, or isolator repair | $20-$180 | 1-3 hours | $75-$300 |
| Surface-pump prime or intake repair | $30-$250 | 1-4 hours | $100-$500 |
| Dry-run sensor replacement | $40-$300 | 1-3 hours | $100-$600 |
| Solar controller replacement | $250-$1,500 | 2-6 hours | $500-$2,200 |
| Submersible pump replacement | $400-$3,500 | 4-12 hours | $900-$4,500 |
A controller replacement should follow an input and motor test. Replacing the controller first is an expensive guess, particularly when a blocked pump or undersized cable caused the original overload.
What Prevents Repeat Solar Pump Failures?
Prevent repeat failures by recording water level, flow, pressure, current, and fault codes during normal operation, then comparing new readings with that baseline. Keep intakes and filters clean, protect cables from abrasion and rodents, maintain panel access, and test dry-run sensors before the irrigation season.
Use this field schedule:
- Weekly during irrigation: inspect panel shading, leaks, filters, unusual noise, and controller alarms.
- Monthly: clean modules if soiling reduces output, tighten accessible mechanical connections, and measure representative flow.
- Before the season: verify sensor operation, inspect cable glands, confirm array polarity, and test the pump at peak sunlight.
- After storms: check surge protection, cracked modules, water in controller glands, and shifted structures.
- After borehole work: flush sediment before reconnecting a precision pump.
Two practitioner rules prevent many expensive failures. Do not size the array only for the motor’s nameplate watts; startup voltage, temperature, cable loss, and pump speed all affect usable power. Do not judge a pump from midday flow alone if the crop needs a daily volume, because storage tank capacity may be a cheaper reliability measure than oversized batteries.
A low-water sensor is a protective control, not an inconvenience. Bypassing it can destroy a rubber stator in minutes or overheat a motor that no longer has water for cooling.
What Alternatives Help During Poor Sunlight?
A storage tank, battery bank, generator, or grid-hybrid controller can maintain irrigation when clouds reduce PV output, but each alternative changes system cost and maintenance. Water storage is often simpler than batteries when irrigation can operate in scheduled daytime windows.
| Backup approach | Typical usable duration | Typical cost range | Best fit |
|---|---|---|---|
| Elevated water tank | 0.5-2 irrigation days | $500-$5,000 | Daytime pumping with stored distribution |
| Lithium battery bank | 2-8 hours at rated load | $1,500-$10,000 | Short evening or cloud coverage |
| Petrol or diesel generator | 4-12 hours per tank | $500-$5,000 | Emergency or seasonal backup |
| Grid-hybrid VFD | Continuous grid availability | $800-$4,000 premium | Commercial sites near utility power |
Batteries are not automatically the best solution. A high-power irrigation motor can require substantial inverter capacity, battery current, ventilation, and replacement planning. A tank may cover the same operational gap with fewer electrical failure modes.
When Should You Stop Troubleshooting?
Stop field troubleshooting when the controller shows repeated overcurrent, the motor insulation fails, a submersible pump must be retrieved, the array exceeds controller voltage, or live testing requires opening a VFD. A qualified solar electrician or pump technician should handle those conditions.
Replace rather than repair a controller when its power stage has surge damage, water ingress, or repeated faults after verified PV and motor conditions. Replace a pump when impeller or stator wear causes permanent performance loss and the retrieval cost approaches the price of a new assembly.
What Information Should You Give a Technician?
Provide the controller make and model, pump model, rated voltage and horsepower, array configuration, fault code, water-source depth, static and pumping water levels, measured flow, pressure, and a photo of the wiring labels. State whether the fault occurs only during clouds, after a fixed runtime, or immediately at startup.
That information shortens diagnosis because a technician can compare the operating point with the pump curve and controller limits before visiting the site.
FAQ
Can dirty solar panels stop an irrigation pump?
Dirty solar panels can stop a solar irrigation pump when reduced irradiance lowers operating voltage or current below the controller’s startup and MPPT requirements. Clean panels only when safe, using a soft brush and suitable water, and inspect for shading or damaged modules if the fault remains after cleaning.
Why does a solar pump work in the morning but stop later?
A solar pump that starts in the morning and stops later may be responding to low water, rising panel temperature, a thermal controller trip, or a changing hydraulic head. Review the fault log and water level, then compare input voltage, motor current, and flow at startup and during the stop event.
Can I run a solar irrigation pump without a battery?
A direct-solar irrigation pump can run without a battery when the PV array and controller provide sufficient power during daylight. Direct solar operation cannot guarantee night irrigation or stable flow during clouds, so a storage tank, battery, generator, or grid-hybrid input may be needed for continuity.
How long should a solar pump run each day?
A solar pump should run for the time required to deliver the crop’s daily water volume at the actual flow rate, not for a universal number of hours. If a pump delivers 5,000 liters per hour and the field needs 15,000 liters, the theoretical runtime is three hours, plus losses and low-light periods.
Is a bigger solar panel array always better?
A bigger solar panel array is not always better because the controller has maximum voltage and current limits. Additional parallel capacity can improve cloudy-weather current, while excessive series voltage can destroy the controller; verify cold-weather Voc, MPPT range, maximum input current, and motor requirements first.
The Bottom Line
A solar powered irrigation pump not working should be diagnosed from the energy source toward the water outlet: verify safe isolation, inspect the PV array, measure operating input, read the controller fault, test the motor circuit, and inspect priming, filters, valves, head, and water level. Do not bypass dry-run protection or replace expensive components before measurements identify the failed section.