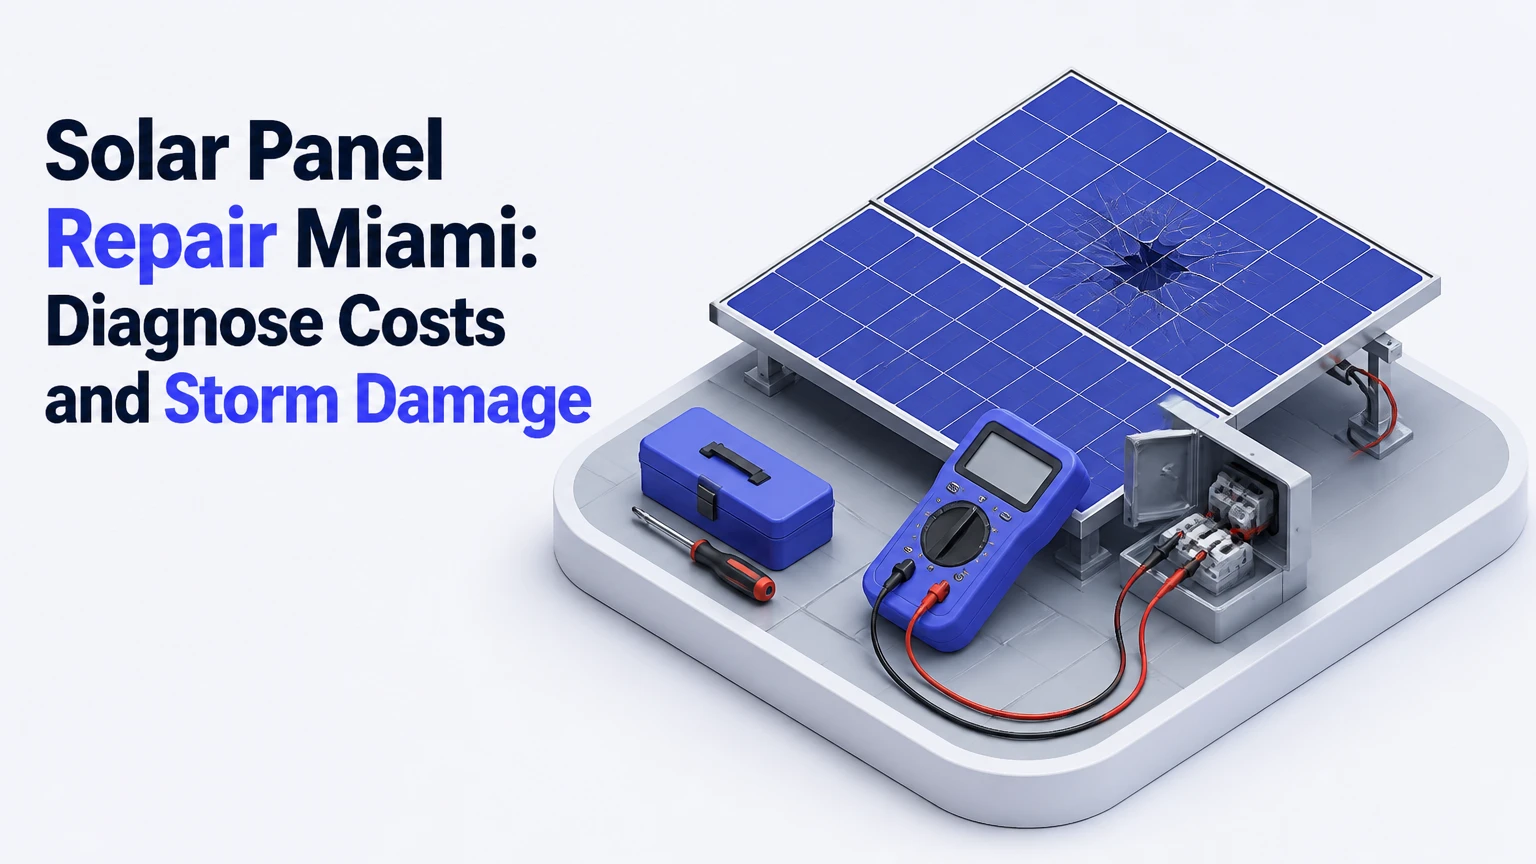
Solar panel repair in Miami restores a photovoltaic system after inverter failure, wiring damage, cracked modules, storm impact, roof work, or production loss. A qualified solar-electric contractor diagnoses the DC and AC portions separately, verifies warranty coverage, and completes repairs under applicable Florida and Miami-Dade electrical and structural requirements.
Key Facts at a Glance
- Typical Miami solar repair costs range from about $250 for accessible wiring faults to $6,000 or more for large panel detach-and-reset projects.
- A tripped solar breaker that trips again should remain off because repeated resetting can expose an active electrical fault.
- Solar panels generate hazardous DC electricity during daylight, even when the utility supply is disconnected.
- Panel glass with cracks, browning, delamination, exposed conductors, or water entry usually requires module replacement rather than glass repair.
- Inverter replacement often takes longer than the physical installation because the correct model, firmware, utility approval, or warranty part may be unavailable.
- Roof replacement should be coordinated with solar removal before roofing begins, not after roofers work around the array.
What Does Solar Panel Repair Cover?
Solar panel repair covers diagnosis, electrical restoration, component replacement, structural correction, and safe recommissioning of a PV system. The work may involve one module, a microinverter, a string inverter, optimizers, cables, connectors, grounding, racking, monitoring equipment, or the roof interface.
The phrase “solar panel repair” is broader than repairing the panel itself. Most crystalline-silicon modules are factory-sealed assemblies, so technicians generally replace a damaged module instead of opening it and rebuilding cells. A repair company may also correct a loose MC4-style connector, replace damaged conduit, install critter protection, or reconnect a monitoring gateway without replacing any panel.
Which Components Can Be Repaired?
| Component | Common symptom | Typical remedy | Typical field time |
|---|---|---|---|
| Central string inverter | Whole system produces zero kilowatt-hours | Diagnose, replace, commission | 3-8 labor hours |
| Microinverter | One panel or one branch underproduces | Replace panel-level unit | 1-3 hours |
| DC cable or connector | Arc fault, low string voltage, intermittent output | Replace cable or connector | 2-6 hours |
| PV module | Cracked glass, hotspot, delamination | Replace matching module | 2-5 hours |
| Racking and clamps | Movement, corrosion, storm displacement | Torque, replace, reseal | 2-8 hours |
| Monitoring gateway | App offline while production continues | Restore network or replace gateway | 1-3 hours |
A monitoring failure does not automatically mean an energy-production failure. NREL’s PVWatts documentation states, “PVWatts® Version 6 calculates the electrical production of grid-connected PV systems.” That distinction matters because production data from an inverter, utility meter, and monitoring portal can disagree when communications fail.
How a Miami PV System Works
A Miami photovoltaic system converts sunlight into DC electricity at the modules, routes that electricity through conductors and protection equipment, and uses an inverter to deliver grid-compatible AC power to the home. The utility meter then records imported or exported energy according to the customer’s interconnection arrangement.
The diagnostic path follows that energy path. A technician checks module voltage and current, string connections, rapid shutdown equipment, inverter operation, AC disconnects, service-panel connections, and monitoring communications. A failure near the roof can affect one module, one string, or the entire array, while an AC-side problem can shut down an otherwise healthy array.
DC and AC Faults Have Different Clues
| Fault location | Production pattern | Typical clue | Diagnostic priority |
|---|---|---|---|
| Single module | One panel underperforms | Localized drop in portal | Module, connector, or microinverter |
| One string | Several panels lose output | String voltage below expected range | DC wiring, optimizer, fuse, shading |
| Inverter | Whole array stops | Red fault light or zero output | Inverter logs and AC/DC checks |
| AC disconnect | Whole array stops | Breaker off or fault code | Disconnect, conductors, service panel |
| Monitoring network | Data appears frozen | App stale, meter still changes | Gateway, Wi-Fi, cellular connection |
A Miami repair technician should compare current output with the system’s historical baseline, not with the nameplate rating alone. A 10-kilowatt array will not produce 10 kilowatts continuously because irradiance, temperature, roof orientation, shading, grid limits, and inverter clipping change hourly output.
What Usually Fails in Miami?
The most common Miami PV failures involve inverters, connectors, wiring, roof penetrations, storm-displaced hardware, and moisture-related degradation. Heat, ultraviolet exposure, salt air near Biscayne Bay and the Atlantic coast, heavy rain, lightning, rodents, and hurricane debris increase the number of conditions a repair inspection must consider.
Inverter Failure
Inverters contain capacitors, switching electronics, relays, cooling components, and communications hardware. High roof temperatures and poor airflow can shorten component life, while moisture intrusion can corrode internal connections. Common symptoms include a blank display, repeated fault codes, isolation faults, ground faults, or a system that starts and stops during the day.
A replacement decision must match DC input limits, AC output, communications protocol, rapid-shutdown requirements, utility settings, and the existing module layout. Substituting a different inverter without checking those values can create compatibility or inspection problems.
Wiring, Connectors, and Grounding
Rodents can damage exposed cable, while loose connectors create resistance and heat. Poorly supported conductors may rub against racking, and water can enter incorrectly installed conduit or junction points. Grounding faults may trip protection equipment or cause an inverter to refuse startup.
A technician should not simply replace a tripping fuse without finding the reason. The cause may be damaged insulation, a failed module, a wet connector, or an incorrectly configured replacement component.
Modules, Hotspots, and Micro-Cracks
Cracked glass allows water entry and increases electrical risk. Hotspots can result from cracked cells, shading, bypass-diode failure, mismatched current, or a high-resistance connection. Discoloration, bubbling, backsheet damage, and visible burn marks warrant professional inspection.
Cleaning cannot repair a cracked module or reverse cell damage. A panel replacement should account for electrical specifications, dimensions, connector type, appearance, warranty terms, and the effect on the rest of the string.
Storm and Salt-Air Damage
Wind-driven debris may crack glass, bend rails, loosen clamps, damage conduit, or expose roof penetrations. Coastal salt deposits can accelerate corrosion on aluminum, fasteners, connectors, and grounding hardware. Miami-Dade wind requirements apply to permitted structural work, but compliance depends on the project, building, product approvals, and current local requirements.
Do not climb onto a roof after a storm to inspect the array. A ground-level photograph, inverter status, utility outage information, and insurance documentation give a contractor useful first evidence without adding fall or electrical risk.
How Do Professionals Diagnose Solar Panel Repair Miami Calls?
Professional diagnosis usually takes 2-6 hours for a residential fault, although parts, roof access, utility coordination, and storm damage can extend the project. The technician begins with production data, then isolates the electrical fault, inspects physical conditions, tests components, and documents the final operating state.
Step 1: Review Monitoring and Utility Data
The technician records the last successful production date, daily kilowatt-hours, fault messages, and the affected array area. Enphase Enlighten, SolarEdge Monitoring, Fronius Solar.web, and inverter displays can identify whether the problem is localized or system-wide.
A frozen app is not proof of zero generation. Compare portal data with the inverter display, utility meter, and, where available, a revenue-grade meter.
Step 2: Inspect From the Ground and Roof
The inspection checks cracked glass, debris, nesting, cable management, conduit, rail movement, roof penetrations, corrosion, shading, and signs of water entry. Thermal imaging can locate abnormal heating, but thermal results require adequate sunlight and correct interpretation.
Step 3: Isolate and Test the Circuit
Only trained personnel should open equipment or measure live PV circuits. The technician follows the manufacturer’s shutdown sequence and applicable electrical safety procedures, then tests voltage, current, insulation resistance, polarity, grounding, and AC output with rated instruments.
Step 4: Replace or Correct the Failed Part
The repair may involve a connector, cable, fuse, optimizer, microinverter, module, inverter, disconnect, gateway, clamp, or flashing detail. The replacement should be documented by manufacturer, model, serial number, electrical rating, and warranty status.
Step 5: Recommission and Verify
The final check confirms correct startup, production, monitoring, labeling, grounding, rapid shutdown, weather sealing, and breaker behavior. Permit closeout or inspection may be required when the repair changes permitted electrical or structural work.
How Much Does Repair Cost in Miami?
Typical residential solar repair in Miami costs $250-$6,000, with the final price determined by the failed component, roof access, array size, warranty, permit requirements, and whether a second visit is needed. These are planning ranges, not fixed local quotes.
| Repair type | Typical price | Typical duration | Main cost variable |
|---|---|---|---|
| Diagnostic visit | $150-$350 | 1-3 hours | Data review and roof access |
| Wiring or connector repair | $250-$900 | 2-6 hours | Hidden fault location |
| Microinverter replacement | $350-$900 each | 1-3 hours | Part availability and access |
| String inverter replacement | $1,200-$3,500 | 3-8 labor hours | Capacity, permitting, warranty |
| Module replacement | $400-$1,000 each | 2-5 hours | Matching older equipment |
| Critter guard installation | $300-$900 | 3-8 hours | Array perimeter and roof type |
| Panel detach and reset | $2,500-$6,000 | 2-4 days | Array size and roofing scope |
A quote should separate diagnosis, labor, materials, permit fees, inspection fees, roof repairs, disposal, monitoring setup, and tax. A low component price can become expensive if the contractor cannot source a matching module or must make two mobilizations.
Repair, Replace, or Rebuild?
Repair is usually the best financial choice when the array is under warranty, the fault is localized, and the remaining equipment has a reasonable service life. Replacement or partial rebuilding becomes more sensible when several major components have failed, the system lacks documentation, or the roof requires work.
| Decision | Best condition | Typical budget | Financial limitation |
|---|---|---|---|
| Repair one component | Localized fault, intact roof | $250-$1,500 | Older adjacent parts may fail later |
| Replace inverter | Healthy modules, failed electronics | $1,200-$3,500 | Compatibility and permitting matter |
| Replace several modules | Limited storm or cell damage | $800-$4,000 | Matching legacy panels is difficult |
| Detach and reset | Roof repair beneath array | $2,500-$6,000 | Solar is offline during roofing |
| Rebuild system | Multiple failures or undocumented design | $8,000-$25,000+ | New design and approvals required |
The age of the array matters. A 12-year-old system with a failed inverter may need a retrofit strategy, while a three-year-old system with a single defective microinverter may need only a warranty replacement.
What Can a Homeowner Check Safely?
A homeowner can review the monitoring portal, note error codes, confirm whether the utility has an outage, and inspect the array from ground level. A homeowner should not remove covers, disconnect MC4 connectors, walk on modules, open an inverter, or climb onto the roof.
Use this limited sequence:
- Record the portal’s last update, fault code, daily production, and date of failure.
- Check whether the home has utility power and whether the inverter display is active.
- Look at the solar AC disconnect and service panel without opening electrical equipment.
- If a breaker is off and there is no visible damage, follow the equipment manual or call a professional before resetting it.
- If the breaker trips again, leave it off and arrange service.
- Photograph storm debris or visible damage from a safe location.
- Do not pressure-wash panels or use abrasive tools.
Dust, pollen, and bird residue can reduce output, but cleaning cannot solve inverter, wiring, shading, or module faults. If cleaning is appropriate, use a qualified service provider or a low-pressure method approved by the panel manufacturer.
What Should You Do After a Storm?
After a Miami storm, keep people away from damaged solar equipment, photograph conditions from the ground, notify the insurer and installer, and request a licensed solar-electric inspection. Do not assume a dark inverter means the array is electrically dead because modules can generate DC voltage whenever sunlight reaches them.
Storm documentation should include the date, wind or hail event, visible damage, roof leaks, inverter alarms, utility outage, and damaged surrounding property. Avoid moving broken modules or loose racking before the insurer or contractor records the condition, unless immediate action is needed to prevent injury.
| Storm finding | Immediate action | Likely follow-up | Insurance note |
|---|---|---|---|
| Cracked module glass | Keep clear of roof area | Module and connector test | Photograph before removal |
| Loose or displaced rail | Restrict roof access | Structural inspection | Record wind event and roof damage |
| Exposed cable | Keep equipment isolated | DC wiring and insulation test | Include close and wide photos |
| Roof leak beneath array | Protect interior contents | Solar detach and roofing repair | Coordinate roofer and solar contractor |
| Inverter fault after lightning | Do not reset repeatedly | Surge, grounding, inverter test | Ask about equipment and consequential loss |
When Does the Array Need Removal?
Solar panels must be removed before roof replacement when the roofing crew needs access beneath the array or when penetrations, underlayment, or flashing require repair. Roofing around installed modules may leave concealed damage, invalidate workmanship coverage, or create unsafe clearance for workers.
Solar detach and reset is different from a routine panel repair. The contractor must label circuits, remove modules and racking as appropriate, protect equipment in storage, coordinate with the roofer, inspect penetrations, reinstall to the approved design, and recommission the system.
Ask both contractors who owns responsibility for roof leaks caused by existing penetrations. Put the sequence in writing. The roofing contractor should not disconnect PV wiring unless properly qualified and authorized to perform that electrical work.
How to Hire a Miami Solar Repair Contractor
Choose a contractor that can demonstrate Florida licensing appropriate to the work, active general liability and workers’ compensation coverage, solar-specific experience, manufacturer access, and a documented commissioning process. Verify the license through the Florida Department of Business and Professional Regulation rather than relying on a license number printed on an advertisement.
Request these items before approval:
- Written diagnosis with the failed component and test results
- Model and serial number of every proposed replacement
- Labor, materials, permit, inspection, disposal, and roof costs
- Warranty terms for the replacement and workmanship
- Proof of insurance and relevant license information
- Responsibility for monitoring, labeling, and final verification
- Whether the contractor will pull permits or coordinate inspections
- Expected production or operating test after completion
A company that proposes replacing an inverter before checking monitoring data, AC voltage, DC input, and fault history is skipping the diagnostic stage. A company that promises a precise production increase without reviewing shading, weather, historical output, and utility limits is also making an unsupported claim.
What Should Be in the Repair Quote?
| Quote element | Acceptable detail | Warning sign |
|---|---|---|
| Diagnosis | Fault code, test, affected circuit | “System issue” only |
| Equipment | Brand, model, rating, serial record | Generic “new inverter” |
| Labor | Hours or fixed scope | Open-ended labor |
| Permits | Authority, fee, inspection responsibility | No permit discussion |
| Warranty | Part and workmanship duration | Verbal promise only |
| Completion | Monitoring and production verification | No final test |
What Happens With an Orphaned System?
An orphaned solar system can usually be diagnosed and repaired, but missing design files, passwords, warranties, permits, and utility records increase labor and risk. The new contractor may need to trace circuits, identify equipment, reconstruct the one-line diagram, establish monitoring access, and confirm whether the system can legally be modified.
Collect the purchase agreement, financing contract, equipment invoices, permit records, interconnection approval, monitoring login, and prior service records. Contact the manufacturer directly with equipment serial numbers because product warranties may remain valid even when the installer has closed.
Do not assume a financing company owns the repair obligation. Lease and power-purchase agreements often assign maintenance duties differently from financed purchases, so review the contract before authorizing work.
How to Reduce Future Failures
Preventive maintenance should combine monthly monitoring review, annual visual and electrical assessment, post-storm inspection, and prompt correction of roof or wiring defects. Miami homeowners should pay particular attention to cable protection, corrosion, shade growth, nesting, water entry, and inverter ventilation.
| Preventive action | Recommended interval | Miami-specific reason | Typical cost |
|---|---|---|---|
| Review production portal | Monthly | Finds sudden output loss | $0 |
| Ground-level visual check | After major storms | Identifies debris and displacement | $0 |
| Professional inspection | Every 1-2 years | Finds electrical and mounting faults | $200-$600 |
| Critter guard inspection | Annually | Rodents shelter beneath modules | $100-$300 |
| Professional cleaning | As needed | Salt, dust, pollen, and bird residue | $150-$500 |
| Roof and flashing review | Before roof work | Prevents concealed leak disputes | $150-$500 |
A critter guard can reduce cable damage, but it does not repair existing chewing or guarantee exclusion. Likewise, regular cleaning can improve irradiance at the module surface, but cleaning is a poor response to a sudden system-wide outage.
Common Mistakes and Better Responses
Resetting a tripping breaker repeatedly: Leave the breaker off after the second trip and request electrical diagnosis.
Hiring a roofer to disconnect the array: Use a contractor qualified for PV electrical work, then coordinate the roofing schedule.
Ordering a visually similar panel: Match voltage, current, dimensions, connector compatibility, and electrical design.
Ignoring warranty coverage: Check module, inverter, labor, and installer warranties before paying for replacement.
Comparing one day of production: Use several weeks or a same-period prior-year baseline, adjusted for weather and shading.
Cleaning from the roof without fall protection: Use a professional cleaning service or ground-based assessment.
A practitioner rule of thumb is to treat a sudden 20% or greater unexplained production loss as a service trigger after confirming there is no utility outage or monitoring interruption. The threshold is a screening rule, not a universal failure standard, because seasonal irradiance and shading can create legitimate changes.
Frequently Asked Questions
Can rain damage solar panels in Miami?
Rain normally does not damage properly installed modules, but wind-driven debris, failed seals, loose connectors, and damaged roof penetrations can allow water into the system. After a severe storm, inspect from the ground and arrange professional testing if the inverter reports isolation faults, the roof leaks, or glass is cracked.
How long do solar panels last in South Florida?
Many modules carry product warranties of 10-25 years, while their useful operating life can extend beyond the warranty period. Inverters often require replacement sooner, commonly within roughly 10-15 years, although heat, salt exposure, installation quality, and operating conditions change the actual service life.
Does homeowners insurance cover solar panel damage?
Coverage depends on the policy, cause of loss, exclusions, deductible, and whether the panels are attached to the dwelling or treated as separate equipment. Photograph storm damage, prevent further loss when safe, notify the insurer promptly, and obtain a written repair scope before removing equipment.
Can cracked solar glass be repaired?
Cracked module glass is generally not repaired in place because opening the factory laminate compromises weather sealing and electrical reliability. A qualified technician should assess electrical risk and usually replace the complete module, especially when moisture, hot spots, exposed conductors, or backsheet damage are present.
Will a new inverter increase solar production?
A new inverter can restore production lost through an inverter fault, but it cannot create sunlight or correct shading, degraded modules, wiring resistance, or grid limitations. The contractor should compare pre-failure data, equipment ratings, and post-repair output rather than guarantee a fixed percentage increase.
What information should I send a repair company?
Send the system address, installation year, inverter and module brands, monitoring screenshots, error codes, recent utility bills, photos from ground level, warranty documents, and the date symptoms began. This information helps the contractor estimate parts and determine whether the issue is production, communications, roof, or utility related.
The Bottom Line
Solar panel repair Miami homeowners need should begin with diagnosis, warranty verification, and safety controls, not immediate component replacement. Typical costs range from $250 for accessible wiring faults to $6,000 for larger detach-and-reset work, while storm damage, roof access, obsolete equipment, permits, and insurance can change the total. Keep damaged equipment isolated, use a qualified Florida contractor, and require documented testing before the system returns to service.